Create a Quiz with Different Due Dates for Each Section In a Combined Course Using Special Access
The steps below are to guide instructors who have a combined course and want to create a quiz for their combined course, with different due dates for each section in their course. It combines the steps for creating a quiz and using special access. This allows for only one grade item but offers different due dates. If your due dates are identical for all sections in your combined course, then you should instead follow the Create a Quiz steps and Set Timing Options for a Quiz, since no special access for alternate due dates will be needed.
Example setup: You have 2 sections (section 010 and section 020). When you create the quiz, the due date you set on the create quiz page will apply for all users. When you set special access, you can select one of the sections (section 020 for example) and set a different due date for those students. This will mean that the quiz due date that was once for all users will only apply to those who did not get special access.
-
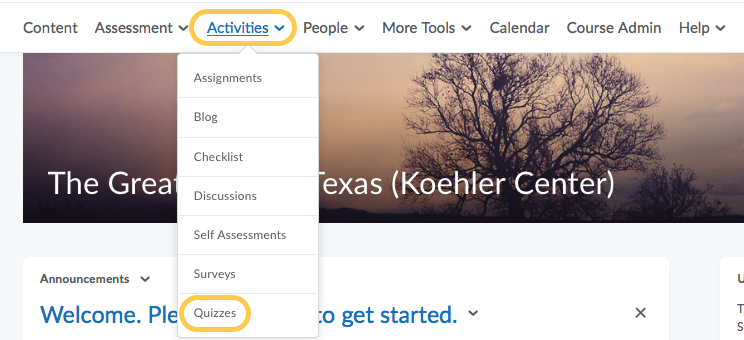
- On the navbar, click the Activities menu, then select Quizzes.
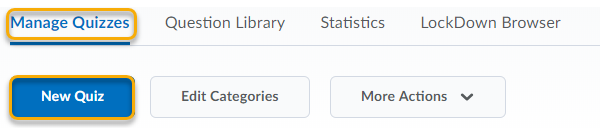
- On the Manage Quizzes tab, click New Quiz.
- On the navbar, click the Activities menu, then select Quizzes.
- Enter a Name for your Quiz. By default, the quiz name will say “Untitled.” Be sure to change this. Note: Naming convention is important. Make sure the quiz name matches what you have in your syllabus.

- If your quiz is ungraded, then no changes are needed and you may skip ahead to step 6. Note: When Not in Grade Book is selected, the Grade Out Of fields reflects the total points of the questions.
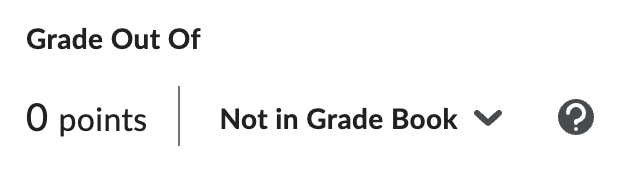
- If your quiz should be associated with a Grade Item in the gradebook, click Not In Gradebook, then select Edit or Link to Existing. Then choose one of the following 2 options. Note: Option 2 is recommended.
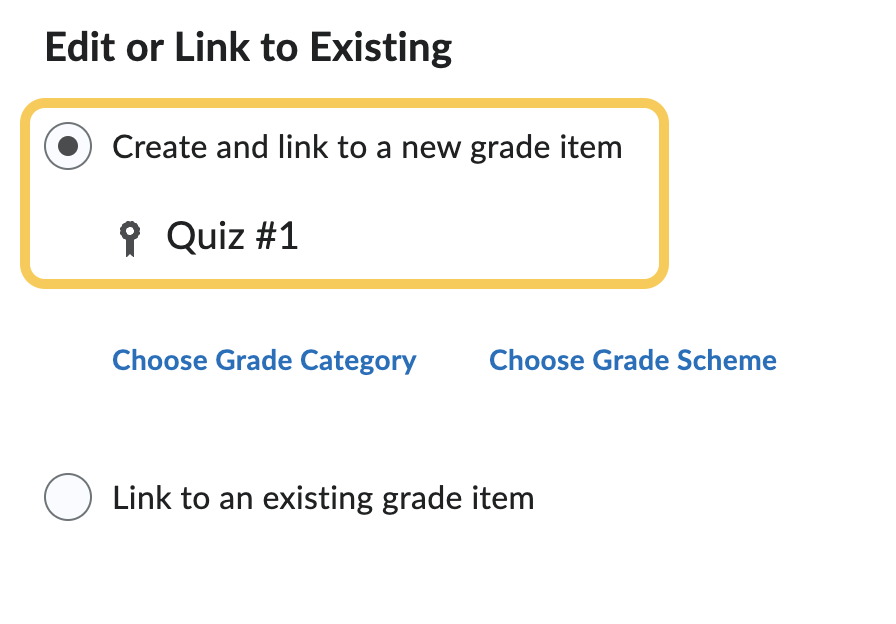
- Option 1: Create and link to a new grade item. (Choose this option if the Grade Item DOES NOT exist yet in the Grades tool.)
- Select Create and link to a new grade item to create a new Grade Item in the Grades tool with the same name as your new quiz.
- If your new Grade Item needs to exist within a Grade Category, click Choose Grade Category and from the dropdown menu select the appropriate category.
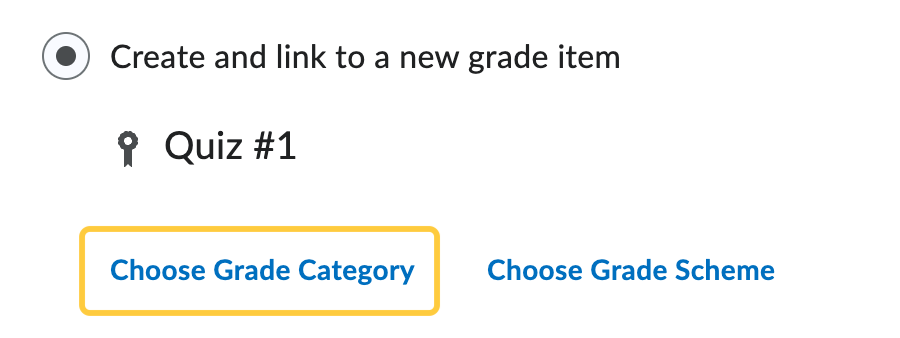
- If your new Grade Item needs an alternative Grading Scheme, click Choose Grade Scheme.
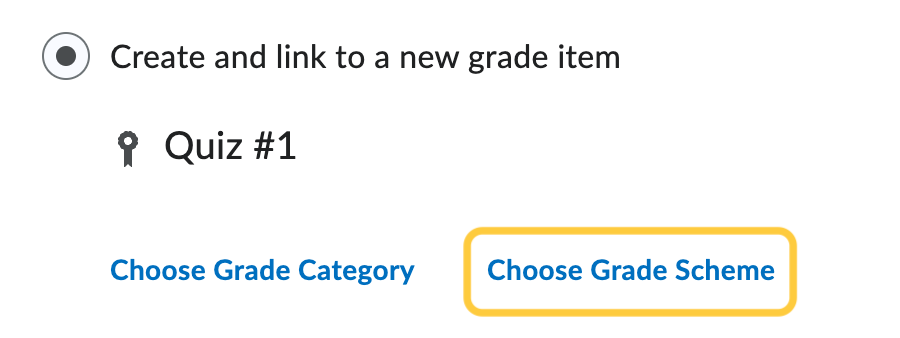
- Click OK.
- Select Create and link to a new grade item to create a new Grade Item in the Grades tool with the same name as your new quiz.
- (Recommended): Option 2: Link to an existing grade item. (Choose this option if the Grade Item ALREADY exists in the Grades tool.) This will allow you to link this new quiz with an existing grade item as long as it is not associated with an activity.
- Select the dropdown menu to choose the existing grade item you, then click OK.
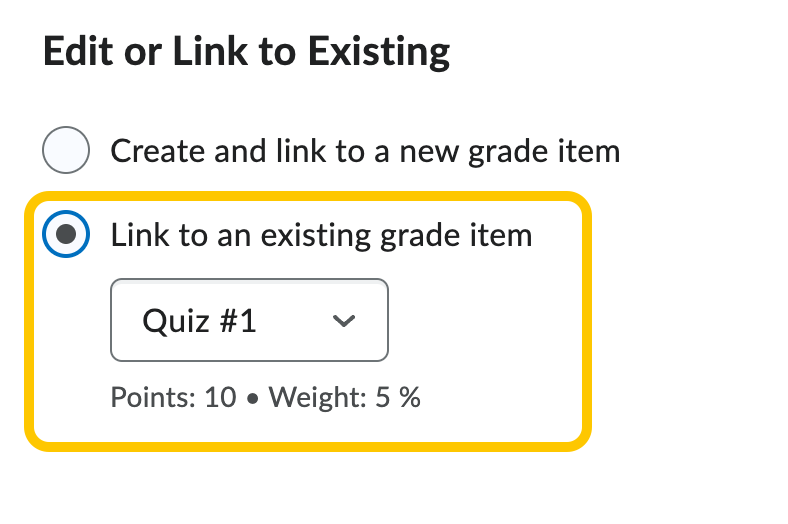
- The Grade Out Of field will automatically update with the score value from the grade item.
- Select the dropdown menu to choose the existing grade item you, then click OK.
- Option 1: Create and link to a new grade item. (Choose this option if the Grade Item DOES NOT exist yet in the Grades tool.)
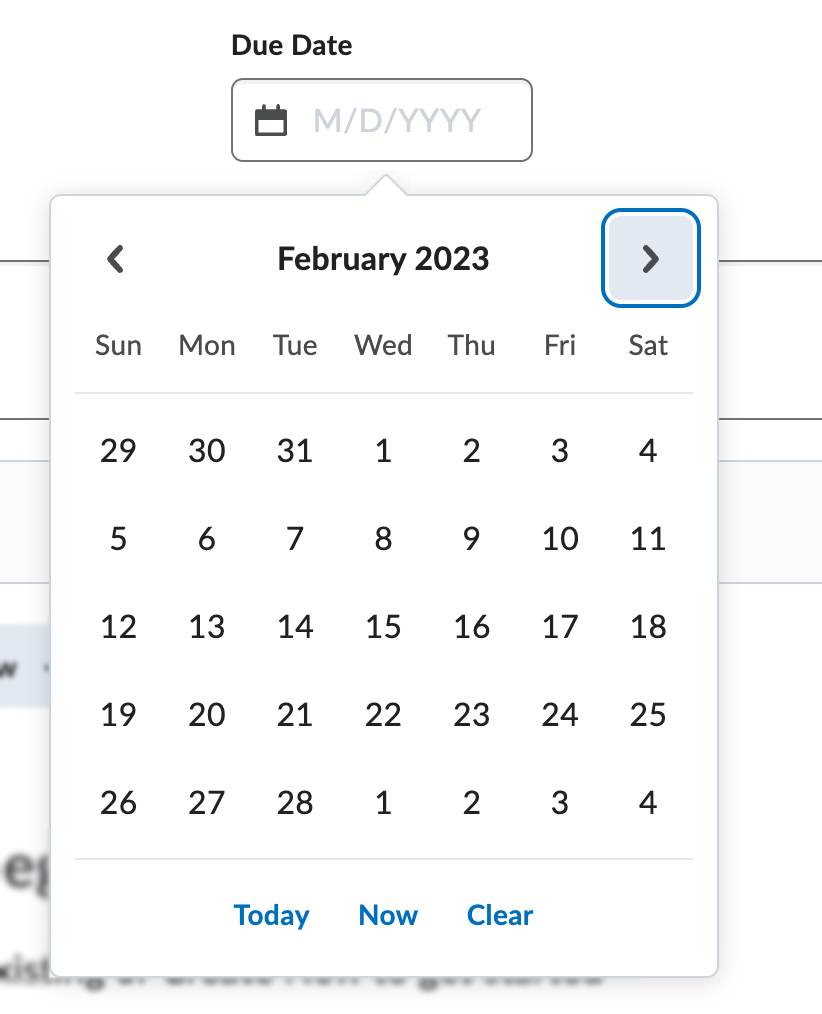
- Click in the Due Date field to add a due date to the quiz. Then select a date from the calendar and enter the time the quiz will be due. By default the time will be 11:59 PM. The due date specifies a time when the quiz is expected to be completed. A quiz is flagged as late if it is submitted after the due date. Options also include setting the due date to Today, Now, or to Clear the settings.
- Optional (Recommended): Add a Description sharing relevant information with students about the quiz. The description is shown before quiz availability. Learn about how to Use the HTML Editor to Format Course Content.

- In the Questions area, do any of the following:
- Click Add Existing to either: Upload a file, Browse Question Library, or Import from Learning Repository.
- Upload a file – Supported formats include Formatted text file (CSV) [Download template csv] or IMS QTI compliant course package (ZIP).
- Browse Question Library – learn more on the Import Questions to your Quiz from the Question Library page. Note: If you import questions from Question Library, your quiz will contain a copy of the questions, not the original questions.
- Import from Learning Repository
- Click Create New to either create a New Question, Section, or Question Pool.
- Note: Questions can be created using the end tool (i.e., Quizzes/ Surveys/ Self-Assessment) or by accessing the Question Library within these tools. Creating a question within a quiz, survey, or self-assessment means that question will only be available to that item; creating questions within the Question Library means that any tool utilizing questions within that org unit has access to them. It is recommended to build questions in the Question Library.
- Click Add Existing to either: Upload a file, Browse Question Library, or Import from Learning Repository.
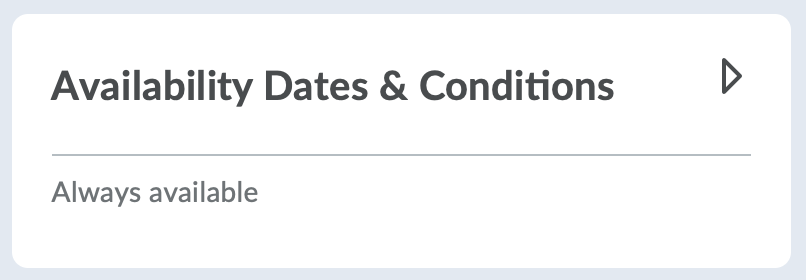
- Select the title on the Availability and Conditions panel to expand these options and set your preferences.
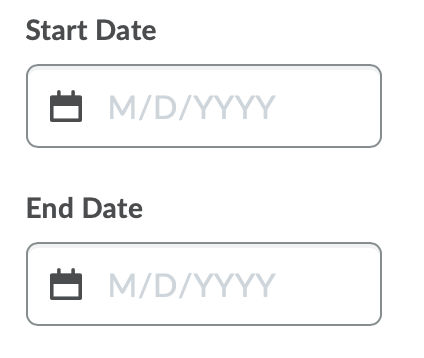
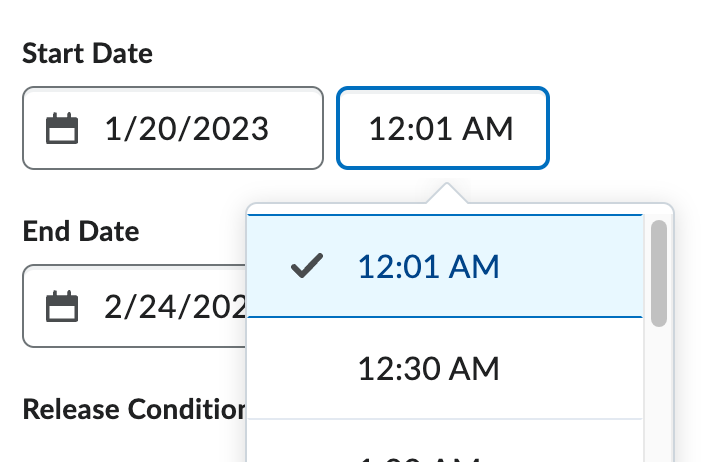
- Start and End Dates. The start date determines when a quiz becomes available to students. The end date determines when a quiz becomes unavailable to students. To set Start and End Dates: Click in the Start or End Date fields to select a date from the calendar. Options also include setting the due date to Today, Now, or to Clear the settings.
Once a date is selected, the time field will appear. By default, the start time will be set as 12:01 AM and the end time will be 11:59 PM. Instructors can override by clicking in the time field and selecting a new time, or typing the time in the field and clicking enter/return on their keyboard.
- Recommended: Check the box to Add Availability Dates to Calendar. This option becomes available once a Start and/or End Date are set.

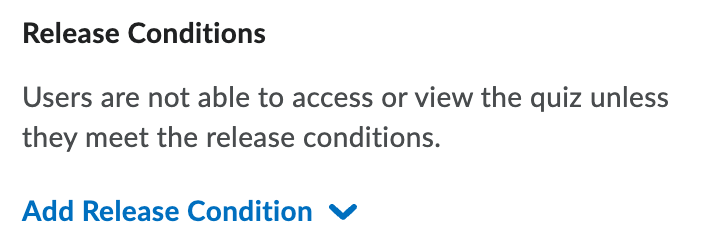
- Optional: Set Release Conditions by clicking Add Release Condition. Learn more about Release Conditions for a Quiz.
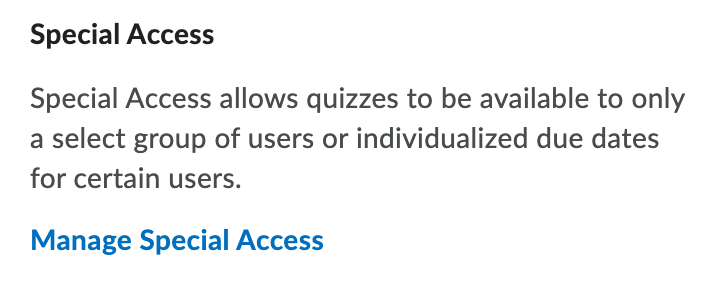
- Set Special Access by clicking Manage Special Access. Learn more about Special Access for Quizzes.
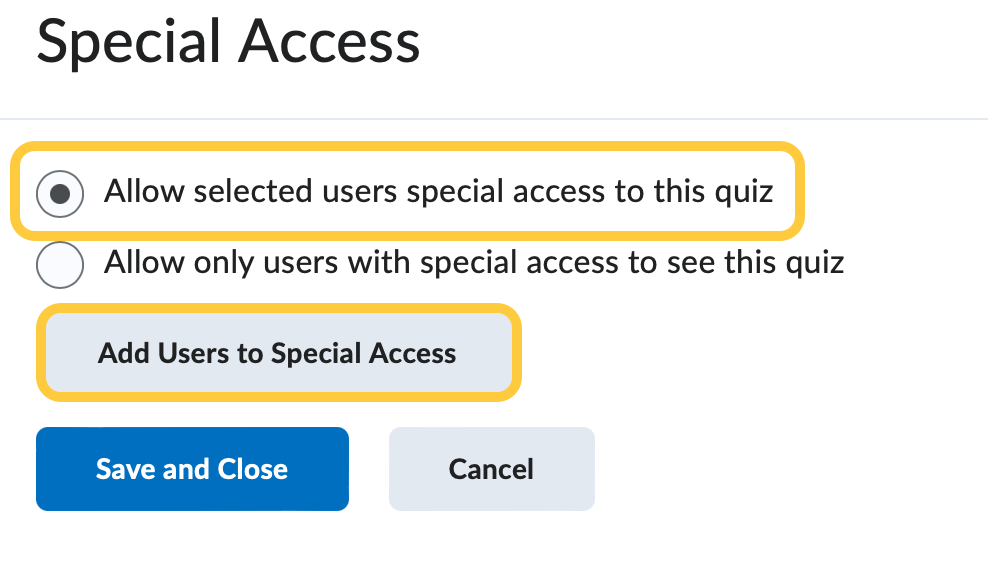
- Under Special Access, select the Allow selected users special access to a quiz radio button, then click Add Users to Special Access.
- On the Special Access Properties page, scroll down first to the Users section. (Don’t worry, we will return to the Availability Section. We are skipping down to the Users section because we will lose the date/time settings once we apply the Users filter in the next two steps.)
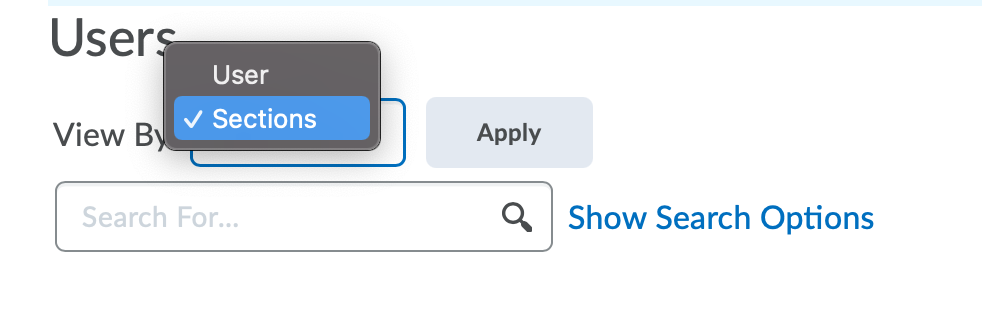
- In the Users area, select the View By dropdown menu and select Sections, then click Apply.
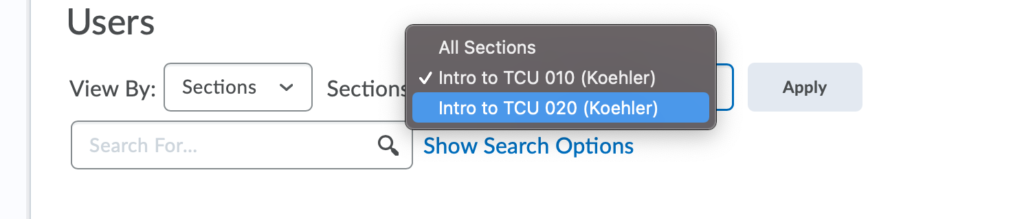
- A new dropdown menu will appear. Click the menu, and select the section for which you wish to apply the new date date. Then click Apply.
- Check the box at the top of the users table to select all of the students in the list below. Tip: If you have a large class, change the # per page dropdown menu on the bottom right corner of the screen to view a larger quantity of students at a time.
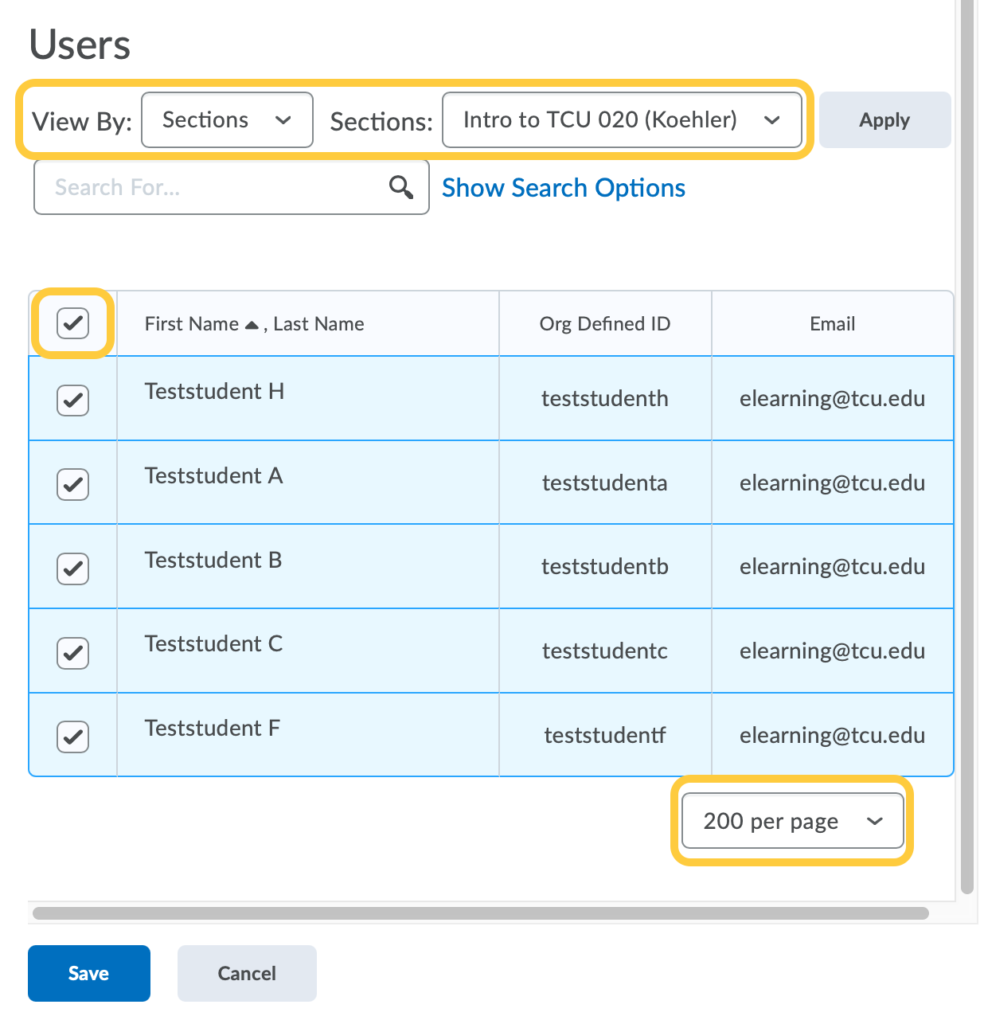
- In the Users area, select the View By dropdown menu and select Sections, then click Apply.
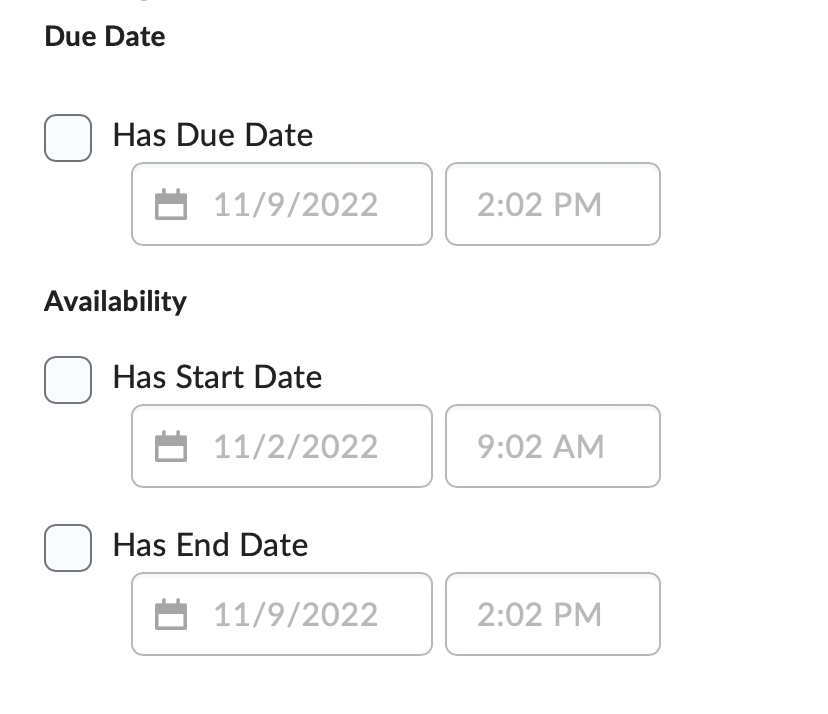
- Now, scroll up to the top of the page and set the Availability (start and end dates/times) for this selected section/students. Check the boxes for the Due Date, Start and End Dates, then set the dates/times for each.The start date determines when a quiz becomes available to students. The end date determines when a quiz becomes unavailable to students. The due date specifies a time when a quiz is expected to be completed. A quiz is flagged as late if it is submitted after the due date. Due dates are automatically added to the course calendar. You can choose whether to also display start and end dates in the course calendar.
- Time Limit: Under Timing, select either No Changes (to grant the same amount of time as the rest of the class), No Time Limit, Recommended Time Limit, or Enforced Time Limit to set a different time allowed for the quiz (use this if a student needs 30 extra minutes for example).

- If you select Enforced Time Limit, you will be able to designate the time limit, assign an alternative grace period, and late behavior.
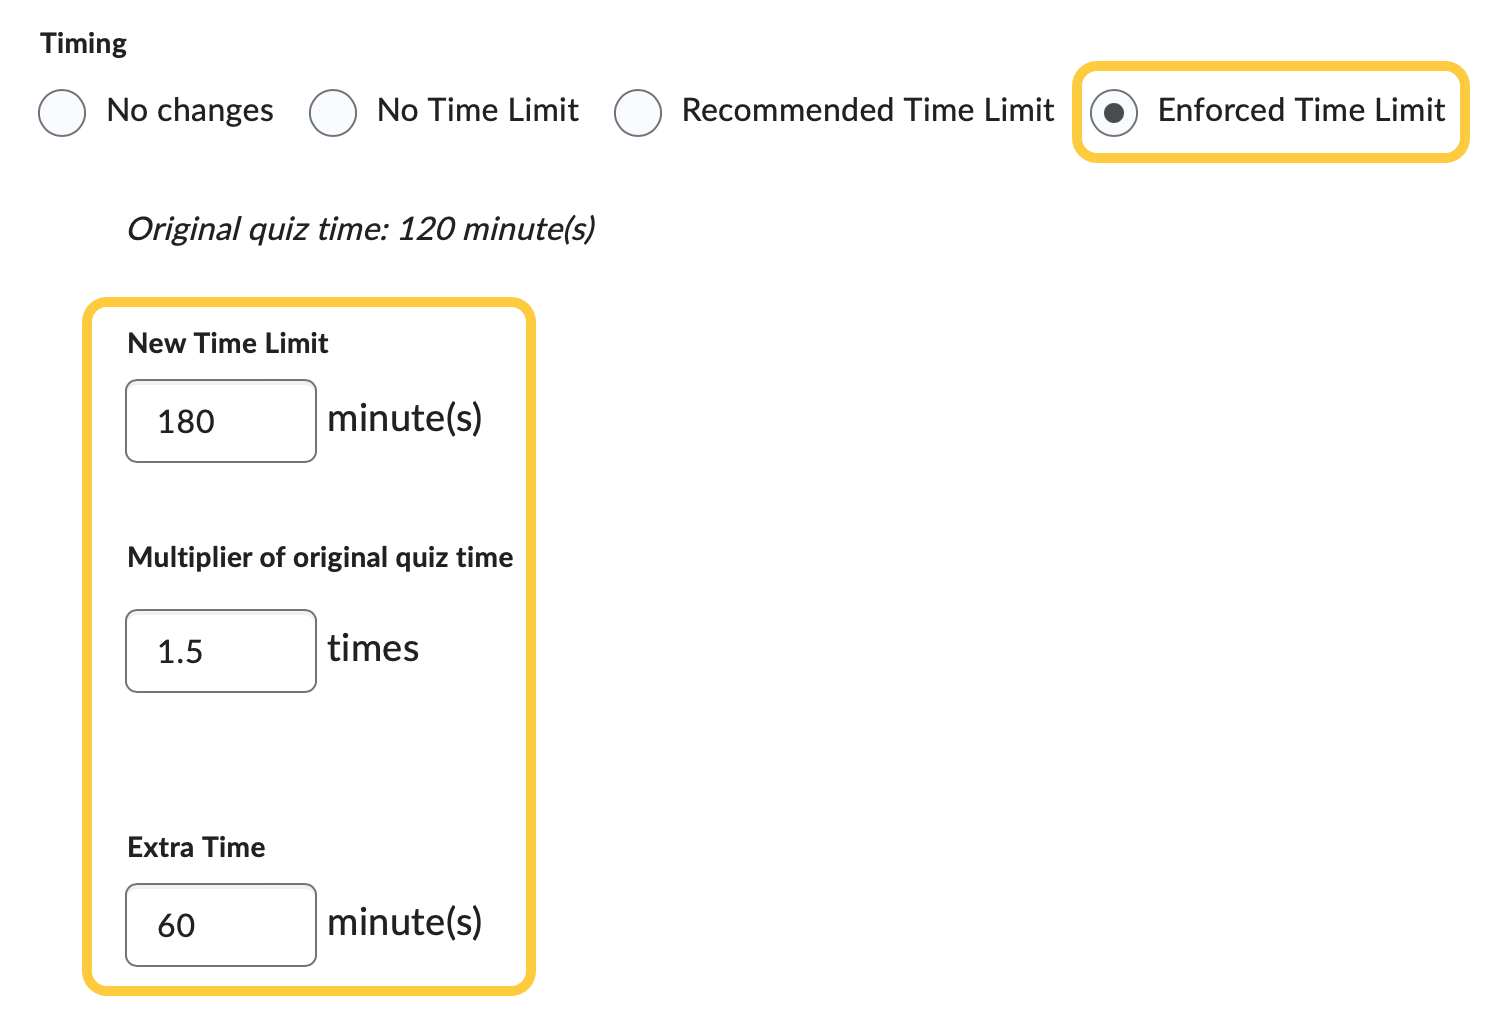
- If you select Enforced Time Limit, you will be able to designate the time limit, assign an alternative grace period, and late behavior.
- Scroll to the bottom of the page and click Save.
- Click Save and Close.