Create a Group Discussion Topic
Topics are where students create original posts, and read and respond to others’ posts.
Note: Topics cannot exist outside of Forums. Before you can create a Topic, you must first have a Forum for the Topic to exist within. Before proceeding to create a Topic, we recommend creating a Forum via the Create a Discussion Forum instructions if you have not already done so.
If you wish to create a group discussion topic, you must first follow the steps to Create a Group Category. Then, follow the steps below to create a group discussion topic from within the Discussions tool.
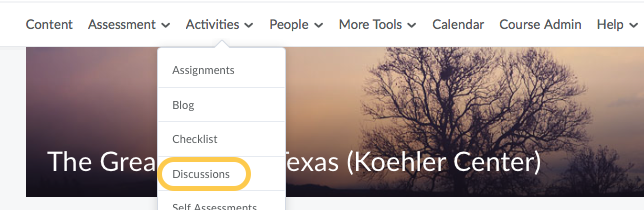
- On the nav bar, click the Activities menu, then select Discussions.
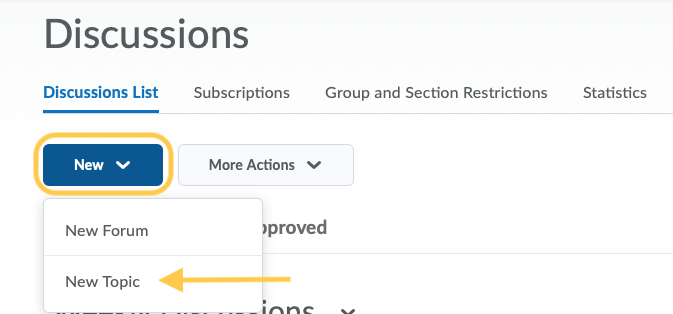
- On the Discussions List page, from the New button, click New Topic.
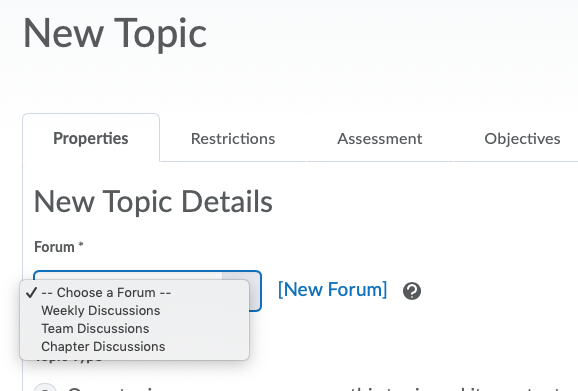
- From the drop-down list, select the forum you want to put your topic in. If you want to create a new forum for your topic, click New Forum.
Note: We recommend that Forums are created via the Create a Discussion Forum instructions instead to gain access to select preferences and options for the forum.
- Select the Topic Type (Note: You cannot edit the topic type once you save the topic): Select Group or section topic, everyone can access this topic but students only see threads from their own group or section to grant everyone access to the topic but restrict students to only see threads from their own group or section. If you choose this option, select Group from the drop-down menu, then select the group category.

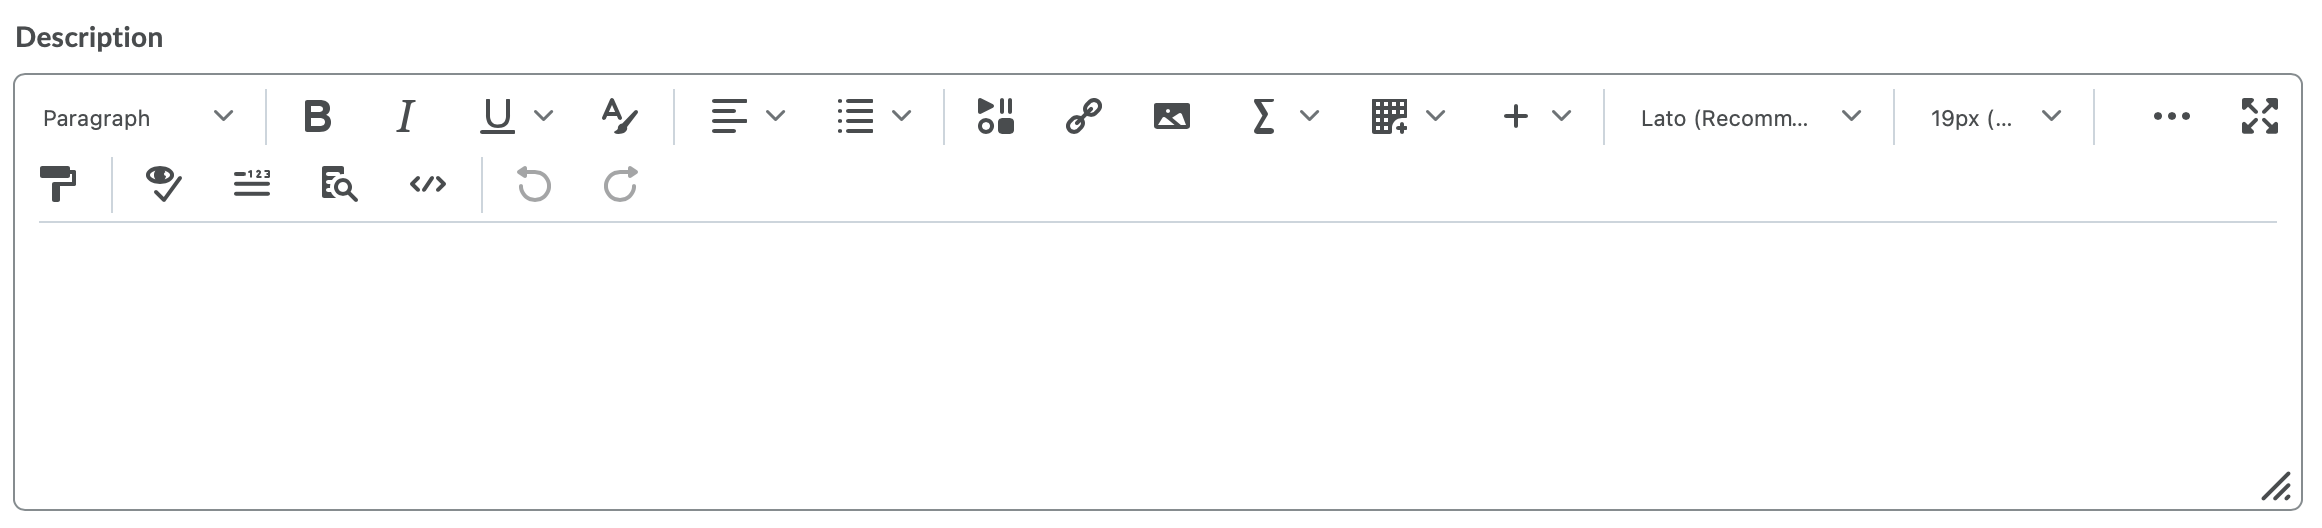
- In the Description box, type the discussion prompt. This is where instructors should pose their question(s) or topics to which students will respond. Use the HTML editor to format text, add links, images, and embed multimedia. Learn more about how to Format HTML Course Content.
- Optional: In the Options section, select any of the following check boxes:

- Allow anonymous posts. Selecting this option allows students to post anonymously to the topic. Anonymous posts display with the author “Anonymous” in the thread. Note: You cannot evaluate anonymous posts.
- A moderator must approve individual posts before they display in the forum. Selecting this option will require a moderator to approve posts to the topic before they display to students.
- Users must start a thread before they can read and reply to other threads in each topic. Selecting this option will require a student to start a new thread in the topic before viewing or replying to other threads in the topic. This helps ensure that posting is original and unbiased. If the topic or forum also requires post approval, students will not be able to view or reply to other threads until their thread is approved.
- Optional: Select a Rate Posts option from the drop-down menu. The Rate Posts function allows students with the appropriate permissions to rate posts to the topic. You can change the rating scheme at any time. Reverting back to a previously used scheme will restore its former ratings.
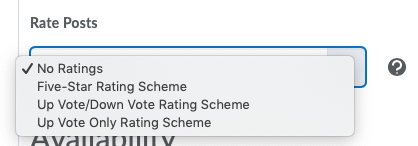
- Five-Star Rating Scheme allows students to assign each post a score out of five.
- Up Vote/Down Vote Rating Scheme allows students to increase or decrease a post’s rating.
- Up Vote Only Rating Scheme allows students to increase a post’s rating.
- No Ratings hides all rating controls from students.
- Click Save and Close, Save and New (if you wish to immediately create a new topic for this forum), Save, or Cancel.

Next Steps:
- Set Availability and Due Dates for a Discussion Forum or Topic
- Set Visibility for a Discussion Forum or Topic
- Add an Existing Course Object to Content
- Set Release Conditions for a Discussion Topic
- Associate a Discussion Topic with a Grade Item
- Add a Rubric to an Activity
- Configure Assessment of Individual Posts