Make Your Course Pulse Friendly
What is Brightspace Pulse?
Brightspace Pulse is a mobile app built for students that helps students find out what’s new and what’s next so they can spend less time organizing and more time learning. It helps students keep track of important dates by providing access to the course calendar, assignments, grades, and announcements all in one place.
Pulse is available from the Google Play or Apple Store.
Making Your Course Pulse-Friendly
The secret to making your course pulse friendly is setting up dates.
Setting Due Dates and Start/End Dates in your course is a great way to communicate with your students. Setting Due Dates and Start/End Dates in the course schedule and course activities is also a best-practice for online courses as a way to create redundancy. We recommend going one step further and also setting Due Dates, and Start/End dates, when applicable, for content so they also appear within the Calendar tool and Pulse app.
Pulse is driven from Due Dates and Start/End Dates in Announcements, Assignments, Calendar, Content, Discussions, and Quizzes, as well as posted grades from your course in TCU Online.
The app compiles this information and provides students with a graph. Based on the number of activities and events on the course calendar, the graph will display busy times for class work in the upcoming week. By ensuring these course dates are available in Pulse, students can make better decisions about handling their workload, submitting assignments, and preparing for tests. This helps alleviate issues with stress and time management. To learn more about how to manage dates in your course, including using the Manage Dates tool for setting Due Dates and Start/End Dates, see Managing Course Dates.
Tell Your Students about Brightspace Pulse
The app should be mentioned to your students. We recommend:
- Including a blurb about it in your syllabus. We have this written for you in our Syllabus Templates.
- Share this info page about Apps with students in a Welcome announcement in your course.
- Add a content topic about Pulse to your course. Follow the steps here to pull the information from LOR so you always have the latest information.
Assignments | Announcements | Calendar | Discussions |
Quizzes | Content | Grades | Manage Dates Tool
Below are the steps to manage dates for each tool.
Assignments
Be sure to include instructions and a due date for all Assignment Submission Folders.
Watch: Pulse Dates – Set Date Restrictions for an Assignments
-
- Select Activities from the nav bar, then Assignments.
- Select the context menu (little arrow to the right of your assignment title) for an assignment, then select Edit Submission Folder
- Within the Properties tab, ensure that the instructions field is populated with Assignment instructions and guidelines. This is the prompt your students will follow to complete their assignment.
- Click the Restrictions tab.
- Under Availability:
- Set the Start Date, Due Date, and End Date availability for this assignment.
- At minimum, establish the Due Date so the activity will appear on the Brightspace Pulse. You can also set Start Date and End Date.
- Due Date: Date and time by which students are expected to have completed the activity. If a due date is set, the student is notified two days prior to this date on the Pulse app.
- Start Date: Date and time the activity becomes available to students.
- End Date: Date and time that access to the activity is revoked. If an assignment has no due date but has an end date, students will be notified two days prior to the end date via the Pulse app.
- Click Save and Close.
Announcements
Real-time alerts update students about announcements and grades so you can tell them when classes are cancelled, rooms moved or new grades are available.
- Go to Other Tools>Announcements.
- Add a headline.
- Add content for your announcement.
- Set the start and end date/time.
- Save and close.
Calendar
If you have events that you would like to add to the calendar that are not tied to content, you can create these within the Calendar tool.
Watch: Pulse Dates – Set Date Availability for a Calendar Event
-
- Go to the calendar tool.
- Your previously set due dates and start/end dates will display. You can check these dates from the calendar, or add new custom events not tied to content or activities, such as “Review Session.”
- Use Offset dates in the calendar events to shift events to a new date/time.
Discussions
Students can use Pulse to take part in discussions, including short messages, photos and videos.
Watch: Pulse Dates – Set Date Restrictions for a Discussion Topic
-
- On the nav bar, click the Activities menu, then select Discussions.
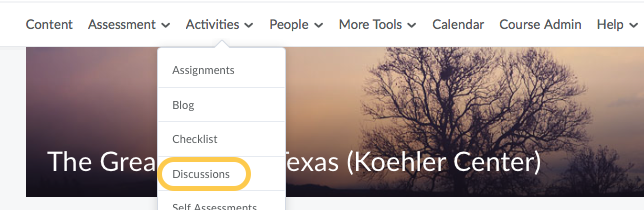
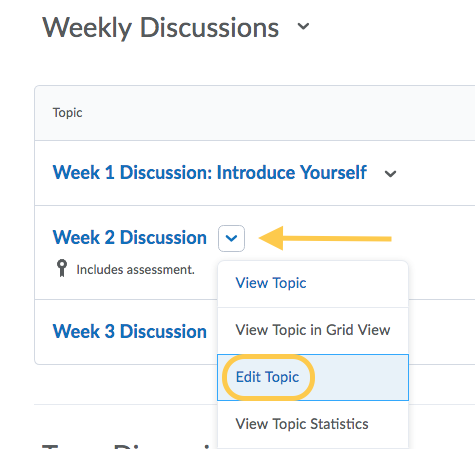
- On the Discussions List page, from the context menu of the discussion topic you want to modify, click Edit Topic.
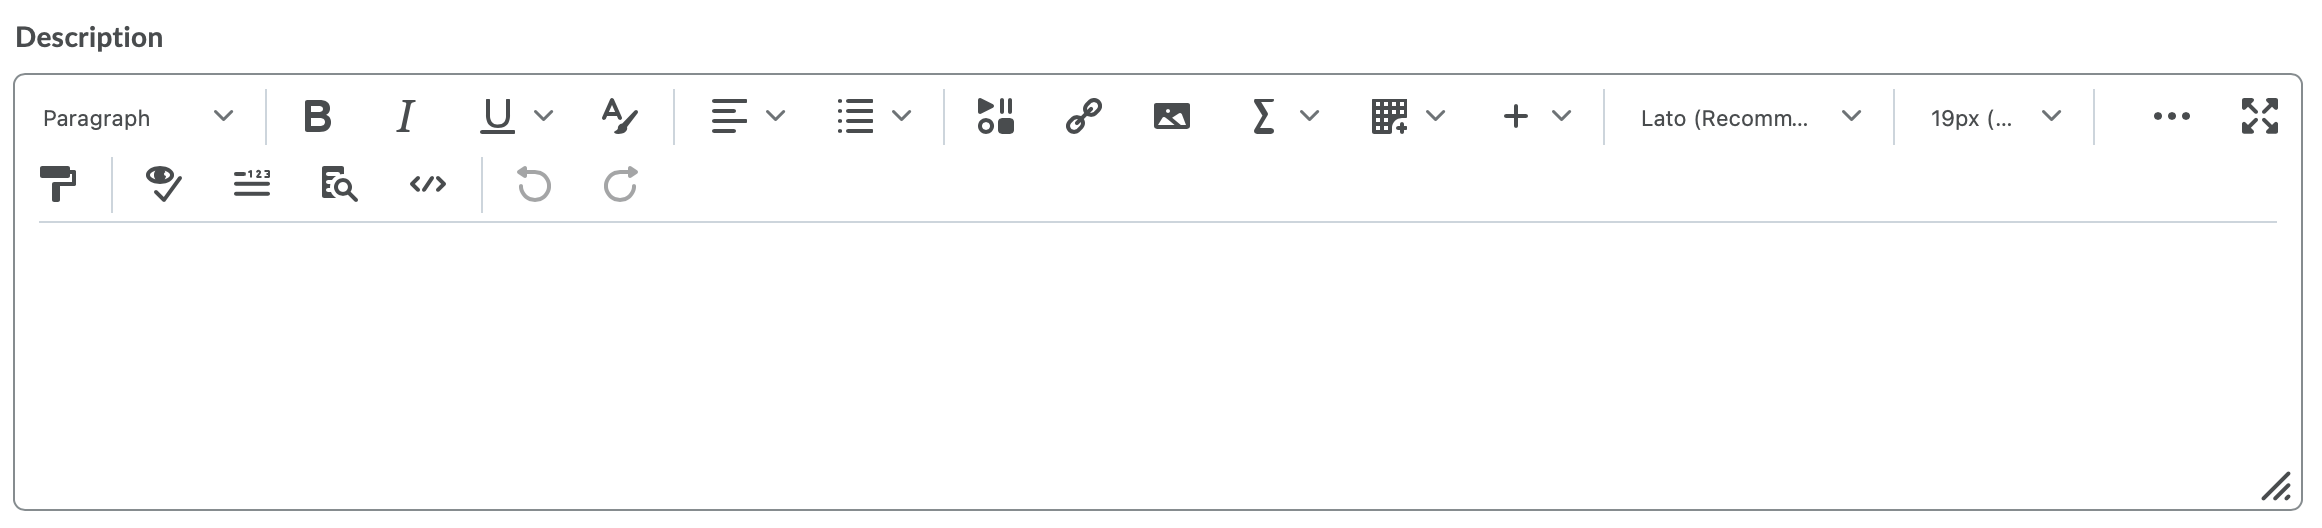
- In the Description box, type the discussion prompt. This is where instructors should pose their question(s) or topics to which students will respond. Learn about how to use the HTML Editor to Format Course Content.
- Click on the Restrictions tab, then uncheck the Hide from Users option.
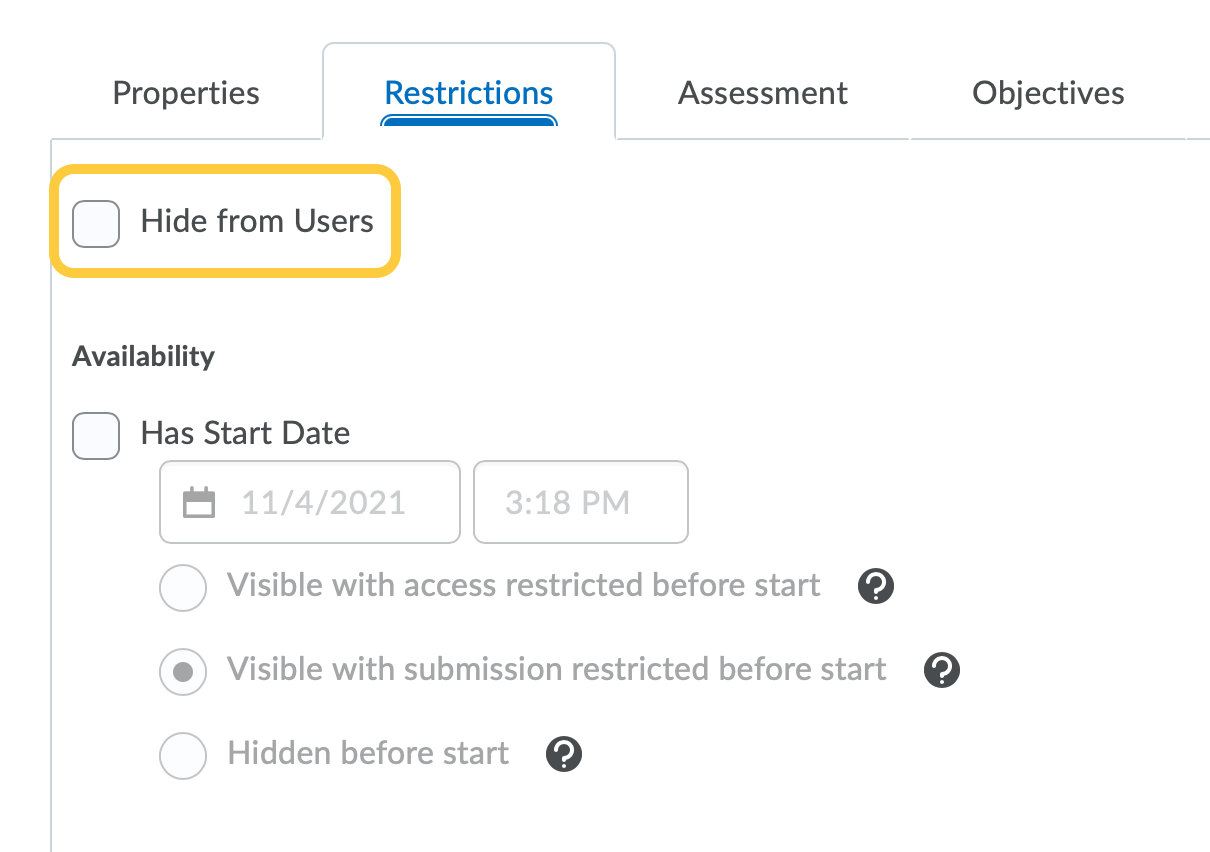
- In the Availability section, do any of the following.
- Set a Start Date: The start date determines when a discussion becomes available to students. If a Start Date is not selected, then the students will be able to access and interact with the discussion without date restrictions.
- Check the box for Has Start Date.
- Set the Date & Time for the Start Date by clicking anywhere in the Start Date field. Then select a date from the calendar, and enter the time the discussion becomes available. By default, the date and time will match today’s date and time.
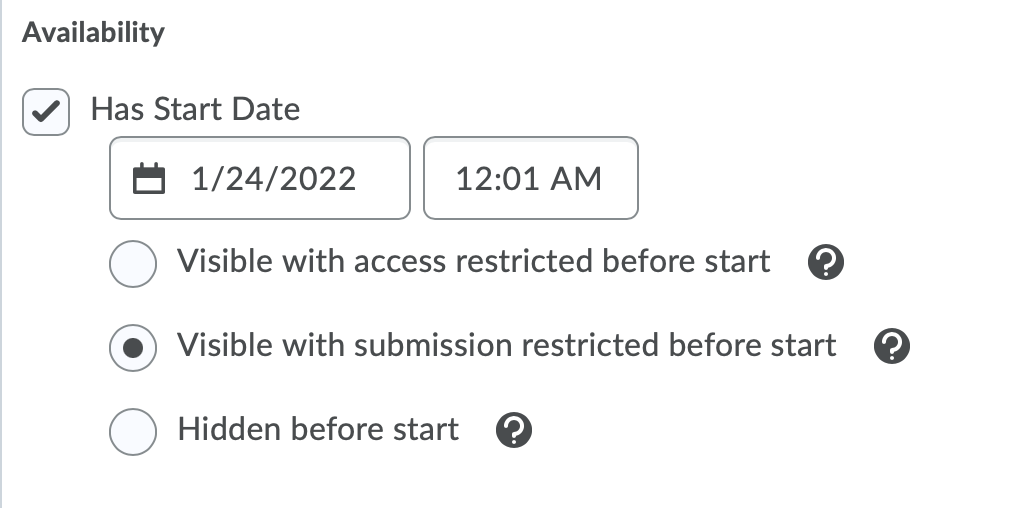
- Set the Availability Start Date Properties – Choose from one of the following:
- Visible with access restricted before start: The topic/forum will be visible to students before the Start date, but they cannot click/open it.
- (DEFAULT) Visible with submission restricted before start : The topic/forum will be visible to students before the Start date and they can access it but cannot post new threads or replies. This effectively makes a discussion read-only.
- Hidden before start: The topic/forum will be hidden from students until the Start date. Calendar events for Availability Starts and Availability Ends will be hidden until the Start date. Notifications will also not be sent until the Start date.
- Set an End Date: The end date determines when a discussion is no longer available to students. If an End Date is not selected, then the students will be able to access and interact with the discussion without date restrictions.
- Check the box for Has End Date.
- Set the Date & Time for the End Date by clicking anywhere in the End Date field. Then select a date from the calendar, and enter the time the discussion availability ends. By default, the date and time will match today’s date and time.
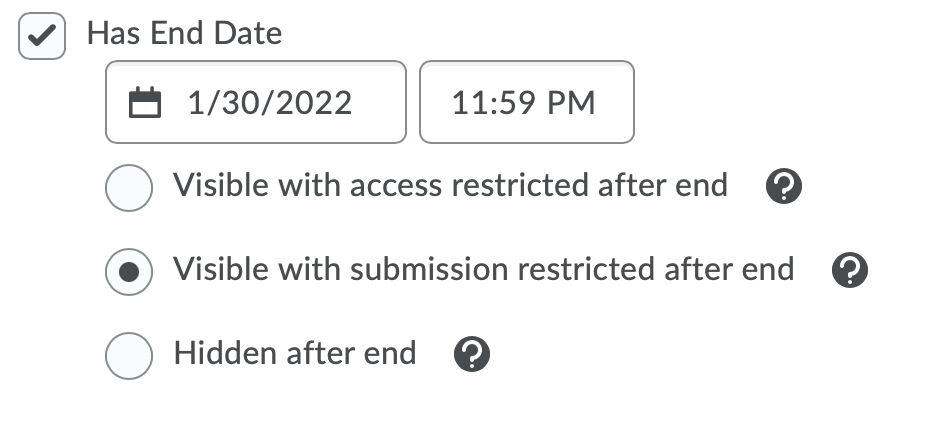
- Set the Availability End Date Properties – Choose from one of the following:
- Visible with access restricted after end: The topic/forum will be visible to students after the End date, but they cannot click/open it.
- (DEFAULT) Visible with submission restricted after end: The topic/forum will be visible to students after the End date and they can access it but cannot post new threads or replies. This effectively makes a discussion read-only.
- Hidden after end: The topic/forum will be hidden from students after then End date. Calendar events for Availability Starts and Availability Ends will be hidden after the End date. Notifications will also not be sent after the End date.
- Recommended: Check the box to Display in Calendar. When Display in Calendar is selected, the Discussions tool will create a calendar event for each Availability date that specified. If Start date is set, show an “Availability Starts” event in the Calendar. If End date is set, show an “Availability Ends” event in the Calendar
- Click Save and Close.
- Set a Start Date: The start date determines when a discussion becomes available to students. If a Start Date is not selected, then the students will be able to access and interact with the discussion without date restrictions.
- On the nav bar, click the Activities menu, then select Discussions.
Quizzes
Students can submit or take quizzes from their mobile devices.
Watch: Pulse Dates – Set Date Restrictions for a Quiz
-
- Select Activities from the nav bar, then Quizzes.
- Click the context menu (little arrow to the right of your quiz title) for the quiz you want to edit and select Edit.
- Add a description of the quiz, and toggle the Description to on.
- Click the Restrictions tab – End and Due dates should be set for Pulse.
- Set Start Date and End Dates to control when students take the quiz. If a due date is set, the student is notified two days prior to this date on the Pulse app. If an assignment has no due date but has an end date, students will be notified two days prior to the end date via the Pulse app.
- Set Due Date.
- Click Display In Calendar to add the quiz to your Course Calendar.
- When you are ready, click Save and Close.
Content
Students can use Brightspace Pulse to check their courses to see readings, assignments, and quizzes. Setting dates in your content can help ensure students are on track.
They can get alerts for Content changes and due dates. The Due Date has to be set for content to show up in Pulse. Setting Start/End dates will control if a student can access the content prior to or after the dates.
The steps below are to set Due Dates and Start/End Dates from Content topics and Modules. Refer to the Manage Dates section if you wish to learn how to look at the entire course dates.
Students can view content module descriptions and content topics within the modules.
Watch: Pulse Dates – Set Date Restrictions for Content
- Select Content from the nav bar.
- Click Bulk Edit to update the date availability for your course content items.
- Edit individual items: To make updates to the content item itself
- Bulk edit items: To edit the date availability for multiple content items
- Click Add Dates and Restrictions. You can add a Start Date, Due Date, and End Date for the content topics Note: At a minimum, the Due Date must be established so the content (individual topics and modules) will appear in Brightspace Pulse
- Click Add Start Date and set the date and time that you want the content to become available to your students.
- Set a Due Date and an End Date.
- Students’ access to content is revoked on the End Date
- Set the End Date for the last day of the course so it remains available to your students
- When you are ready, click Update.
- Repeat this process to set the date availability for the other content items in your course.
- When you have finished setting the date availability for your content items, click Done Editing.
Updates to Content
Instructors have the opportunity to notify students when content has been updated. To do this, instructors should check the box for “Notify students that the content has changed” before clicking Update.
Grades
Students will receive a notification that a grade is available once posted. They can slide to reveal the grade when they are ready to see it.