Calendar: Offset Dates
There are multiple ways to offset dates in your course, however, only one way to offset dates INCLUDING the due dates for the item.
Offset Dates (start and end dates, NOT due dates)
- Go to your course.
- Select Course Admin.
- Select Manage Dates.
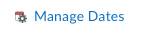
- Check the boxes for the items you want to change the dates for (note., you can select individual checkboxes, or select the top checkbox to select all content.
- Select Offset Dates.
- Select if you want to offset both the start date and end date, only the start date or only the end date. Then select if you want to offset days forward or backward or Calculated between specific dates, then enter the number of days to offset.
- Click Save.

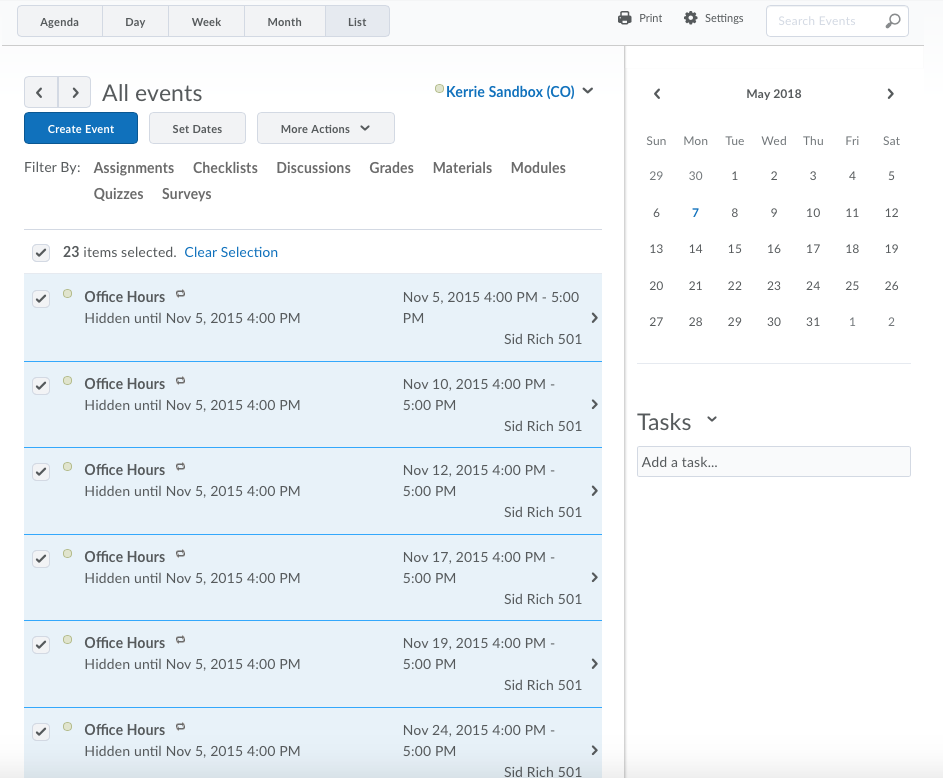
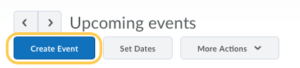
Offset Dates (Start & End Dates and Due Dates)
- Go to your course.
- On the navigation bar, click Calendar.
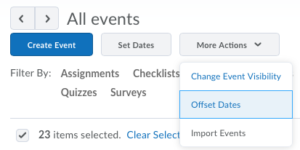
- From the tool navigation, click List.

- Toggle the view to the left to display ALL events.
- Select the check boxes by any event for which you want to offset dates or select the top checkbox to select all events.

- From the More Actions button, click Offset Dates.
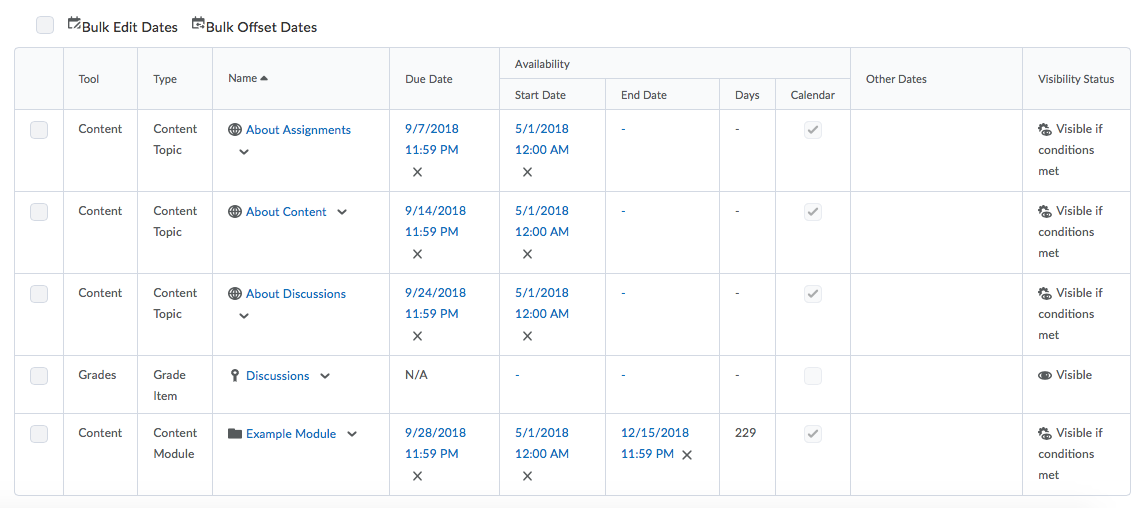
- Make your selections to set dates to offset (Due Date, Start Date, End Date), offset by direction and range, or Calculate range between two dates. Note: Recurring events will not be updated. You will need to update these manually.
- Click Save.