Share Recorded Meetings with Students
If you recorded your Zoom Meeting, you may wish to share the recording with all students, or perhaps only those students who could not attend. When recording a Zoom session, IT recommends choosing the record locally option, as opposed to cloud based options due to excessive processing times in the cloud based option, limited storage capacity, and limited availability of recordings.
Support for Zoom is provided by TCU IT Support .
Publish Cloud Recorded Meetings in the TCU Online Zoom Integration
Follow these steps if you Scheduled a Meeting with Zoom in TCU Online and saved your recorded meeting to the cloud.
Note: Zoom Cloud Recordings are only available for 90 days and might have limited storage capacity. Contact TCU IT Support for questions about storage.
- At your scheduled meeting time, Start a Scheduled Zoom Meeting in TCU Online. During the meeting, when you are ready, click Record, then select Record to Cloud.

- When your meeting is complete, click Stop Recording, then End the Meeting.
- Your meeting recording will process and you will receive an email once it has successfully uploaded to the Cloud.
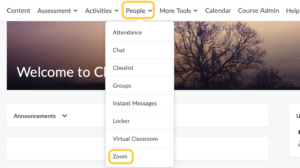
- Once the meeting is available in the cloud, log into your course in TCU Online. On the nav bar, click the People menu, then select Zoom.
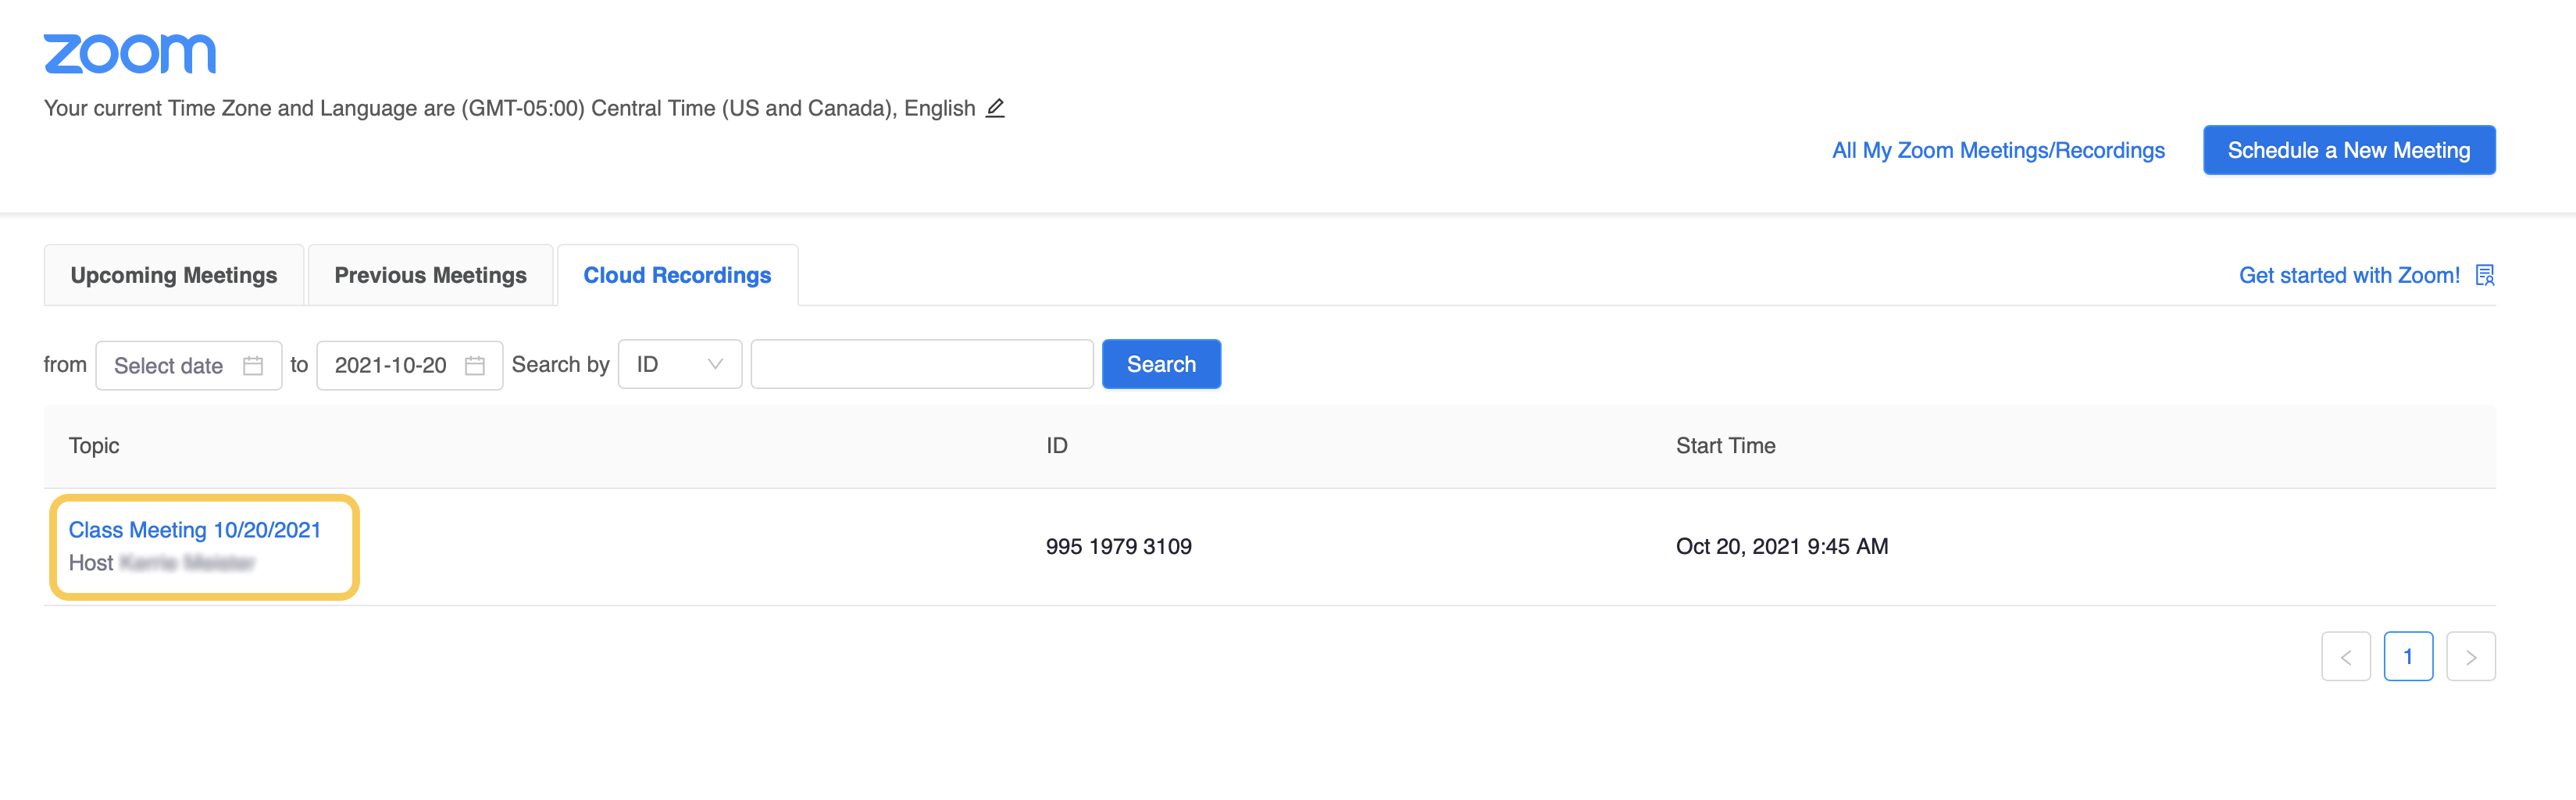
- Click the Cloud Recordings tab.

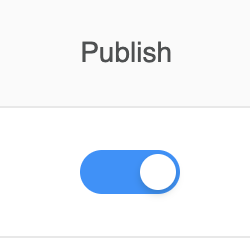
- Click the toggle to Publish the recording. Students can see the recording after publishing.
View Cloud Recorded Meetings Published from TCU Online
Both instructors and students can follow these steps to view Published Cloud Recordings in TCU Online.
- On the nav bar, click the People menu, then select Zoom.
- Click the Cloud Recordings tab.

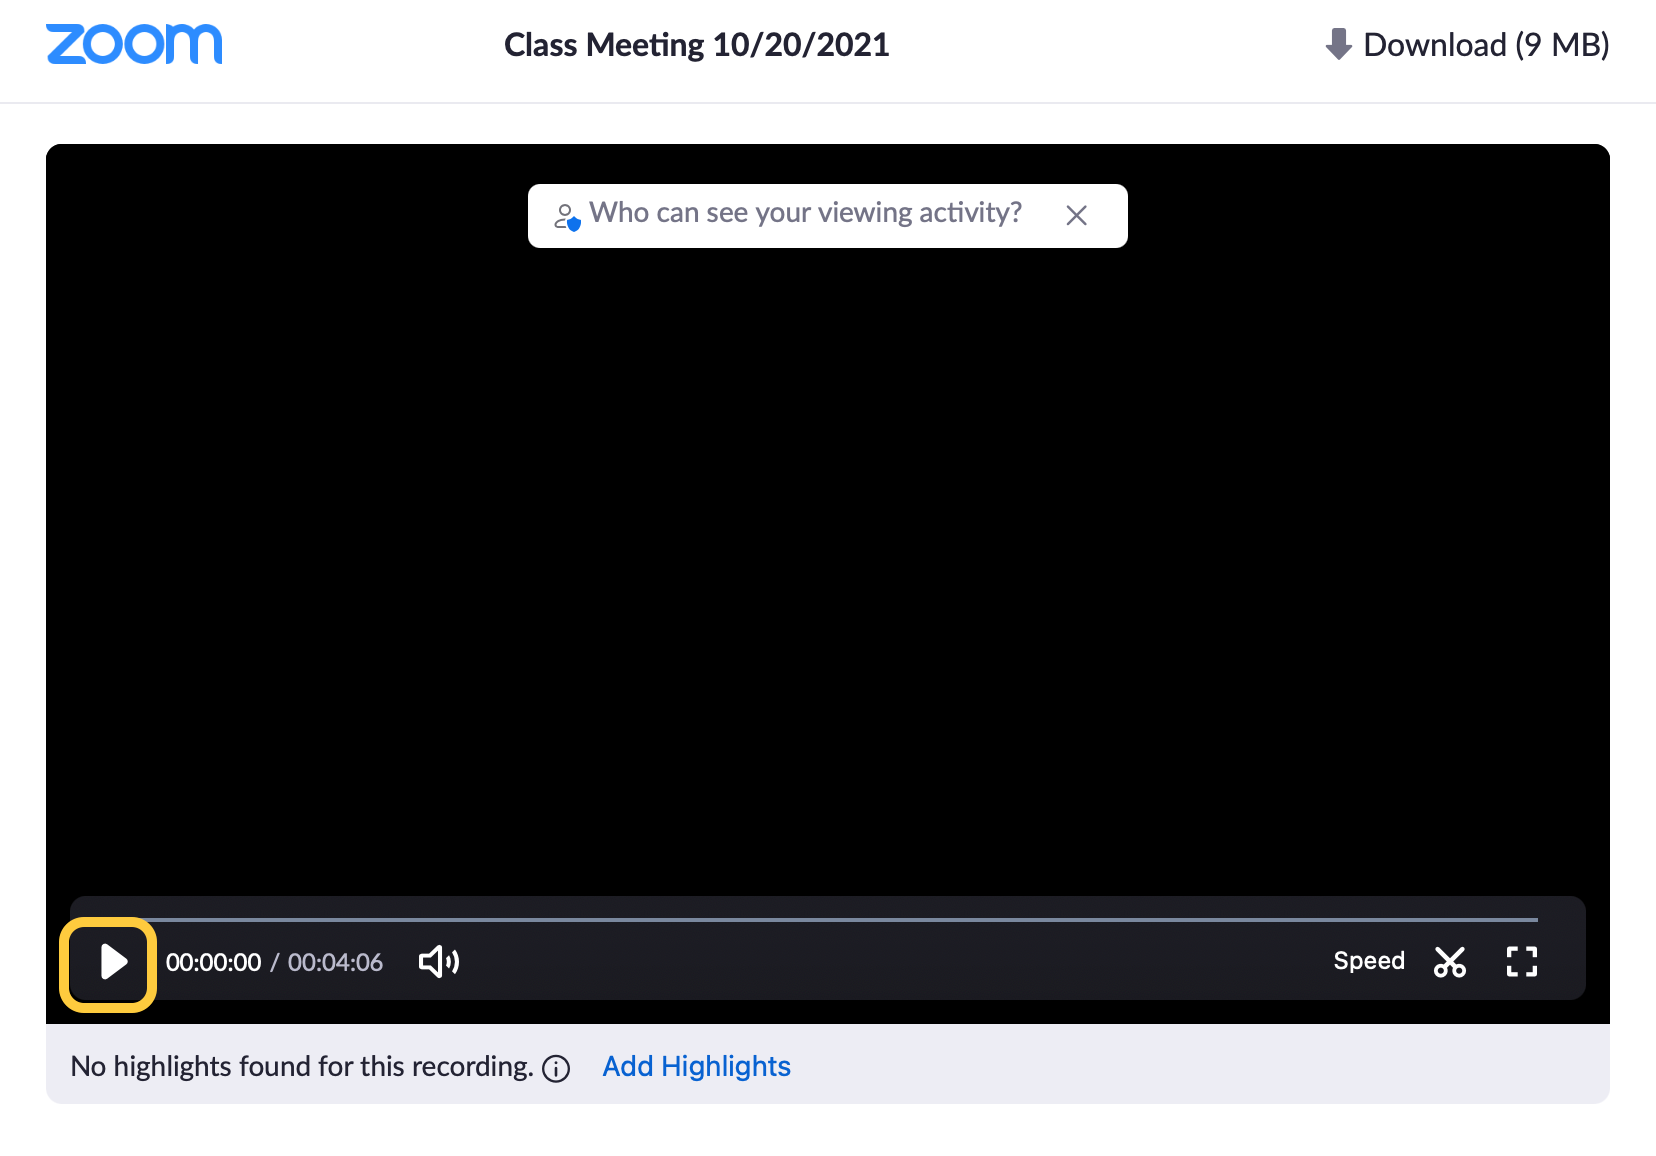
- Click the title of the recording you wish to view.
- On the Recording Details page, click the video player thumbnail.
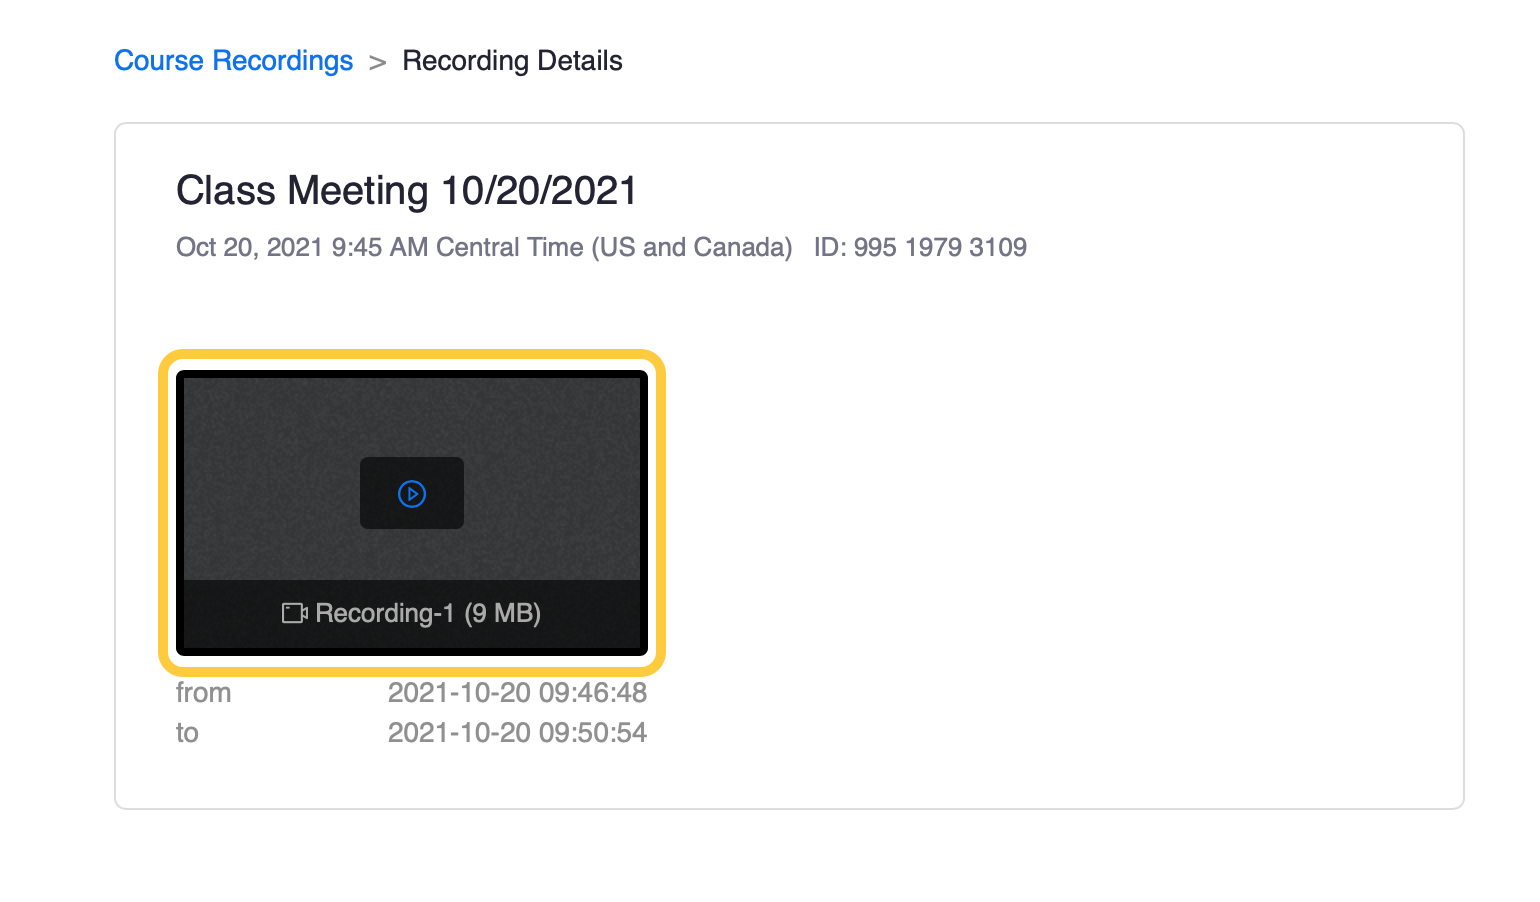
- To view the recording, click the play button on the video player.
Share Your Meeting Recording File via File Upload in Content
Follow these steps if you recorded your Zoom meeting, and saved the recording to your computer. These steps will work whether you Scheduled a Meeting with Zoom in TCU Online or scheduled/started your meeting from the Zoom app.
Uploading your video recording to your course will keep the recording within your course and visible to students in the course. Student access to the recording will end once the course end dates arrive.
- First, follow step 1 on the Uploading Your Zoom Recording to Box and Sharing the link document provided by TCU IT.
- Once you have located the file for your Zoom Meeting on your computer, login to TCU Online.
- On the nav bar, click Content.

- Select the module you wish to add your video or audio to.
- Click Upload/Create. Then select Video or Audio.
- Upload Video or Audio tab

- Browse for your zoom recording mp4, then click Upload.
- On the Add Video window, do the following:
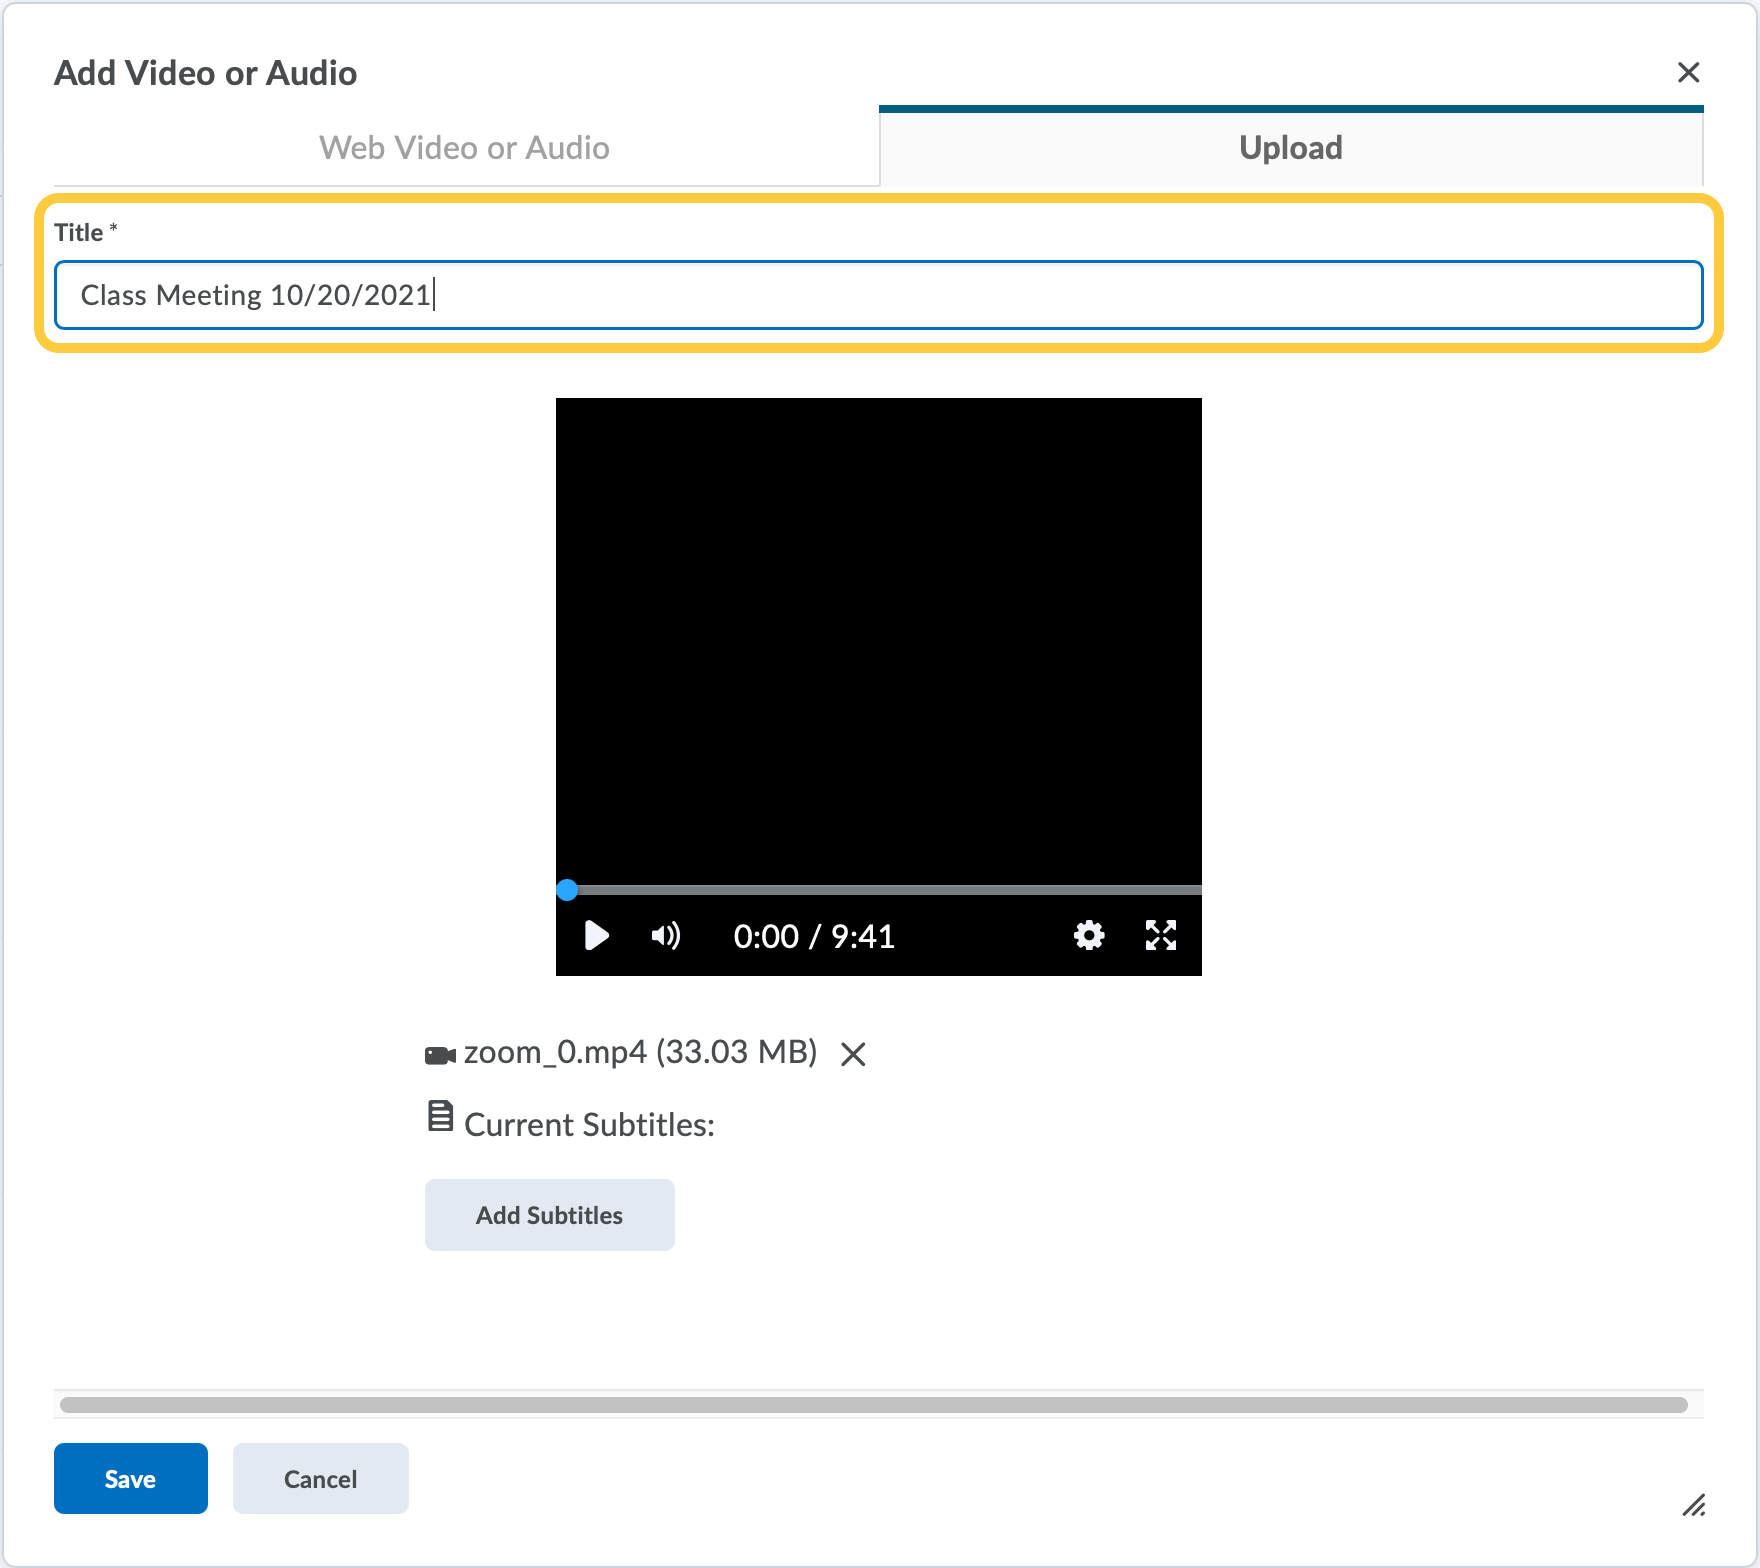
- Update the Video Title.
- Optional: Click Preview.
- If you have an SRT file for captions, upload it by clicking Add Subtitles. Captions are required for accessibility. Review the steps for creating an SRT file.
- Click Save to add your video to your module.
Share Your Meeting Recording File via Box
Follow these steps if you recorded your Zoom meeting, and saved the recording to your computer. These steps will work whether you Scheduled a Meeting with Zoom in TCU Online or scheduled/started your meeting from the Zoom app.
Uploading your video recording to a Box account will keep the recording as an archive in your Box account. Access dates can be set if desired, and sharing settings can be modified to restrict access. Hosting your file in Box is most useful if you have videos without student presence or interaction, such as a recorded lecture that can be reused in future semesters. Be mindful of student presence and/or interaction in a video if the video is used beyond the semester it was offered to respect student privacy.
- The TCU IT Zoom page has information about meeting controls (including designating a person to caption the meeting, breakout rooms, polling, and recording the meeting).
- TCU IT has provided detailed steps for Uploading Your Zoom Recording to Box and Sharing the link.
- Once you have the link from Box, add this to your TCU Online course shell using the Quicklink option in the HTML editor or by creating a content topic link within a module.