Create a Custom Widget
Custom widgets allow you to expand the functionality of available content in your homepages to suit your specific course needs. You can add custom HTML code to create a wide range of widgets. As an Instructor, you can create custom widgets for your courses, or use custom widgets shared to your course offerings from the organization.
- On the nav bar click Course Admin.

- Click Widgets.

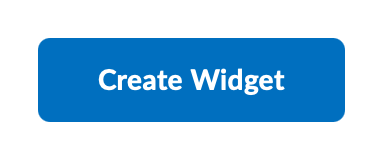
- Click the Create Widget button.
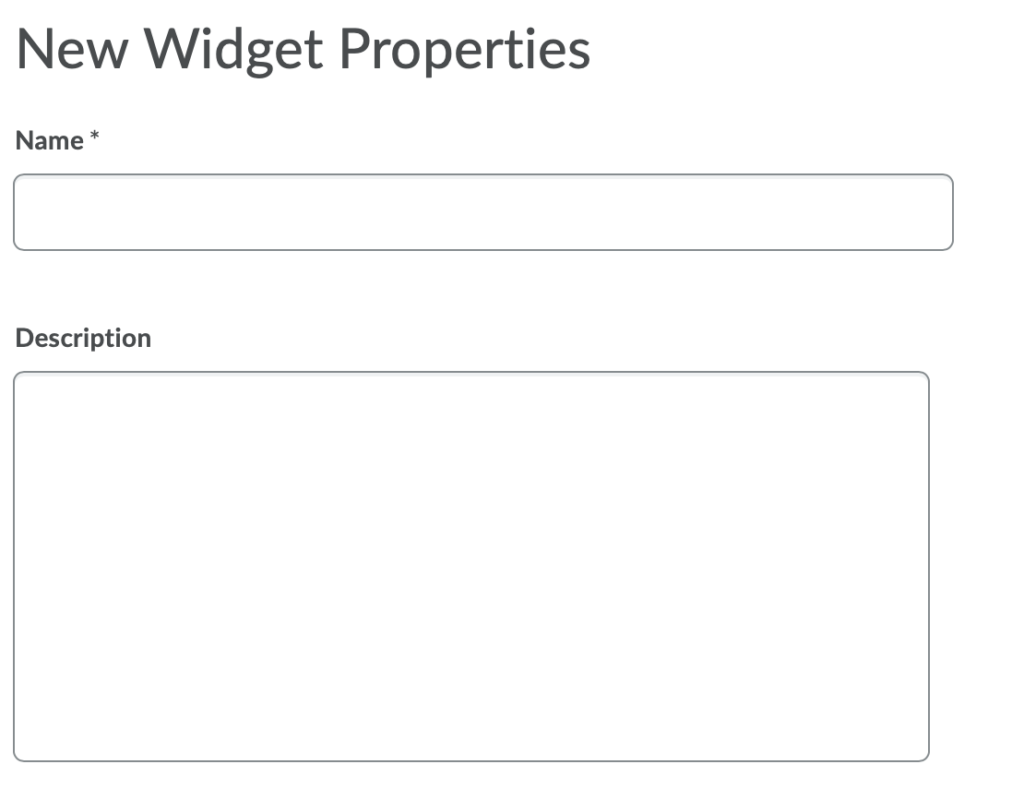
- Enter a name and description for the widget. The name will be used on the Course Homepage and will be visible to students by default. The description is visible only to you.
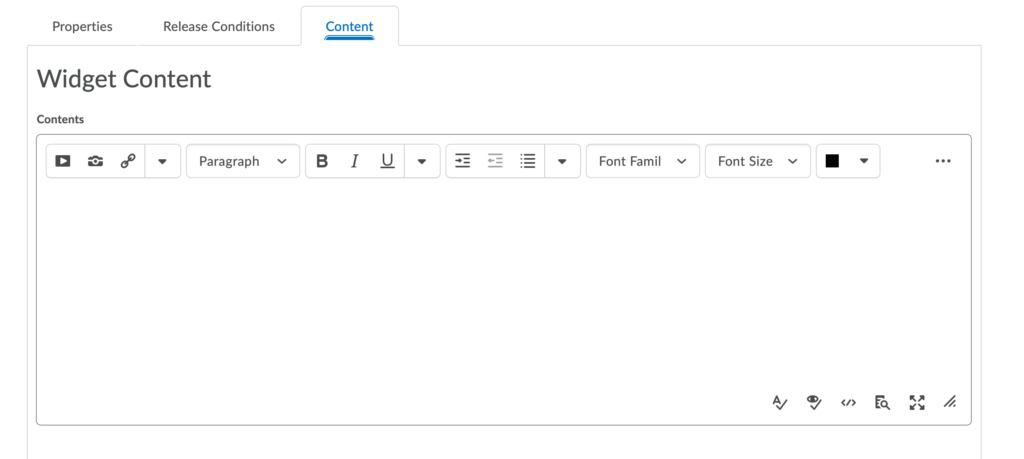
- Click the Content Tab and add your own HTML content to the widget using the HTML Source Editor. Learn more about the HTML Editor features on the Content tool page.
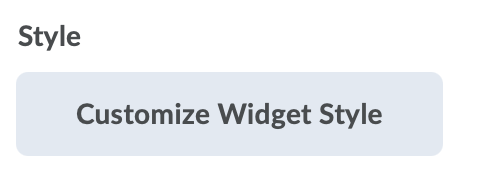
- Optional: To apply different styling options to the widget, click Customize Widget Style.
- In the Widget Settings, do any of the following:
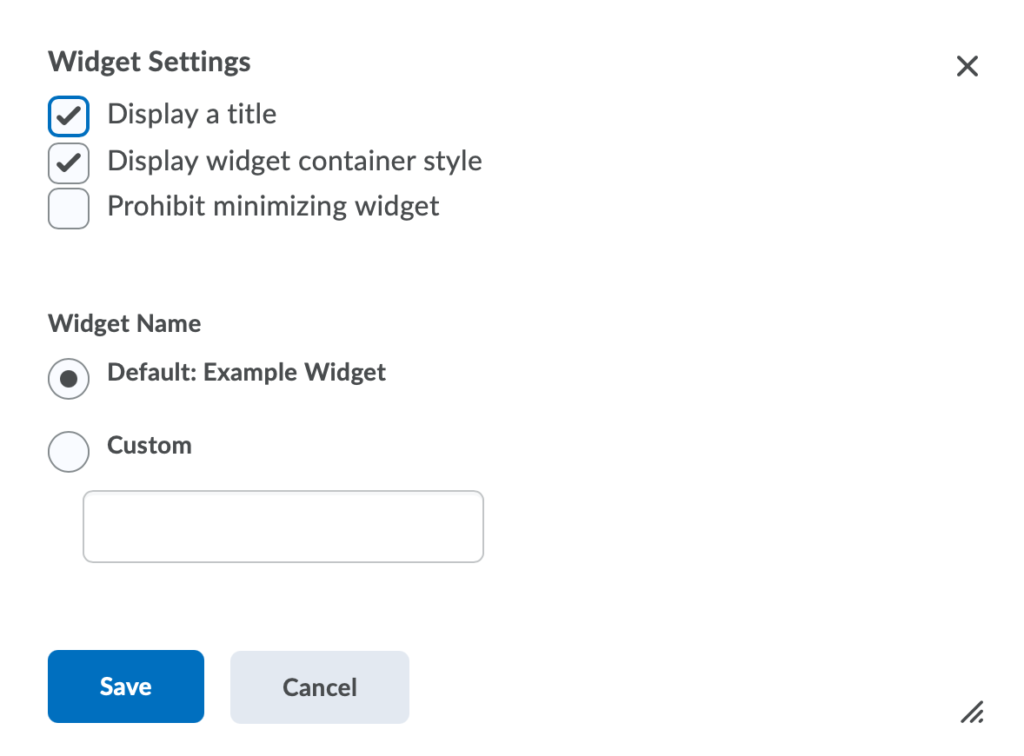
- To hide the title, clear the Display Title check box.
- To remove the default border style, clear the Display widget container style check box.
- Select Prohibit minimizing widget to prevent users from closing the widget on the homepage
- To set a custom title, in the Widget Name section, select the Custom radio button. Enter your text in the field.
- Click Save.
- In the Widget Settings, do any of the following:
- Optional: To attach release conditions to the widget, click the Release Conditions tab and do one of the following (Learn more about Release Conditions):
- Click Attach Existing then select from existing release conditions available to the org unit (course). Click Save. From the dropdown list, select All conditions must be met or Any condition must be met.
- Click Create and Attach to create a release condition and attach it. Click Create. From the drop-down list, select All conditions must be met or Any condition must be met.
- Click Save and Close.


