Create a Widget-Based Course Homepage
Widget-based homepages display a standard course homepage that contains various widgets. After you create the homepage, you can add or remove widgets, customize their appearance, and create custom widgets to expand the functionality of your course homepage.
- On the nav bar, click the Course Admin.

- Select Homepages from the Tools list.
- Click Create Homepage.

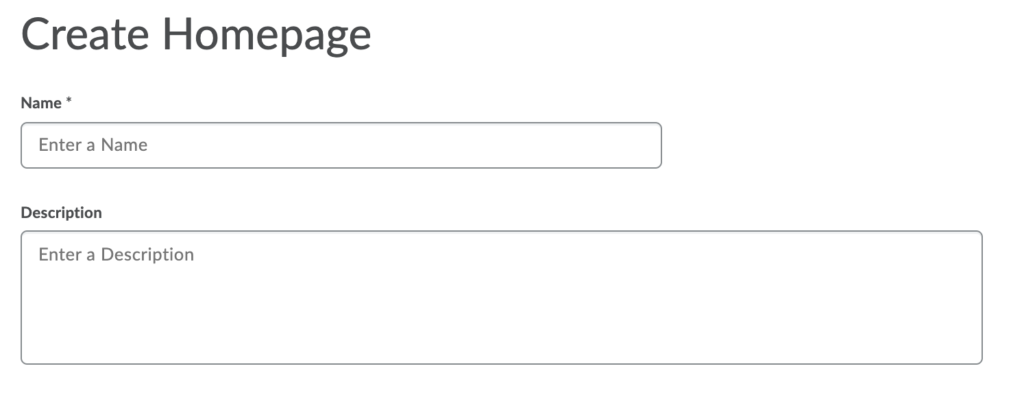
- Enter a name and description for your homepage. Type a name and description that will communicate to you as the instructor information about the homepage contents.
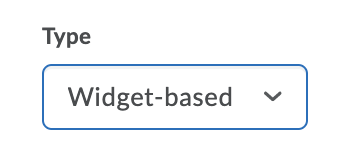
- In the Type drop-down list, select Widget-based.
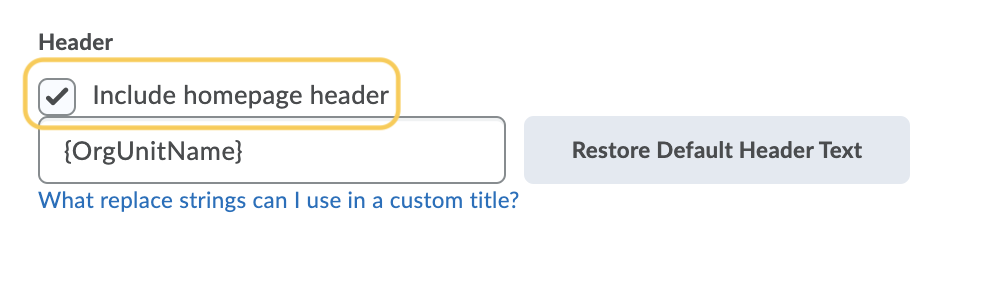
- To add a header to your homepage below the navbar, select Include homepage header. By default, the homepage header is included. By default, the homepage header is included. and displays the course title under the image on a course homepage. The title dynamically displays due to a replace string {OrgUnitName}, which will update anytime the course title is updated.
- Optional: Enter the replace string of the information that you want it to display. Replace strings are placeholders that refer to information in TCU Online; the system replaces these placeholders with the corresponding information when you apply them to a homepage header. Learn more about Automatically Customizing Course Content Using Replace Strings.
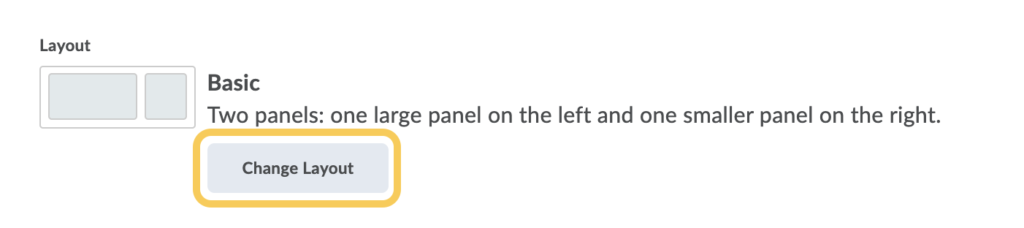
- Choose a layout for a widget-based homepage, click Change Layout, then select the layout you prefer for your course homepage. The layout you choose will determine the configuration of the widgets on your course homepage.
- Available Layouts:
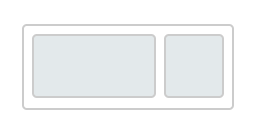
- Basic (Default Layout) – Two panels: one large panel on the left and one smaller panel on the right.
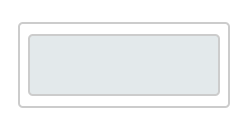
- One – Just one panel.
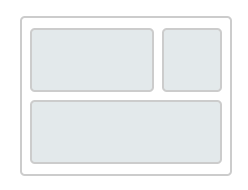
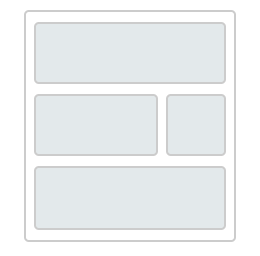
- Basic Plus – Three panels: one large panel on the left and one smaller panel on the right with a footer panel.
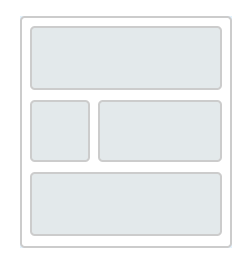
- Large Left Panel – Four panels: one large panel on the left and one smaller panel on the right with header and footer panels.
- Large Right Panel – Four panels: one large panel on the right and one smaller panel on the left with header and footer panels.
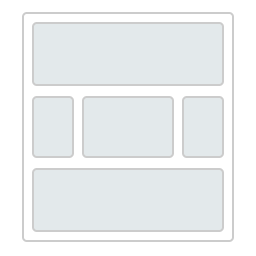
- Large Middle Panel – Five panels: one large panel in the middle and two smaller panels on the left and right with header and footer panels. Note: Selecting this layout will trigger a warning “This layout is not recommended. Three panel layouts work poorly on smaller devices and make it hard for users to focus on the most important information. Try a two panel layout for a better user experience.”
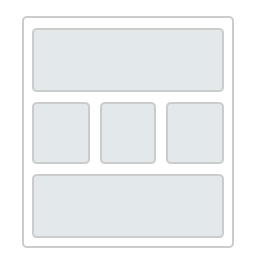
- Three Equal Panels – Five panels: three equal panels with header and footer panels. Note: Selecting this layout will trigger a warning “This layout is not recommended. Three panel layouts work poorly on smaller devices and make it hard for users to focus on the most important information. Try a two panel layout for a better user experience.”
- Two Equal Panels – Four panels: two equal panels with header and footer panels.

- Basic (Default Layout) – Two panels: one large panel on the left and one smaller panel on the right.
- Available Layouts:
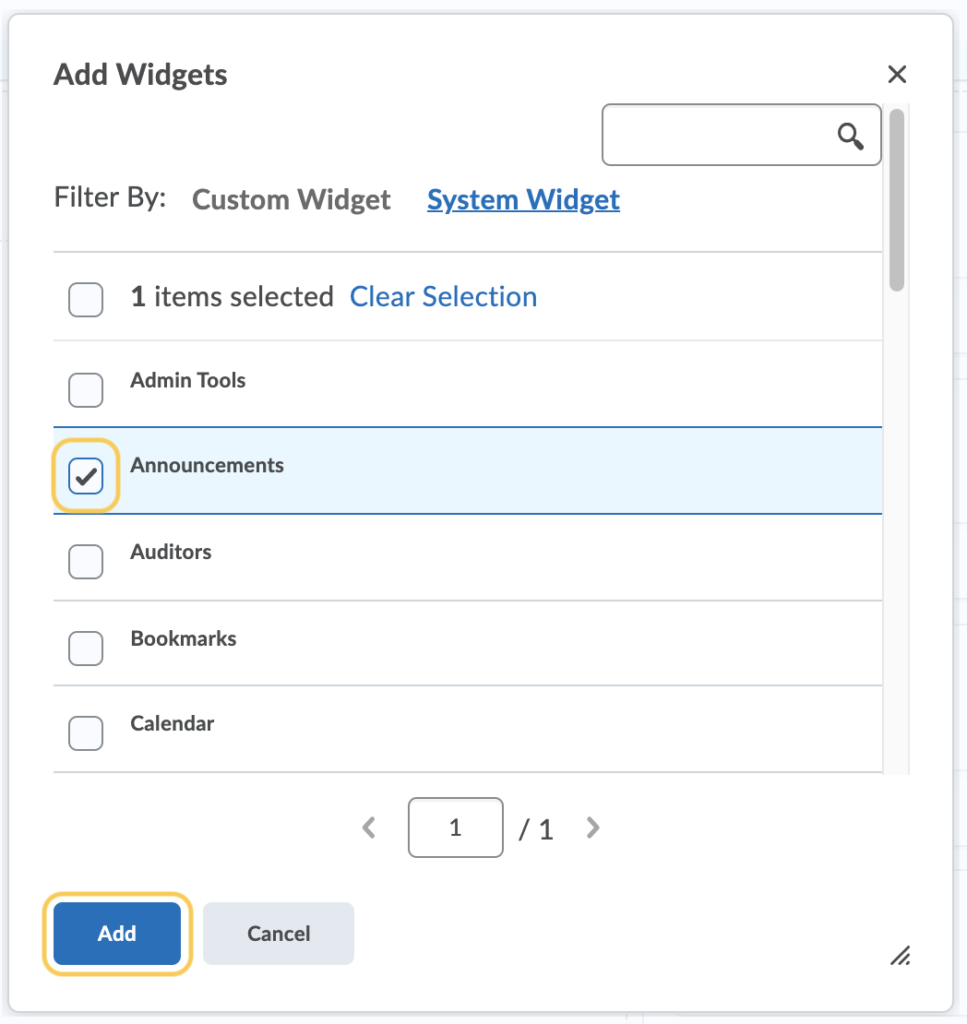
- To add widgets to your homepage, click Add Widgets.

- In the pop-up window, check the box next to the widgets you wish to add to your course homepage, then click Add. Note, you can filter the list of available widgets by Custom Widgets or System Widgets. Learn more about Available System and Custom Widgets.
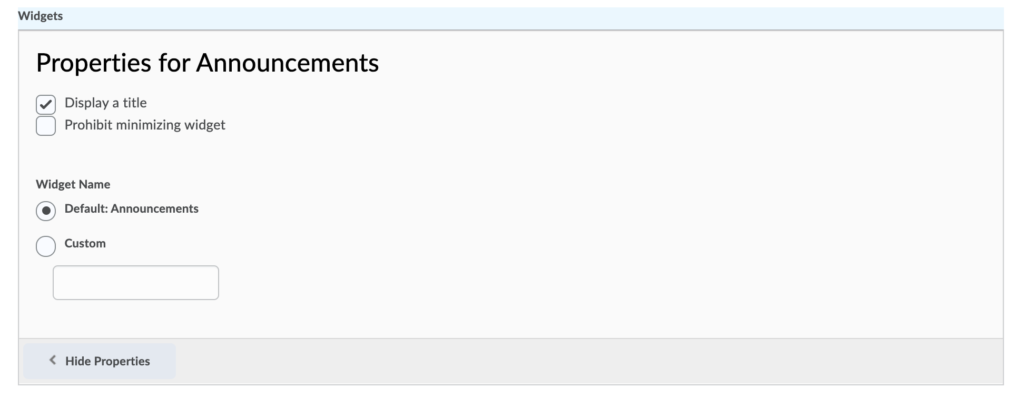
- Optional: Style the added widgets by adjusting their properties. To adjust the widget properties, click on the widget title. Once you have set your preferences, click Hide Properties. Options include:
- Display a title
- Prohibit minimizing widget
- Widget Name: Default or Custom Name
- Optional: To change a widget’s vertical placement on a panel or move it to another panel, click and drag the widget.
- Click Save and Close.


