Create a Panopto Assignment Folder
An assignment folder in Panopto is a special subfolder in your Panopto class folder that allows users that can view this folder to create and submit sessions privately. As a creator for this folder, you can see and control all content submitted to the assignment folder. Once a Panopto assignment folder is created, students can upload their videos to it, to share in a Discussion post or Assignment folder in TCU Online.
There are a few steps involved in setting this up including adding the Panopto Recordings link in your course, Creating an Assignment Folder in Panopto, and sharing instructions to your students. Follow the steps below to get started.
Watch: Creating Student Submission Folders
- From within your TCU Online course, on the nav bar click Content.

- Select a module where you’d like to place your Panopto link. If you do not have a module, you can click Add a Module, then type a module title, such as Panopto. Click enter on your keyboard to create the module.

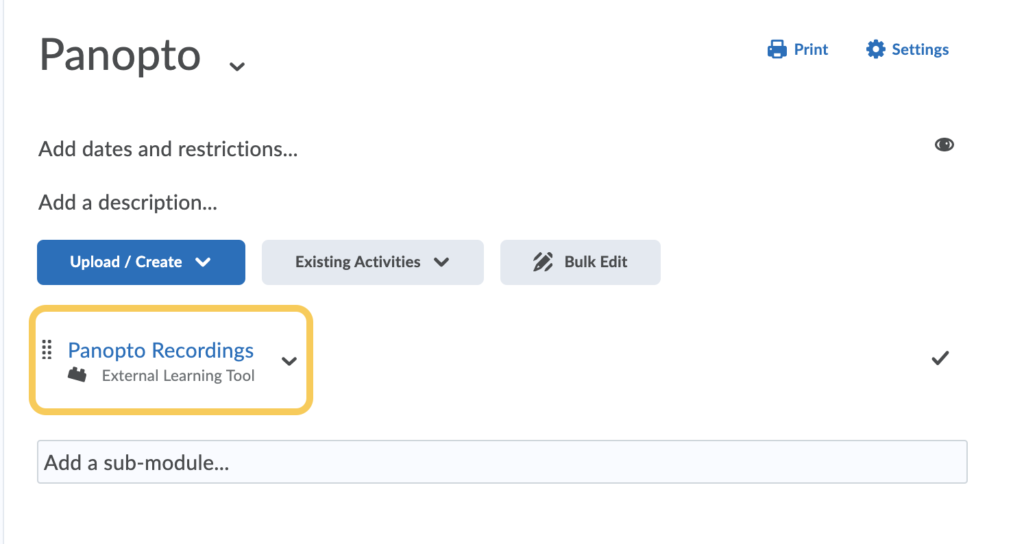
- Within the module, click Add Existing Activities, then select External Learning Tools.

- In the pop-up window, scroll down the list to locate and select Panopto Recordings to add it to the module.
- Click the newly added link for Panopto Recordings.
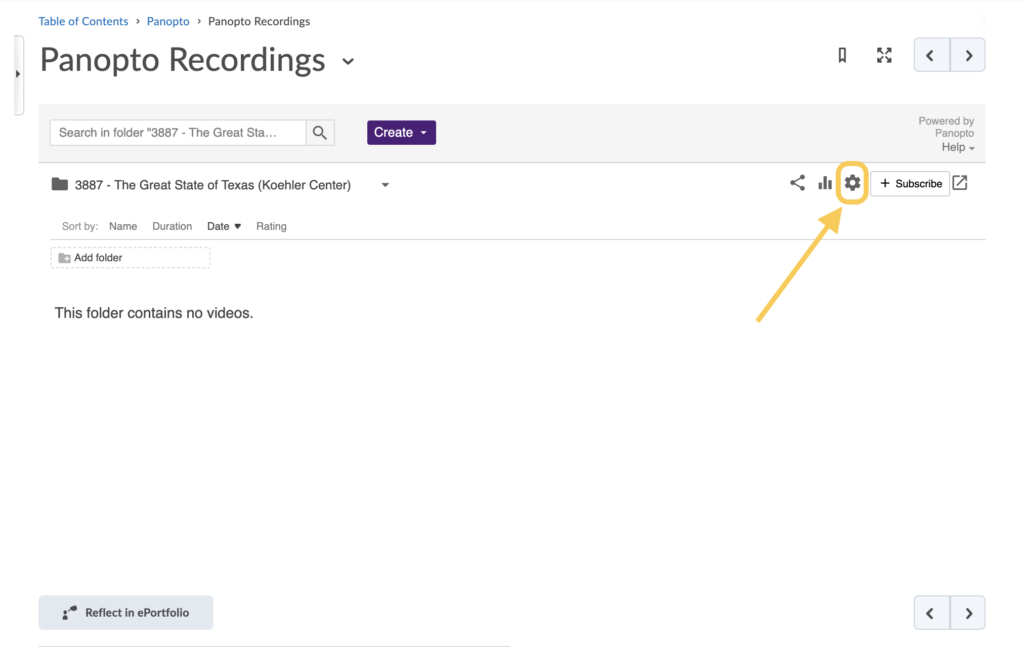
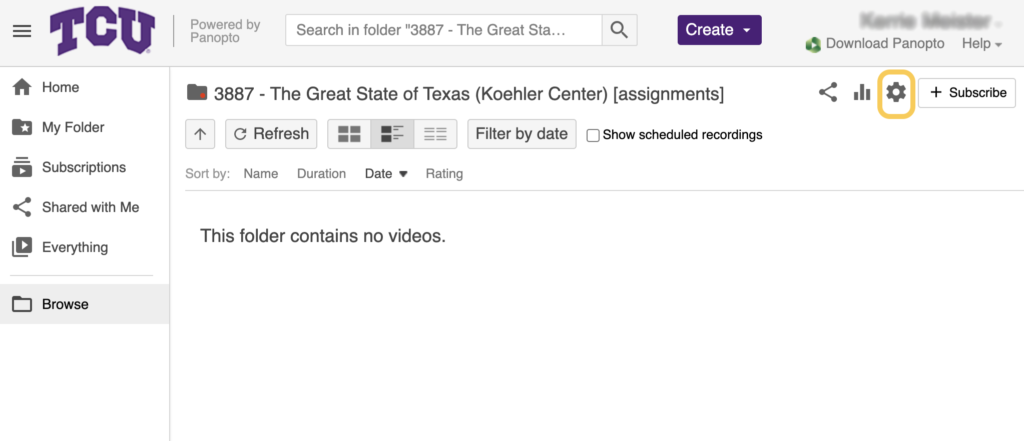
- You will be logged into Panopto from within the course, and a class folder is created automatically. Click the folder settings icon in the top right corner (it looks like a gear).
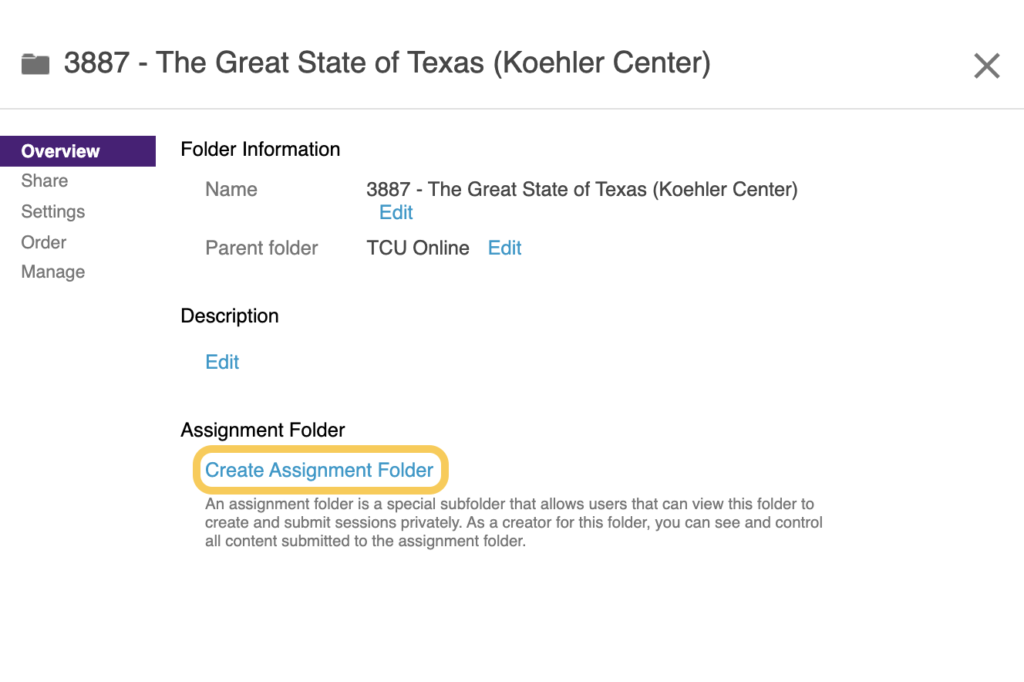
- Click Create Assignment Folder.
- The assignment folder is then created and named with the course title + [assignments].
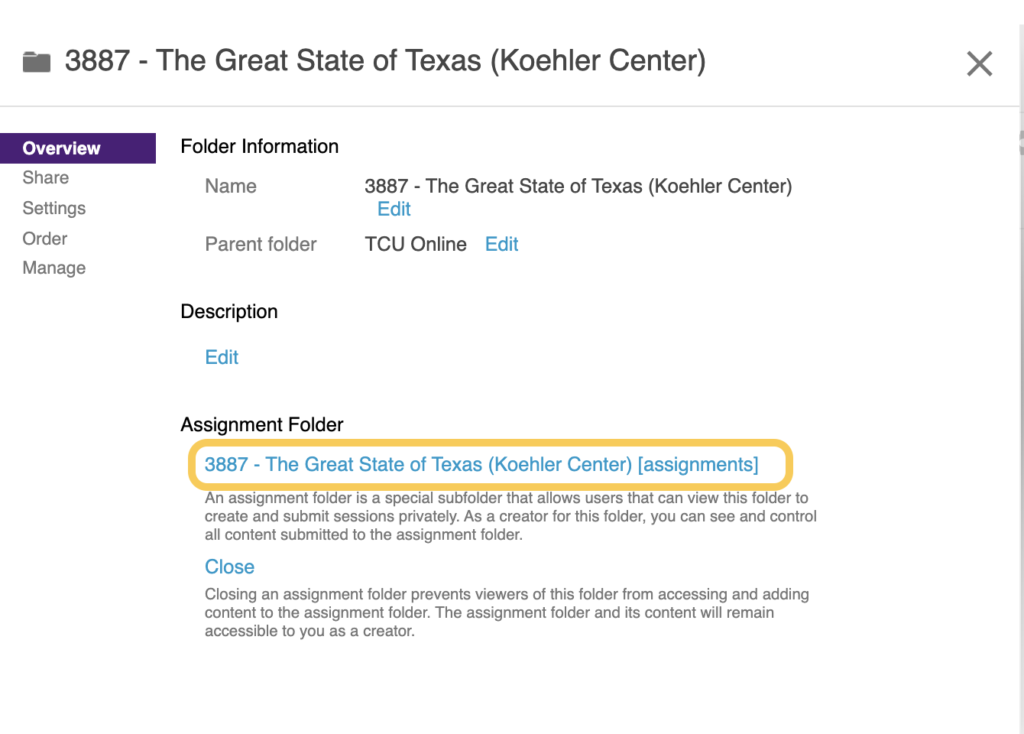
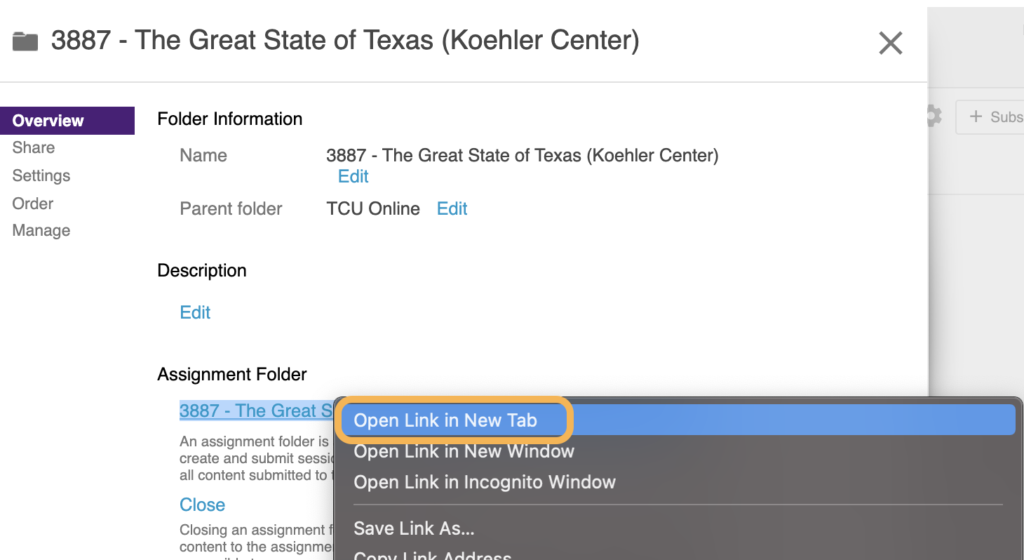
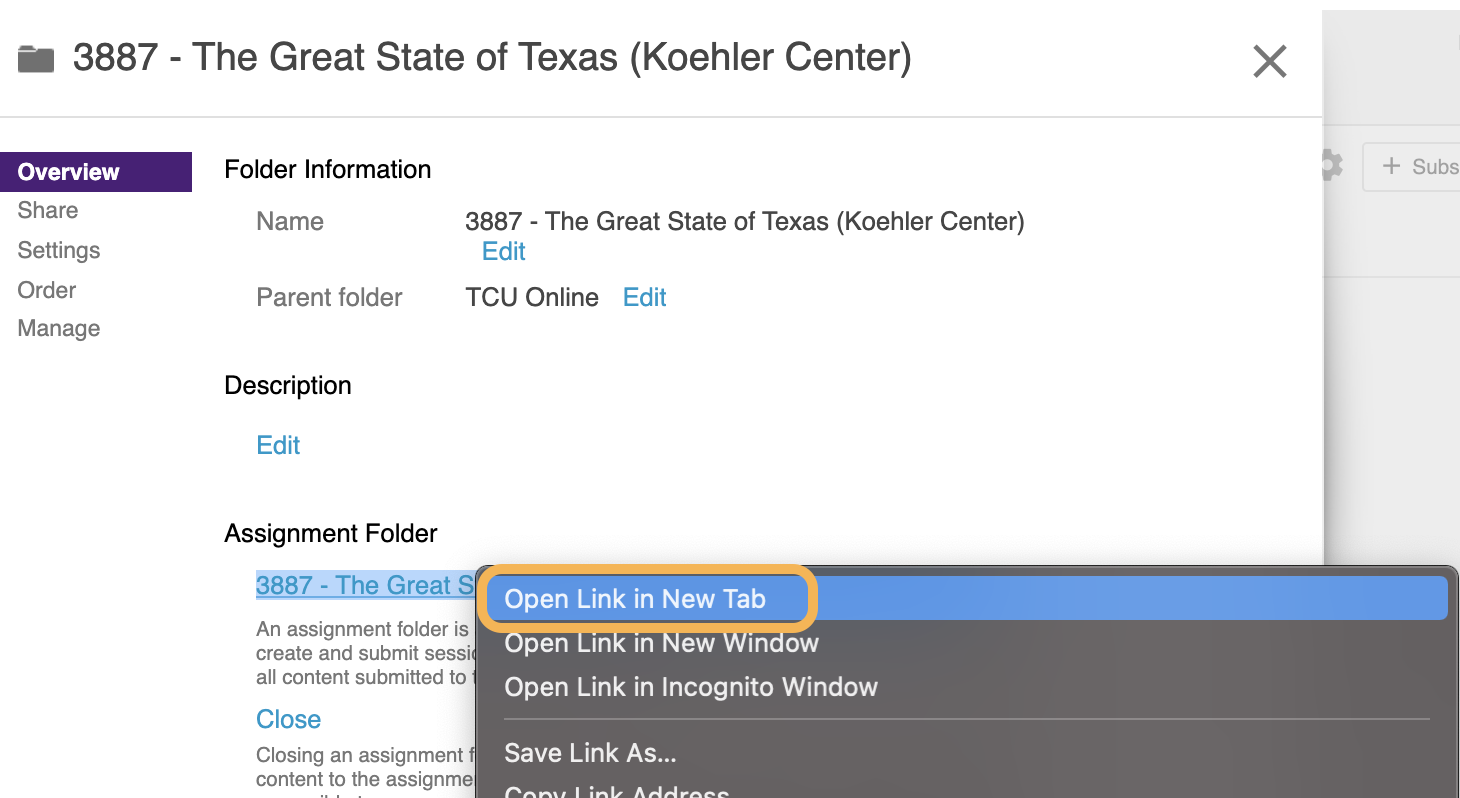
- We recommend renaming this to clearly communicate to you and your students about what the folder is, and also differentiate between the TCU Online assignments folder. To rename it, right click (control + click on a Mac) on the Assignment folder title, and open in a new window or tab within your browser. This is important: If you skip opening in a new tab, you will be logged out of TCU Online.
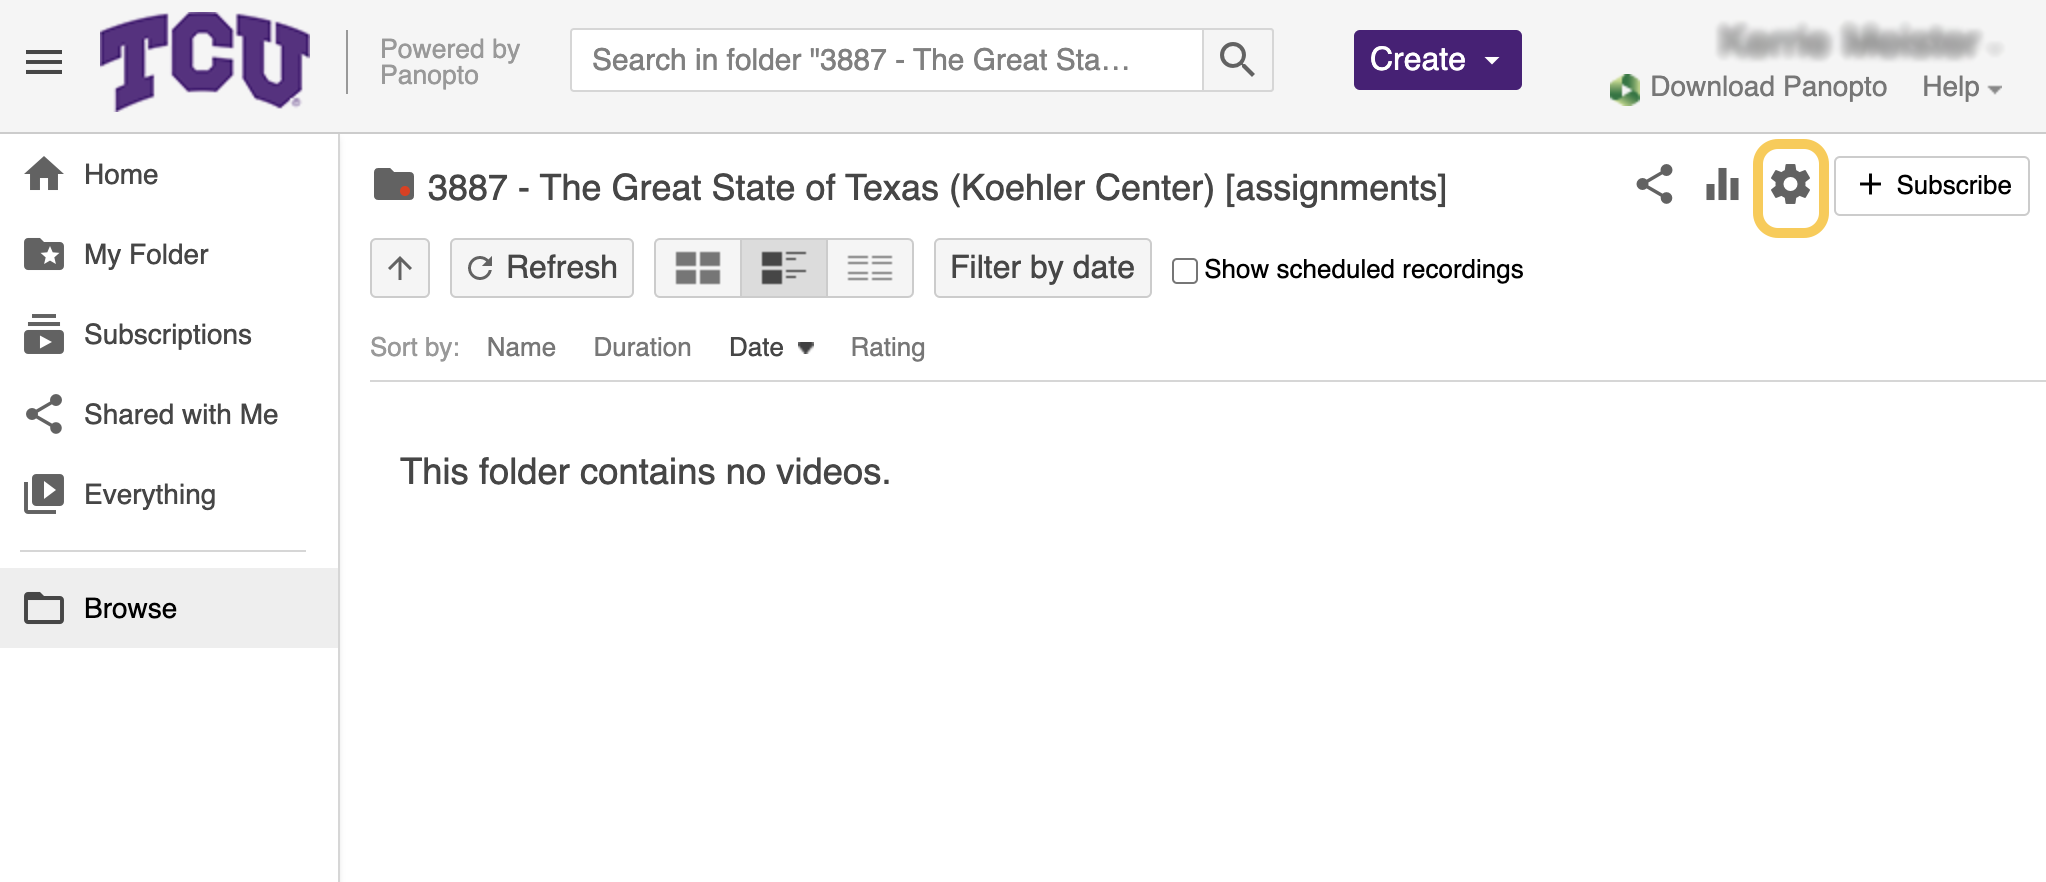
- Select the new browser tab to view the Assignment folder, then click the folder settings icon in the top right corner (it looks like a gear).
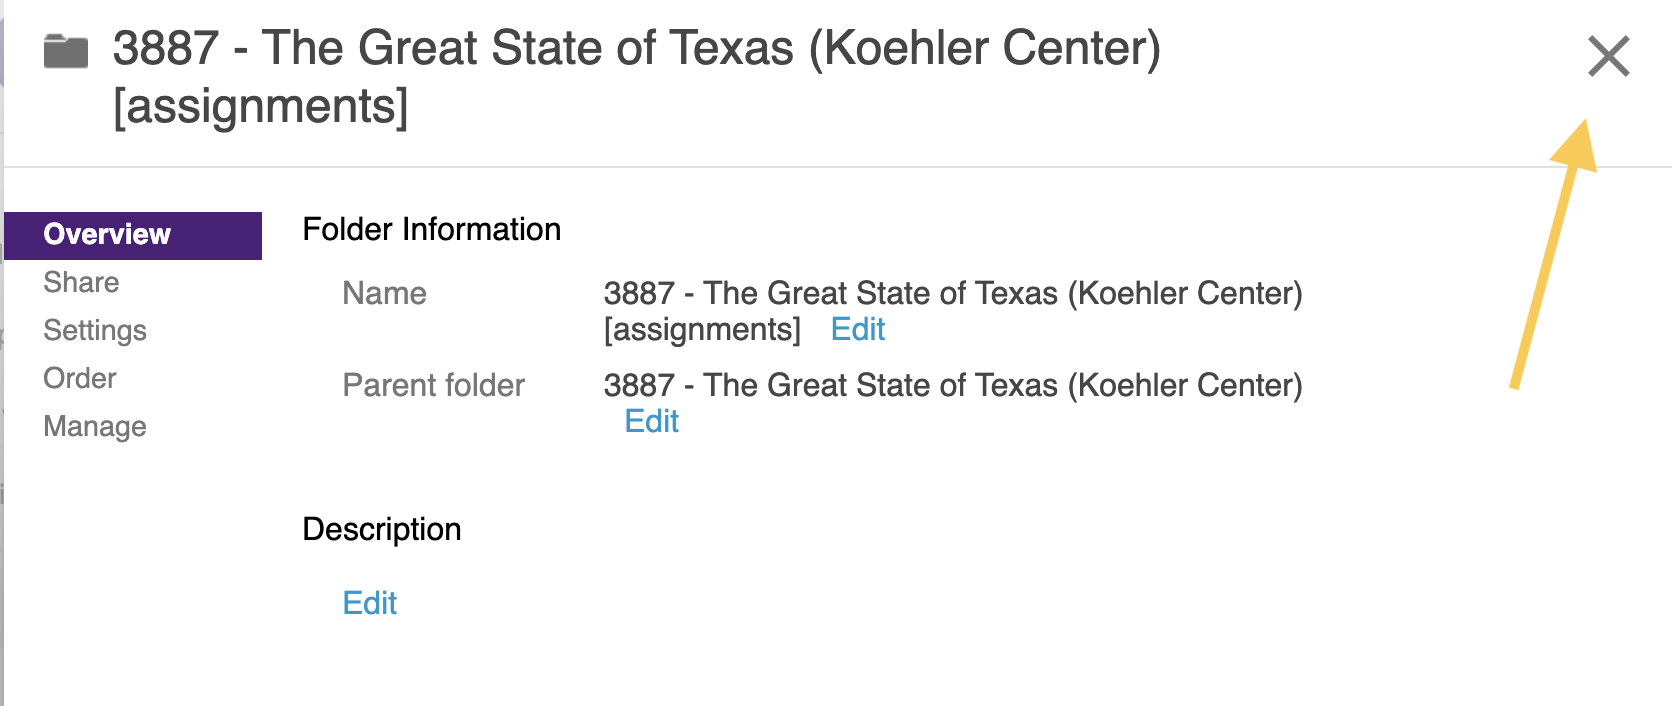
- Click Edit under the Assignment Folder name.
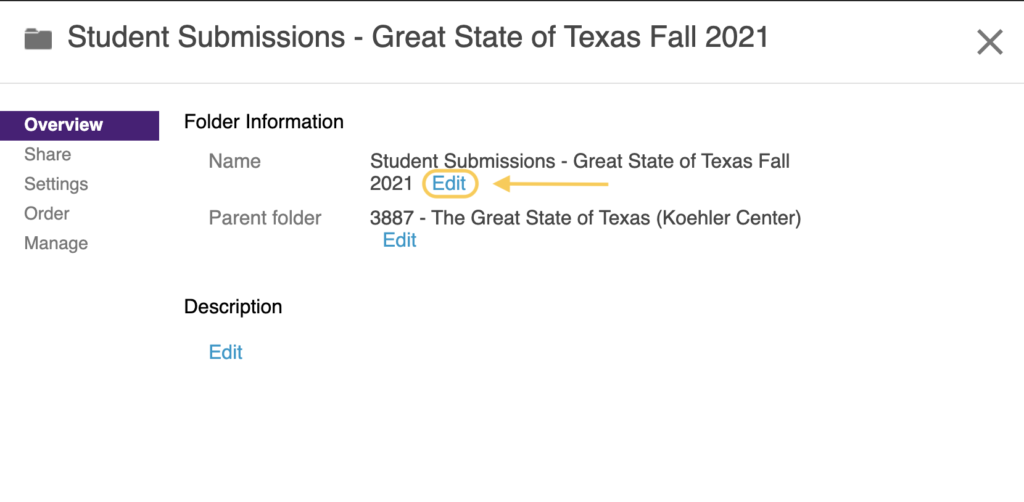
- Rename your Assignment folder, then click Save. In the example below, we renamed the folder Student Submissions – but kept the course title and semester/year in the folder title.

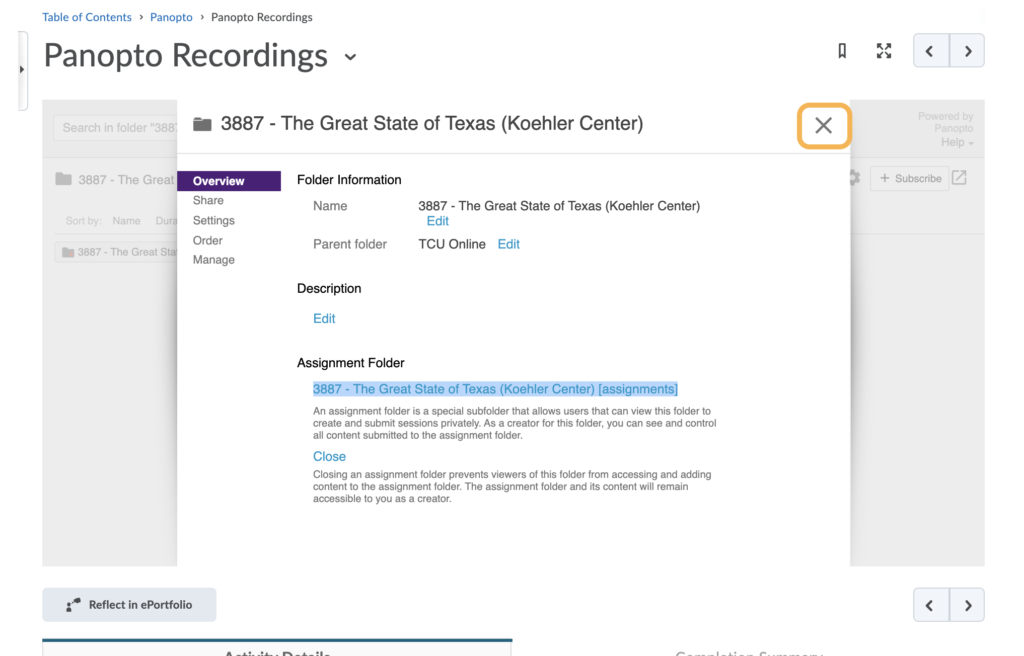
- Click the X in the top right corner to close the folder settings.

- You can close this tab, and return to your browser tab which contains your TCU Online course. The page should still be on the Panopto Recordings content topic.
- Click the X to close the folder settings for your class folder in Panopto.
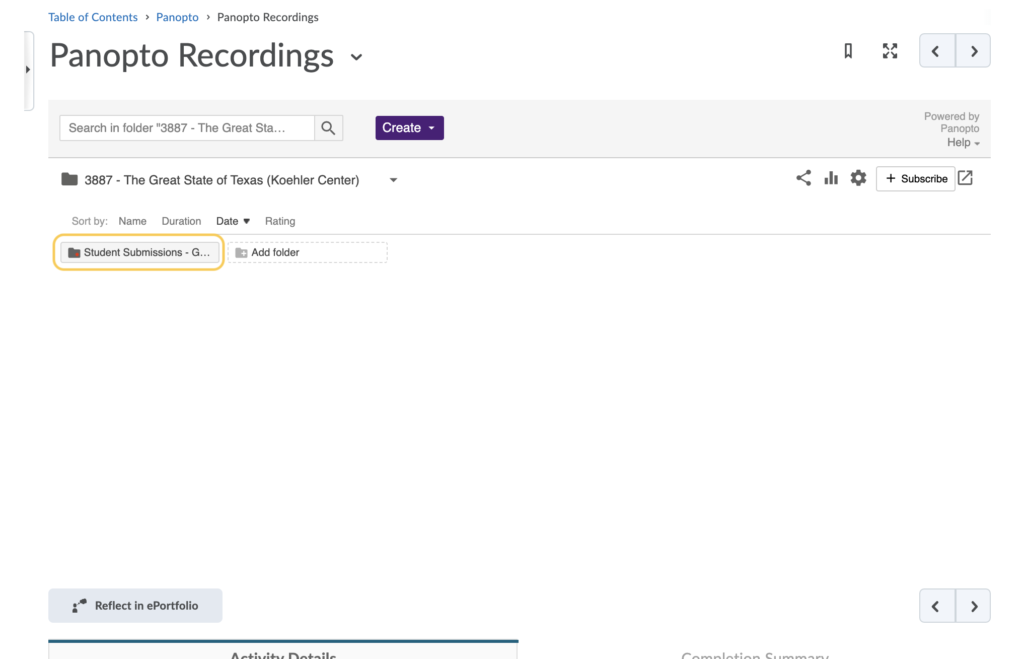
- Your student submission (assignment) folder in Panopto will now display as a subfolder within your class Panopto folder.
- The setup is complete, now you need to share instructions with your students.


Share instructions With Your Students
It is important to share with your students the expectations about the video assignments, including how and where to submit their videos. Please share the following information, and revise as needed.
Example Instruction Text (replace the italic text)
This assignment/discussion will require you to upload your video into Panopto, then share the video within the discussion thread / assignment folder. Review the Panopto Instructions linked below to learn how to access Panopto in this course, and submit your video for grading.
Instructions All Video Assignments
Add the following links to your instructions. This can be done as hyperlinks, or within your content module, click Upload/Create, then Create a link (recommended).
- Video: Panopto: Accessing your Instructor’s Panopto Folder
- Video: Panopto Desktop Recorder PC & Mac
- Video: Accessing Panopto on your iOS Device
- Video: Accessing Panopto on your Android Device
- Mobile App for Panopto (.docx)
- Video: Submitting Your Video Assignment For Grading
- Submitting Your Video Assignment For Grading (.docx)