Use Annotations for Instructor Feedback in the Assignments Tool
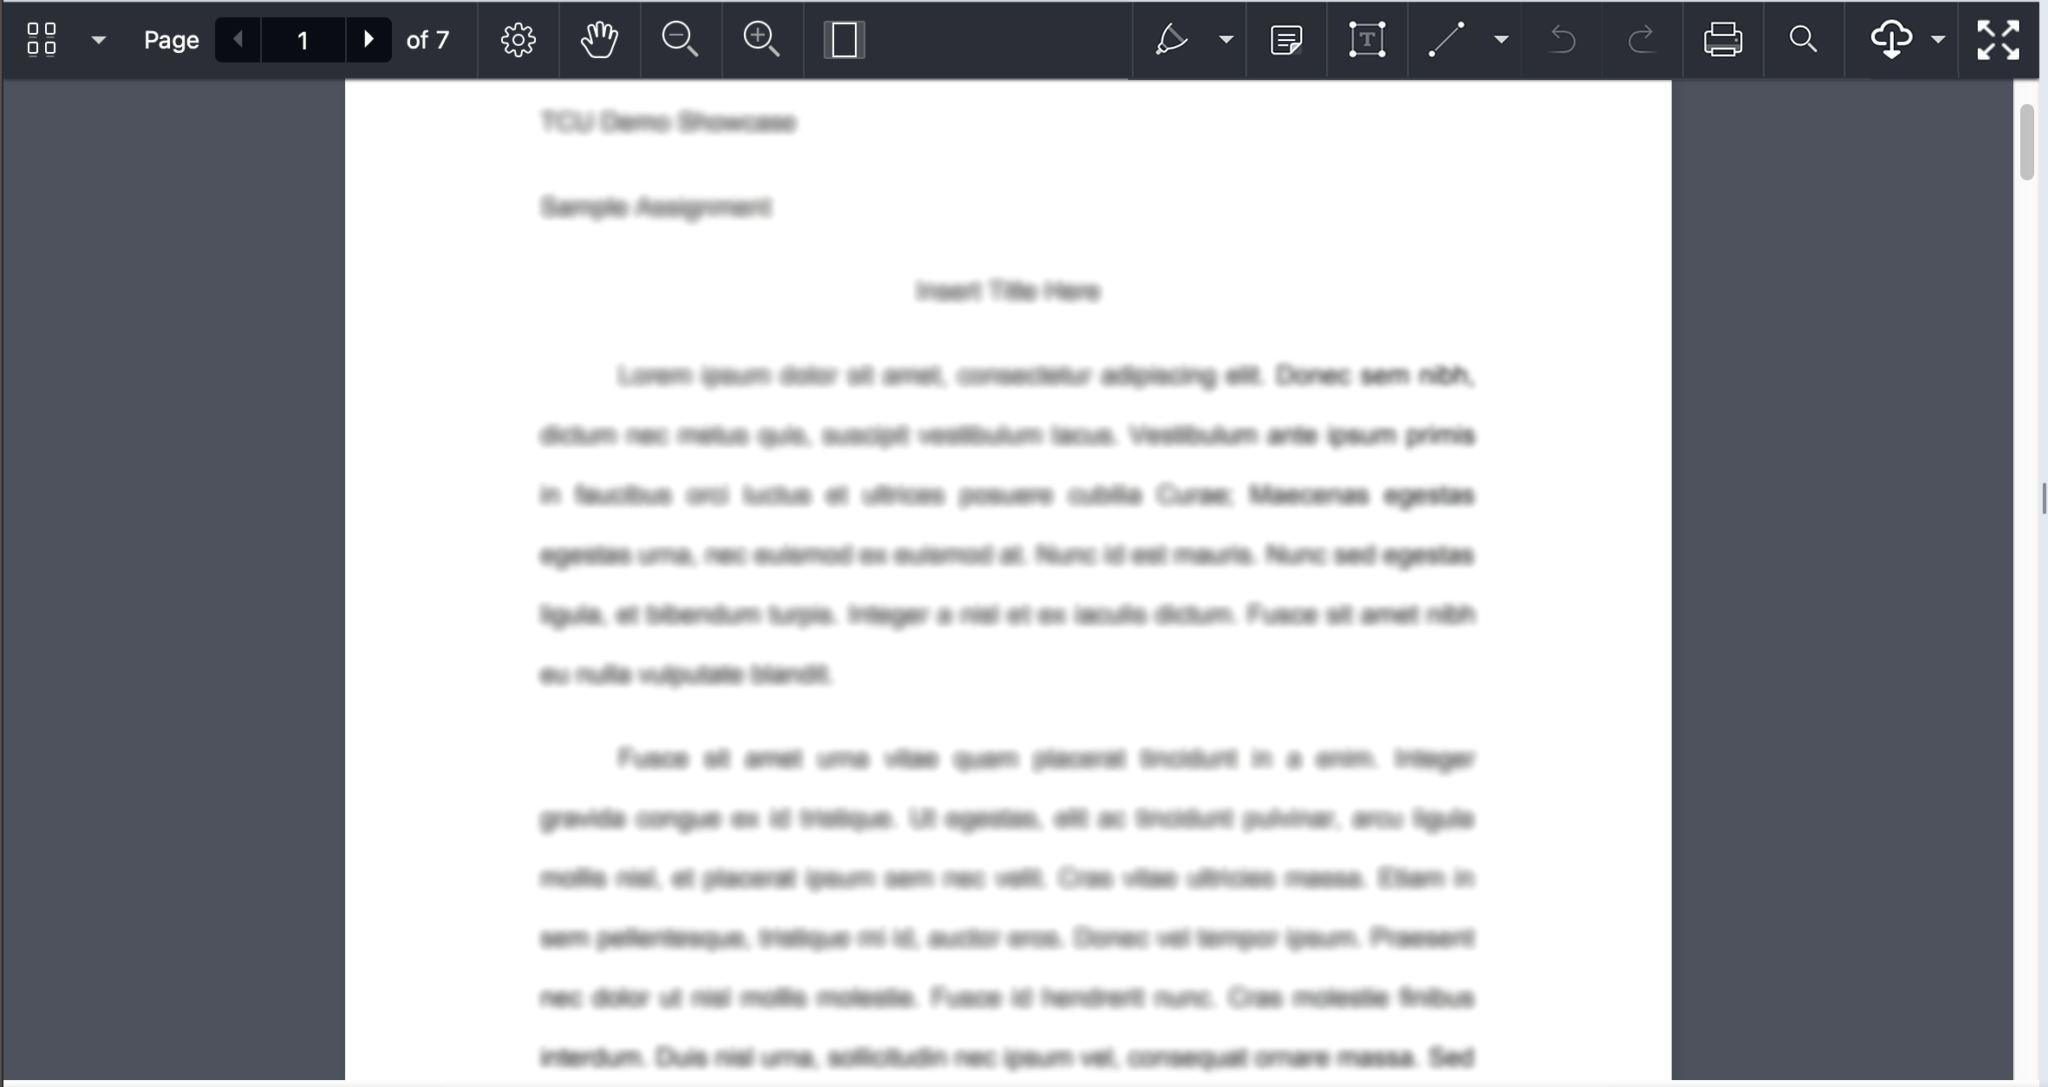
TCU Online allows for the annotation of document submissions inside of your course without having to download student work. Below is an overview of the Annotation toolbar and its features. This tool is only available to individuals who are able evaluate student work in the course.
File types supported by Annotations
The following file types are supported by the annotation tool in Assignments:
- .doc
- .docx
- .rtf
- .odt
- .ppt
- .pps
- .pptx
- .ppsx
- .odp
- .xls
- .xlsx
- .txt
- .jpg
- .jpeg
- .png
- .tif
- .tiff
- .gif (once converted to PDF, only the first frame of the .gif displays)
Important Note about Accessibility: The Annotations tool does not currently meet WCAG 2.0 AA guidelines. If you have a student who uses a screen reader or has a documented accommodation, please continue to use the Comments field for feedback or download the assignment and make changes to the Word document itself to share with that student.
Make Annotation Tools Available for Assessment
- In the Assignments tool, click on New Assignment, Select the title on the Evaluation and Feedback panel.
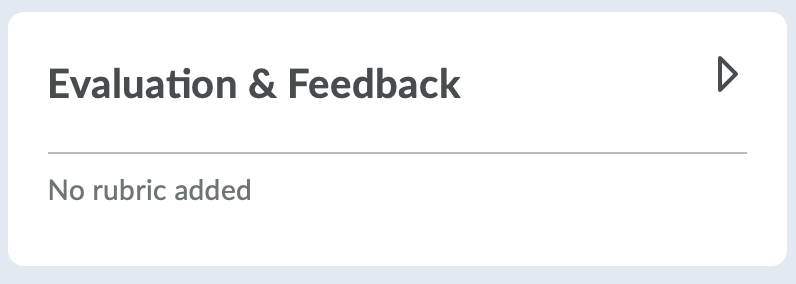
- Annotation Tool (on by default). If you wish to use the annotation tool, check the box for Make annotation tools available for assessment.

- Click Save and Close.
Evaluate Submissions with the Annotation Tool
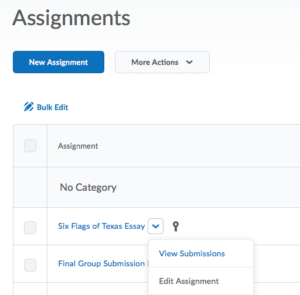
- On the Assignments page, from the context menu of the folder you want to evaluate, click View Submissions.
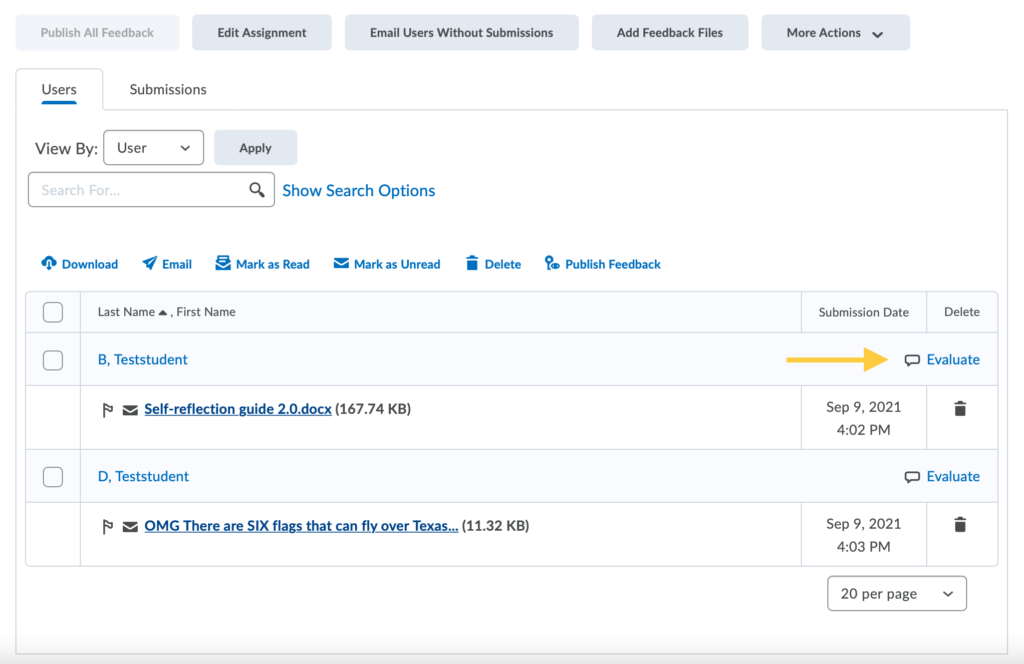
- On the Submissions page, click the Evaluate link for the submission or select the student’s name.
- The submission evaluation page for the student will display. If a single file was submitted, the file opens directly on the page. If multiple files were submitted, instructors can select the dropdown menu at the top of the page to view each file.
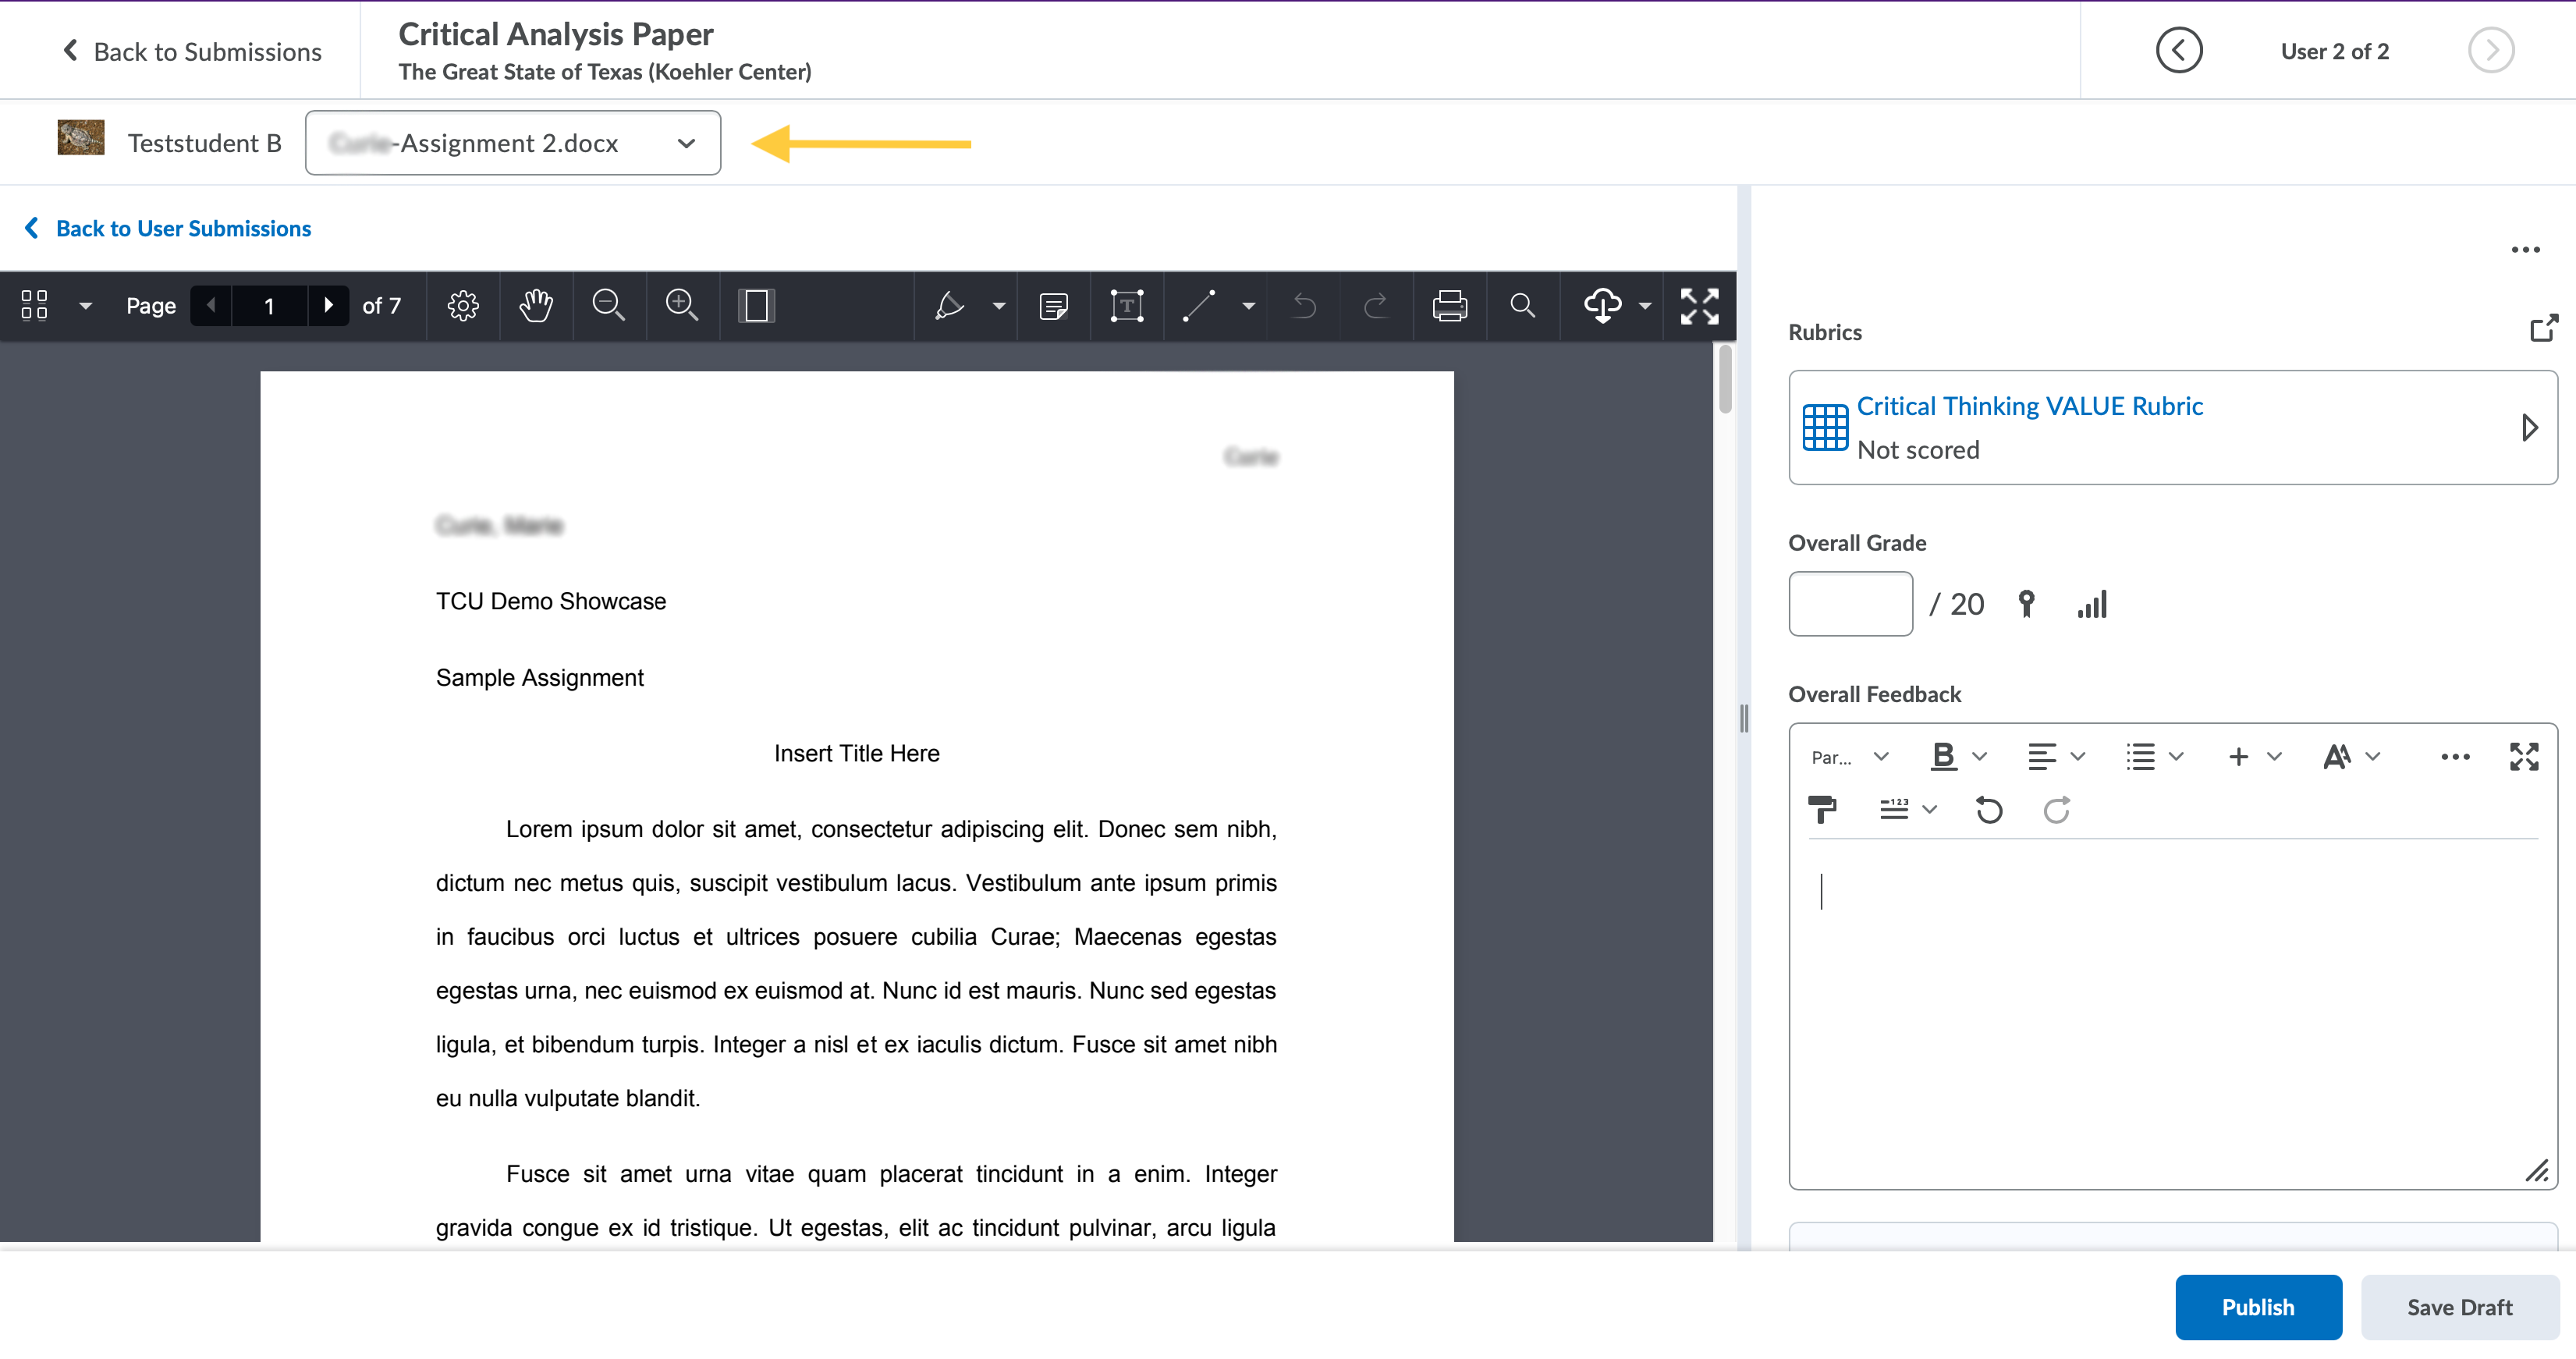
- The Annotation Tool toolbar will appear above the document. Use these tools (explained in detail in the Annotation Tool Toolbar Options section below) to evaluate the student submission. Learn about Launching Turnitin Feedback Studio, Evaluating a Submission with an Attached Rubric, Entering a Grade, Adding Feedback, Attachments or Audio/Video, and Publishing feedback on the Evaluate Submissions and Add Feedback in the Assignments Tool page.

Annotation Tool Toolbar Options

Pan/Select
Use the hand icon to pan the view of the document by clicking on the document and dragging it up or down. This tool can also be used to remove markups. With the pan tool selected, click on the markup you wish to remove. A trashcan icon will appear in the top right corner of the annotation toolbar. Click the trashcan icon, then confirm want to delete the selection.

Markup Tools
Markup tools include Drawing, Freeform Highlight, Text Highlighter, and Eraser.
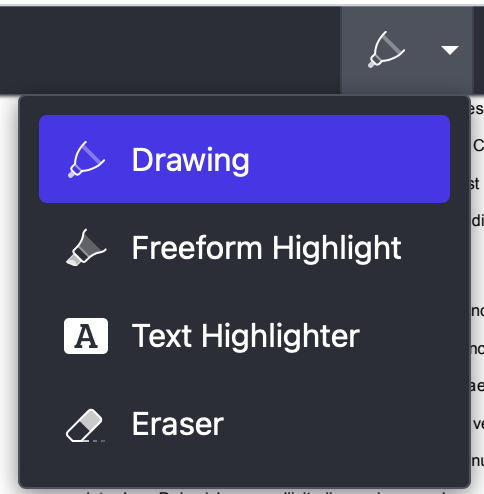
- Drawing: The drawing tool allows you to draw by clicking and dragging your mouse on the document. Options for this tool include: Color, Fill Color, Opacity, Thickness, and Blend Mode. Erroneous marks can be removed with the Eraser tool.

- Freeform Highlighter: This tool allows you to highlight any area of the document. Options for this tool include: Color, Fill Color, Opacity, Thickness, and Blend Mode. Simply click and drag to highlight on the document.

- Text Highlighter: This tool allows you to highlight text on the document. Options for this tool include: Color, Opacity, and Blend Mode. Simply click and drag to highlight text on the document.

- Eraser: This tool allows you to erase lines or writing made with the Drawing tool. Option includes Thickness.

To remove markups, select the Pan (hand) icon. Then click on the markup you wish to remove. A trashcan icon will appear in the top right corner of the annotation toolbar. Click the trashcan icon, then confirm want to delete the selection.
Note
The Note tool can be used to place a note (comments) on the document. Options for the note tool include color or comment marker icon. To add a comment, click on the document in the location you want the note marker to appear, then type text into the note field. When the student hovers their mouse over the note icon in their document, they will see the instructor note / comments.
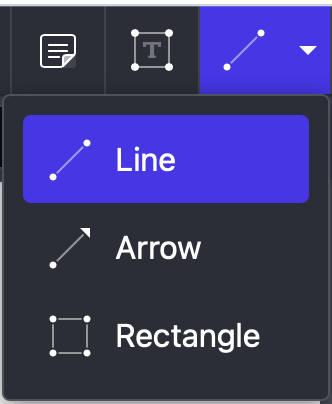
Shapes
- Line: This tool allows you to add a line anywhere on the document. Options include color, fill color, opacity, thickness, and line style.

- Arrow: This tool allows you to add an arrow anywhere on the document. Options include color, fill color, opacity, thickness, and line style.

- Rectangle: This tool allows you to add a rectangle anywhere on the document. Options include color, fill color, opacity, thickness, and line style.

