Create Selectbox Grade Items
You can use selectbox grade items to grade students by selecting a level that is equivalent to a percentage grade range. To create a selectbox grade item, you must have first created at least one grade scheme for the course. Note that selectbox grade items cannot be associated with course activities such as Discussions and Quizzes. Only numeric grade items can be associated with them. Assignments can be associated to a selectbox grade item.
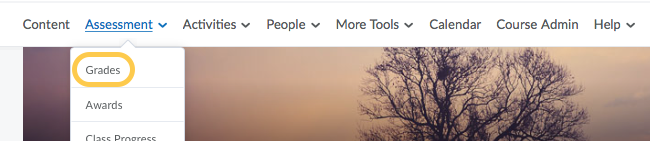
- On the nav bar, click the Assessment menu, then select Grades.
- Then click Manage Grades.

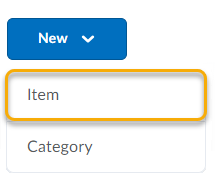
- Click the New button and select Item.
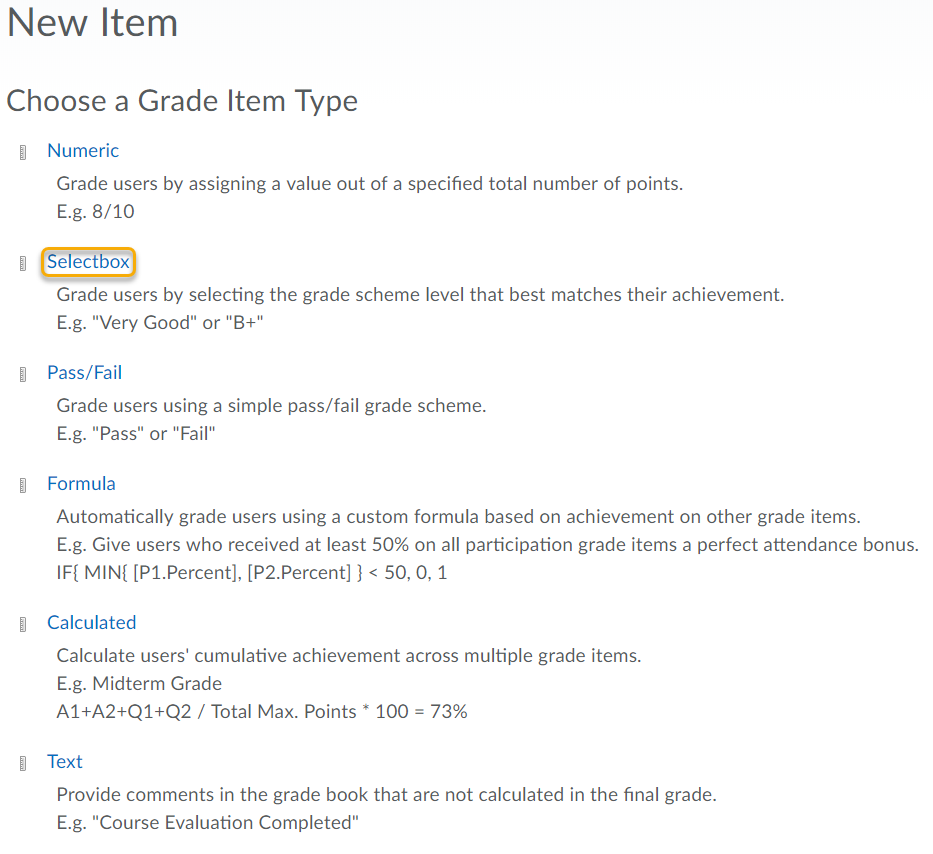
- Select Selectbox
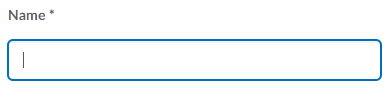
- Enter the grade item Name.
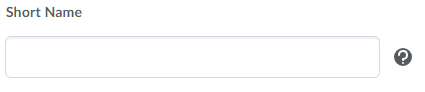
- (Optional) Enter a Short Name for the item if you’d like. The Short Name is only visible to users with access to the grade book.
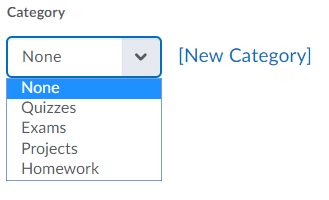
- (Optional) Use the Category drop down menu to select a category if you’d like the grade item to belong to a category.
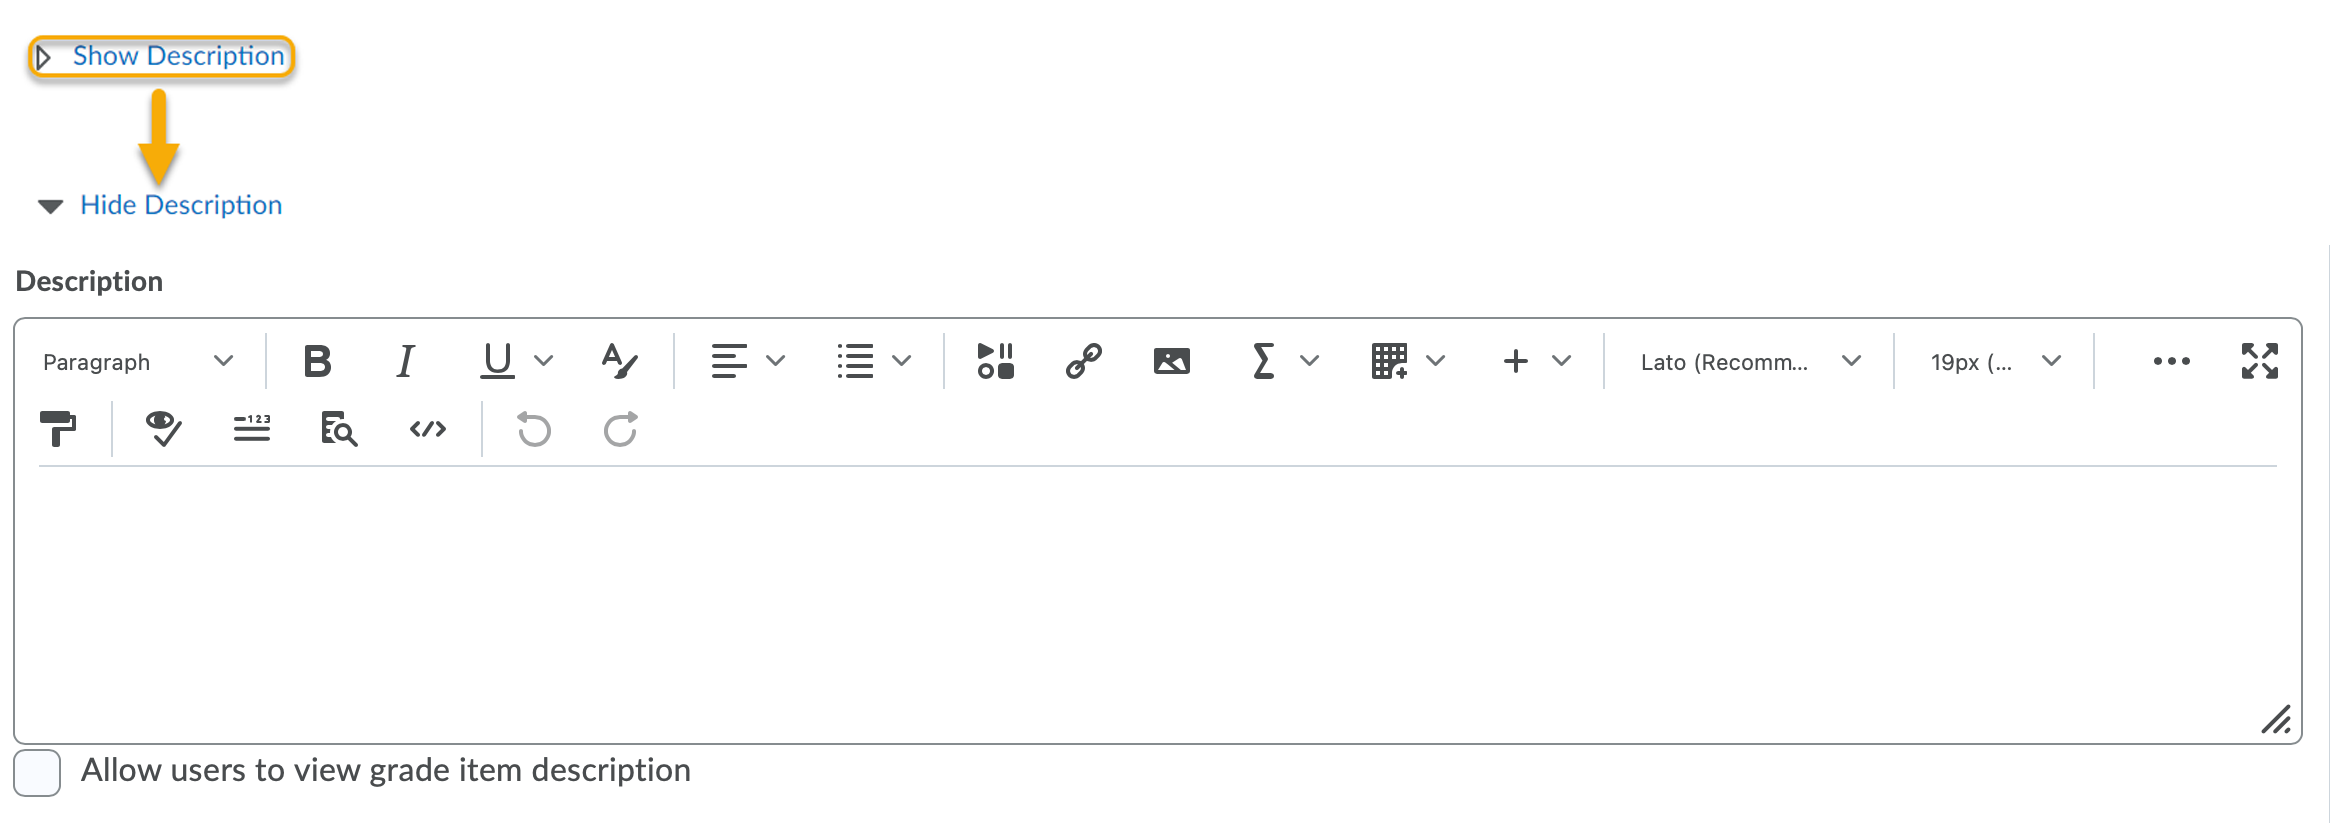
- (Optional) Enter a Description if you’d like to share additional information about the grade item. Learn about how to use the HTML Editor to Format Course Content. By default, the Description field is collapsed, so you may need to click Show Description to expand it. Select whether or not to Allow users to view grade item description.
- Enter the Max Points possible for the grade item. If the grade item belongs to a category, this option may be grayed out depending on the category settings. To review and change the category settings you must edit the category.

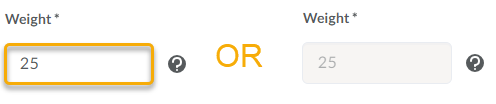
- (Weighted Grading System Only) Enter the Weight the grade item should contribute to its parent category or final grade. If the grade item belongs to a category, this option may be grayed out depending on the category settings. To review and change the category settings you must edit the category.
- Check the box under Bonus if this will be an optional bonus grade item. Bonus grade items are not included in the maximum points for a category or final grade. They are added on top of the calculated grade.

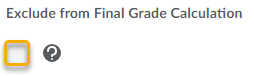
- (Points Grading System Only) Check the box under Exclude from Final Grade Calculation if you do not want the grade item to be included in the final grade.
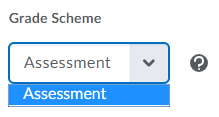
- Use the Grade Scheme drop down menu to select the custom Grade Scheme you would like to use. Note that Selectbox items require you to create a custom grade scheme, and only these grade schemes will be available.
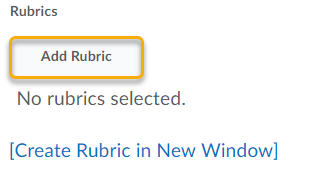
- (Optional) Click the Add Rubric button to attach a rubric to the grade item. It is recommend that you create the rubric first in the Rubrics tool.
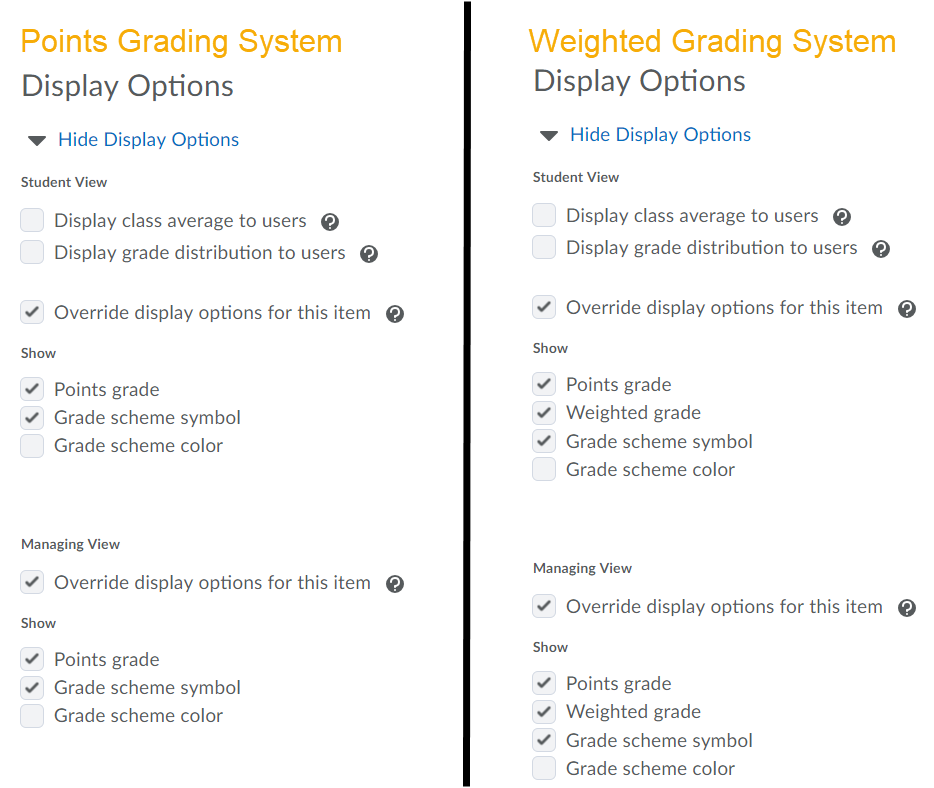
- (Optional) Override the system’s Display Options by checking the box next to the display option(s) you’d like the category to have. By default, Display Options is collapsed, so you may need to click Show Display Options to expand it. You can review the system’s Display Options by going to Course Display Options within Settings.
- Click one of the Save options at the bottom of the screen to save your changes:
- Save and Close: Saves any changes and returns you to the Manage Grades screen.
- Save and New: Saves any changes and allows you to begin creating a new grade item/category.
- Save: Saves any changes and stays on the same screen.
- Cancel: Delete grade item and return to the Manage Grades screen
