Create Group Workspaces
Group workspaces, such as Group Assignments and Group Discussions can be created within the respective activity tool (Recommended). Alternatively, they can be created within the Groups tool according to the steps outlined below. The steps below assume that group categories have already been created.
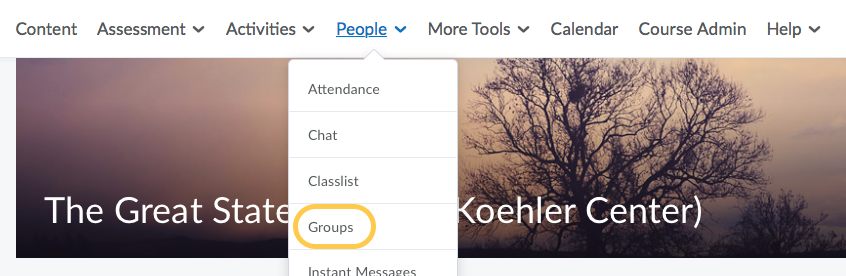
- On the nav bar, click the People menu, then select Groups.
- On the Manage Groups page, click New Category. Or, if the groups have already been created, select the context menu next to the group category name and choose Edit Category.

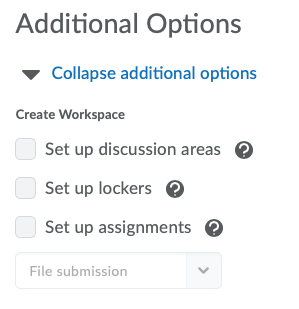
- Once the Groups have been created, in the Additional Options under Create Workspace, check the boxes to set up any of the following workspaces: discussions, lockers, and/or assignments.
Note: Enable the options in the Create Workspace area after you’ve customized your group names. This way, the Discussions will be created with the customized group names and you will not have to edit their names manually later.
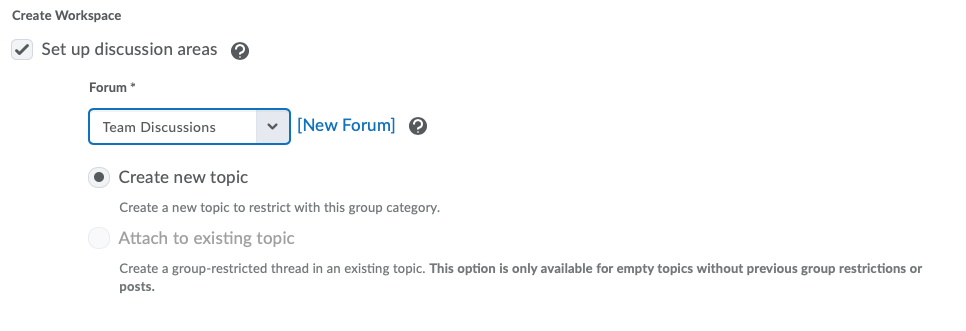
- If you wish to set up a discussion:
- Select or create a Forum for the discussions.
- Then select either
- Create new topic to create a new topic to restrict with this group category
- or Attach to existing topic to create a group-restricted thread in an existing topic. This option is only available for empty topics without previous group restrictions or posts.
- If you wish to set up an assignment:
- Select the assignment type: Text, File Submission, On paper and Observed in person submission

- Select the assignment type: Text, File Submission, On paper and Observed in person submission
- Click Save.
Group Discussion Areas
If Set up discussion areas was checked on the previous page instructors will be prompted to Create Restricted Topics.
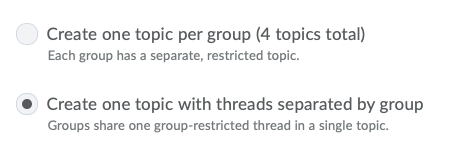
- Select the Topic Type (Note: You cannot edit the topic type once you save the topic). Choose either:
- Create one topic per group (# topics total): Each group has a separate, restricted topic. Use this option if you want to manage each topic individually. Note: If you choose this type of open topic, you can access the Group Restrictions area on the Restrictions tab of the discussion. This will not, however, allow you to assign the group discussion topic to a single Grade Item.
- (Default option) Create one topic with threads separated by group: Groups share one group-restricted thread in a single topic. This is the most common select and allows for only one grade item in the Grades tool.
- Add/edit the Topic title. Note: the Topic title is auto-populated with the category name. Modify this as needed.
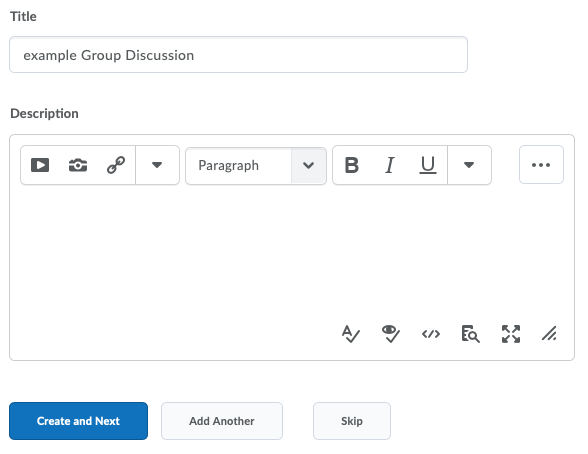
- In the Description box, type the discussion prompt. This is where instructors should pose their question(s) to which students will respond.
- Click Create and Next, or click Add Another (if you wish to add multiple discussion topics).
Group Assignments
If Set up assignments was checked on the Create/Edit Category page, instructors will be prompted to Create Assignments.
Group assignments enables you to have one submission per group. Any group member can submit and view files for a group assignment. This will allow you to post one grade and assignment feedback that will automatically go to all members of the group.
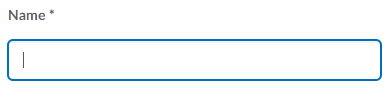
- Enter a Name. Note: Naming convention is important. Make sure the assignment name matches what you have in your syllabus.
- Provide instructions to students in the Instructions text field. Enter your instructions, expectations and requirements for the assignment.

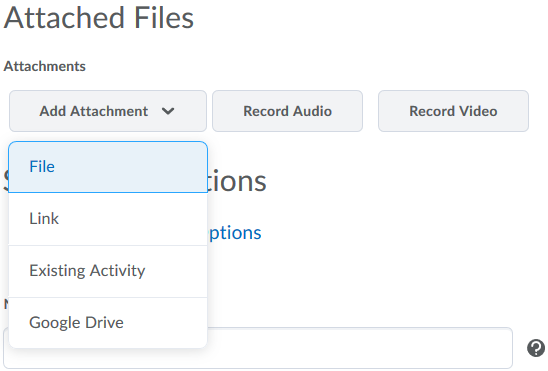
- Optional: To add attachments in the Attached Files area, click any of the buttons. If desired, add Attachments: File, Link, Existing Activity, Google Drive; Record Audio; or Record Video.
- Select a Submission Type. Once you have determined the type of assignment, it cannot be changed. You will have to create a new assignment. Choose one of the following:
- File submission – Students will upload a file. See the list of approved file types for the Assignments tool. Select this option to collect papers or homework online. This is the default setting.
- Text submission – Students will type or paste content into the html editor (text box); students will not be able to upload files. Select this option if you need students to submit a link or another small piece of data (such as a group name or presentation date preference).
- On paper submission – Students will physically submit their paper to the instructor; students will not be able to upload files. Select this option if you will collect papers in person or if the student work is not able to be uploaded to TCU Online, but you still wish to leave feedback for students in the Assignments tool. TCU Online displays information to students that indicates if this item has been completed. Since there is no physical submission, you will then select how this determination should be made: manually by learners (students themselves click a button to make TCU Online show that this item has been completed; this is the default setting), automatically on evaluation (TCU Online will show this item has been completed once you publish a score or feedback for this item), automatically on due date (TCU Online will show this item has been completed on the due date associated with this assignment; you must enter a due date in the restrictions tab for this assignment). Once you have determined the method for marking an item as complete, it cannot be changed. You will have to create a new assignment.
- Observed in person – Students will perform or deliver their work to their instructor; students will not be able to upload files. Select this option if you will evaluate in-class presentations, productions, or works of art and you wish to leave feedback to students in the Assignments tool. TCU Online displays information to students that indicates if this item has been completed. Since there is no physical submission, you will then select how this determination should be made: manually by learners (students themselves click a button to make TCU Online show that this item has been completed; this is the default setting), automatically on evaluation (TCU Online will show this item has been completed once you publish a score or feedback for this item), automatically on due date (TCU Online will show this item has been completed on the due date associated with this assignment; you must enter a due date in the restrictions tab for this assignment). Once you have determined the method for marking an item as complete, it cannot be changed. You will have to create a new assignment.
- Set your preferences for Submissions. These vary based on which Submission type you set in step 5.
- If you selected File Submission: Select your preference for Files Allowed Per Submission: Unlimited or One File. Select your preference for Submissions: All submissions are kept, Only the most recent submission is kept, or Only one submission allowed.
- If you selected Text submission: Select your preference for Submissions: All submissions are kept, Only the most recent submission is kept, or Only one submission allowed.
- If you selected On paper submission: Select your preference for Marked as completed: Manually by learners, Automatically on evaluation, Automatically on due date.
- If you selected Observed in person: Select your preference for Marked as completed: Manually by learners, Automatically on evaluation, Automatically on due date.
- Optional: To receive an email message when a new submission is uploaded to this assignment, enter your email address, or a comma-separated list of email addresses in the Notification Email field. Enter your email address if you wish to receive an email each time a submission is made to the Assignment by a student.
- Do any of the following:
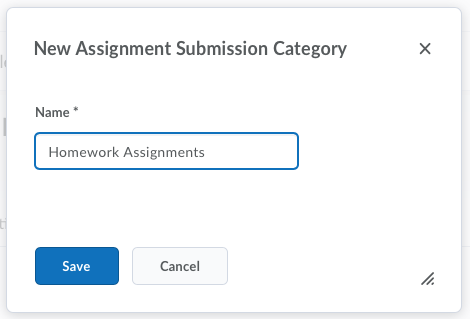
- Optional: To associate the assignment with a category, select a Category or click New Category.
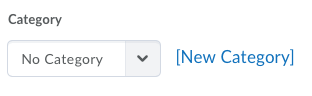
Set the Category or Name in the New Category (click Save after entering a name) if you wish to associate your Assignment to an Assignment Category. (Example: If you want to organize all homework assignments into one place in the Assignments tool, you might want a category called Homework.)
- To assign a score, enter a value in the Out Of field. If there’s also an associated grade item, maintain consistency by matching the value of the Out Of field to the grade item’s Max Points value. Set the Out of score. This would be what the maximum points are for this assignment. Make sure the out of score also matches your syllabus.
- To associate the assignment with a grade item in your grade book, select a Grade Item, or click New Grade Item to create a new item. Note that only numeric grade items can be associated with assignment. Set your Grade item. This can be set to None if you do not wish to associate the assignment with a Grade item.
- To change the display settings for the assignment’s grade item, click the Student View Preview context menu, then Edit Display Settings.
- To associate a rubric to the assignment, click Add Rubric, or Create Rubric in New Window. Add Rubrics if desired.
- Optional: To associate the assignment with a category, select a Category or click New Category.
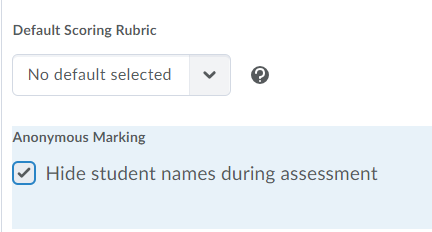
- Optional: Instructors can choose to enable Anonymous Marking, which will hide students’ names during assessment. Select the checkbox to turn on Anonymous Marking for this assignment. Learn more about how to use Anonymous Marking and important tips before using.
- Optional: To allow students to add the assignment to their ePortfolio as an artifact, select Allow users to add this assignment to their ePortfolio.
- Click Create.
A Workspace Summary will display with confirmation about how many Discussion forums and topics, Lockers, and Assignments were created. Click Done.