Create a New Award
Instructors can create awards that can be shared with other users in other courses, or restricted to the course. If you restrict the award, it can only be added to the course offering in which you create the award.
Create a Badge & Add to Course
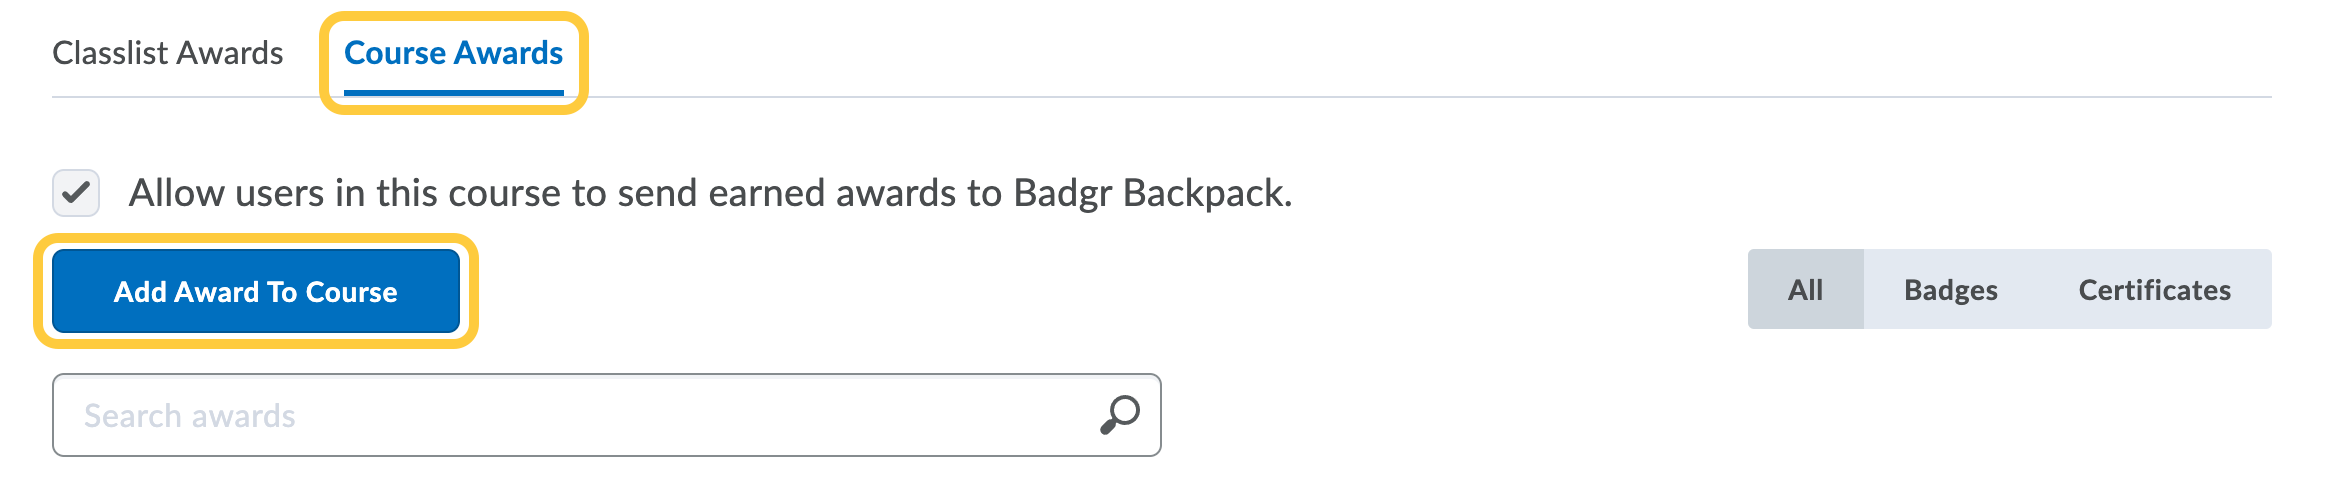
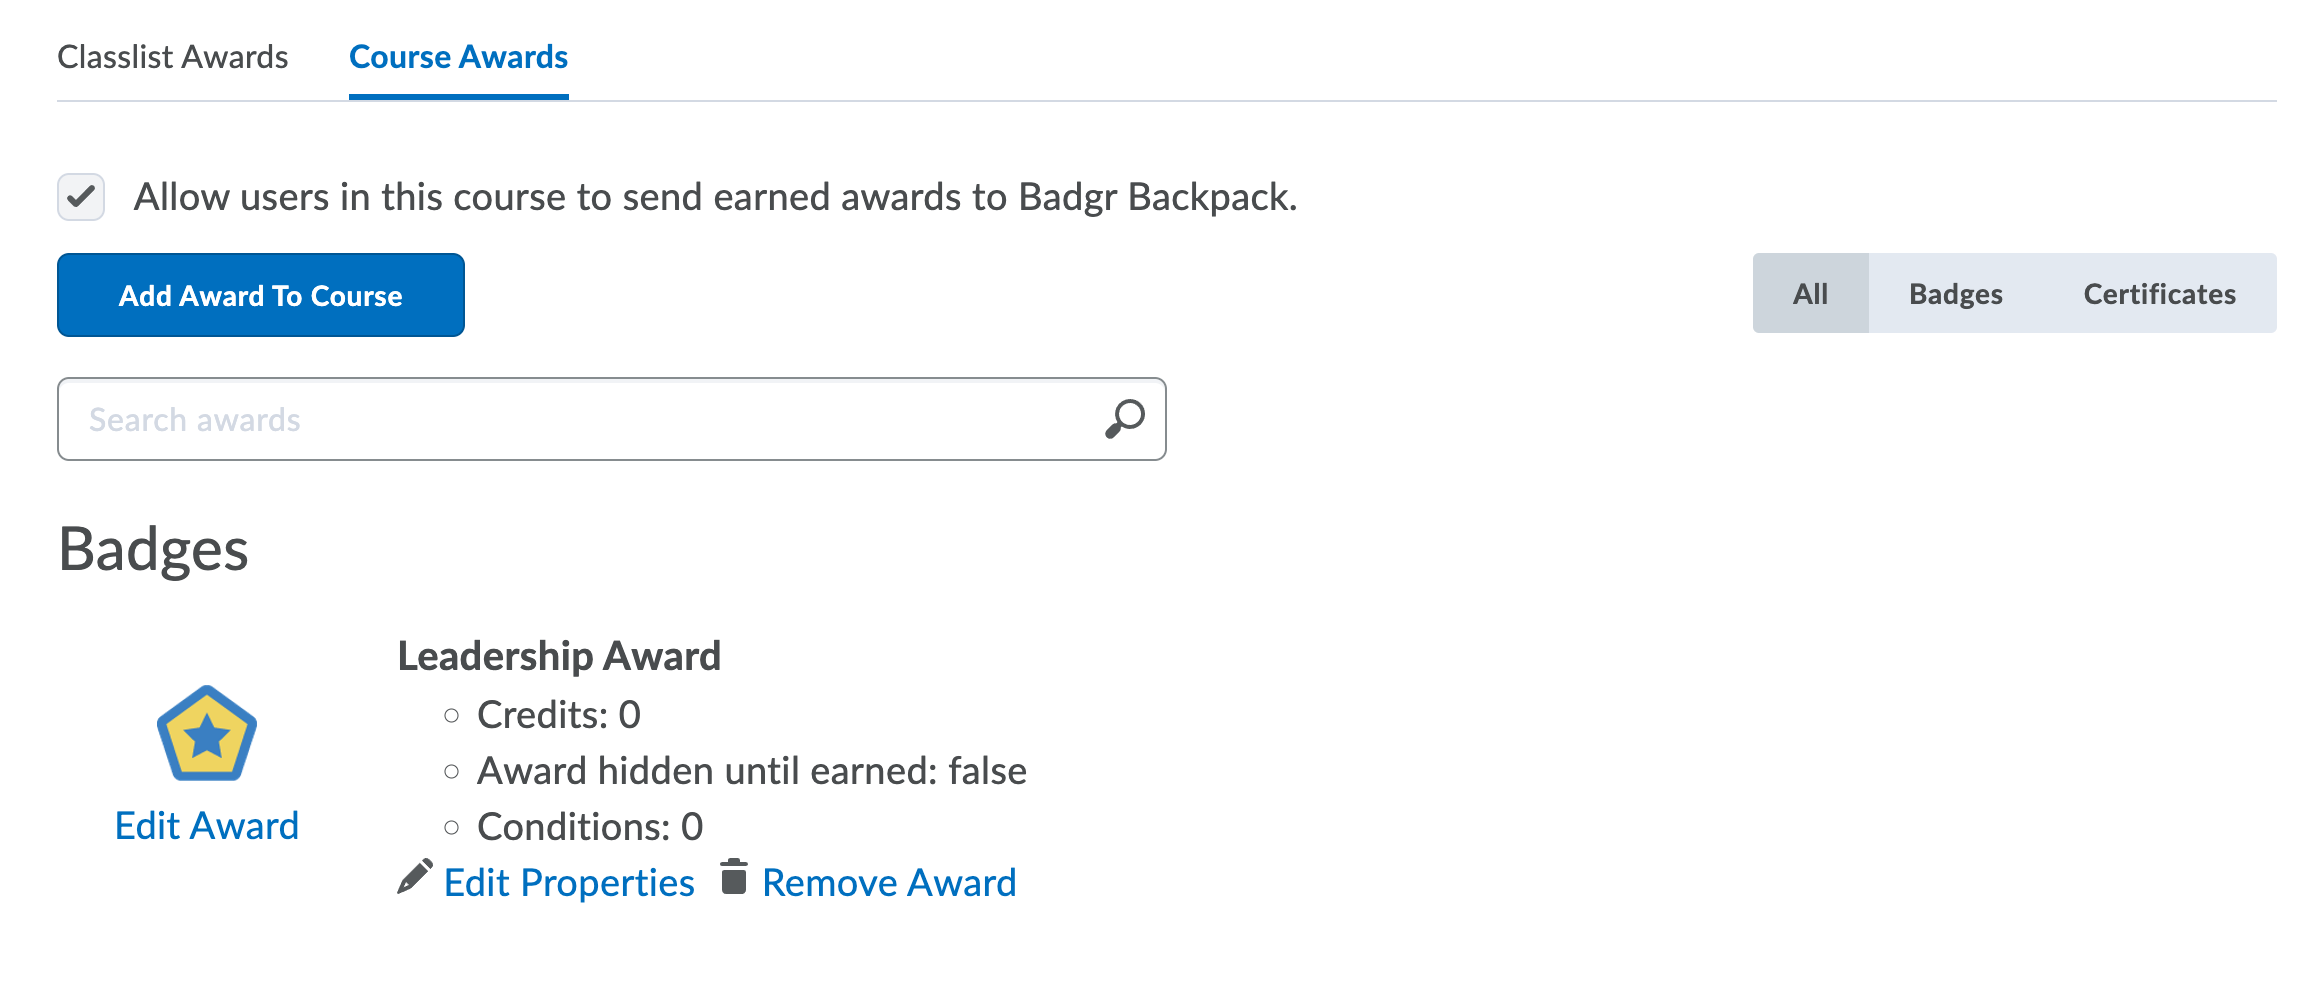
- On the nav bar, click the Assessment menu, then select Awards.

- Click Course Awards then click Add Award to Course.
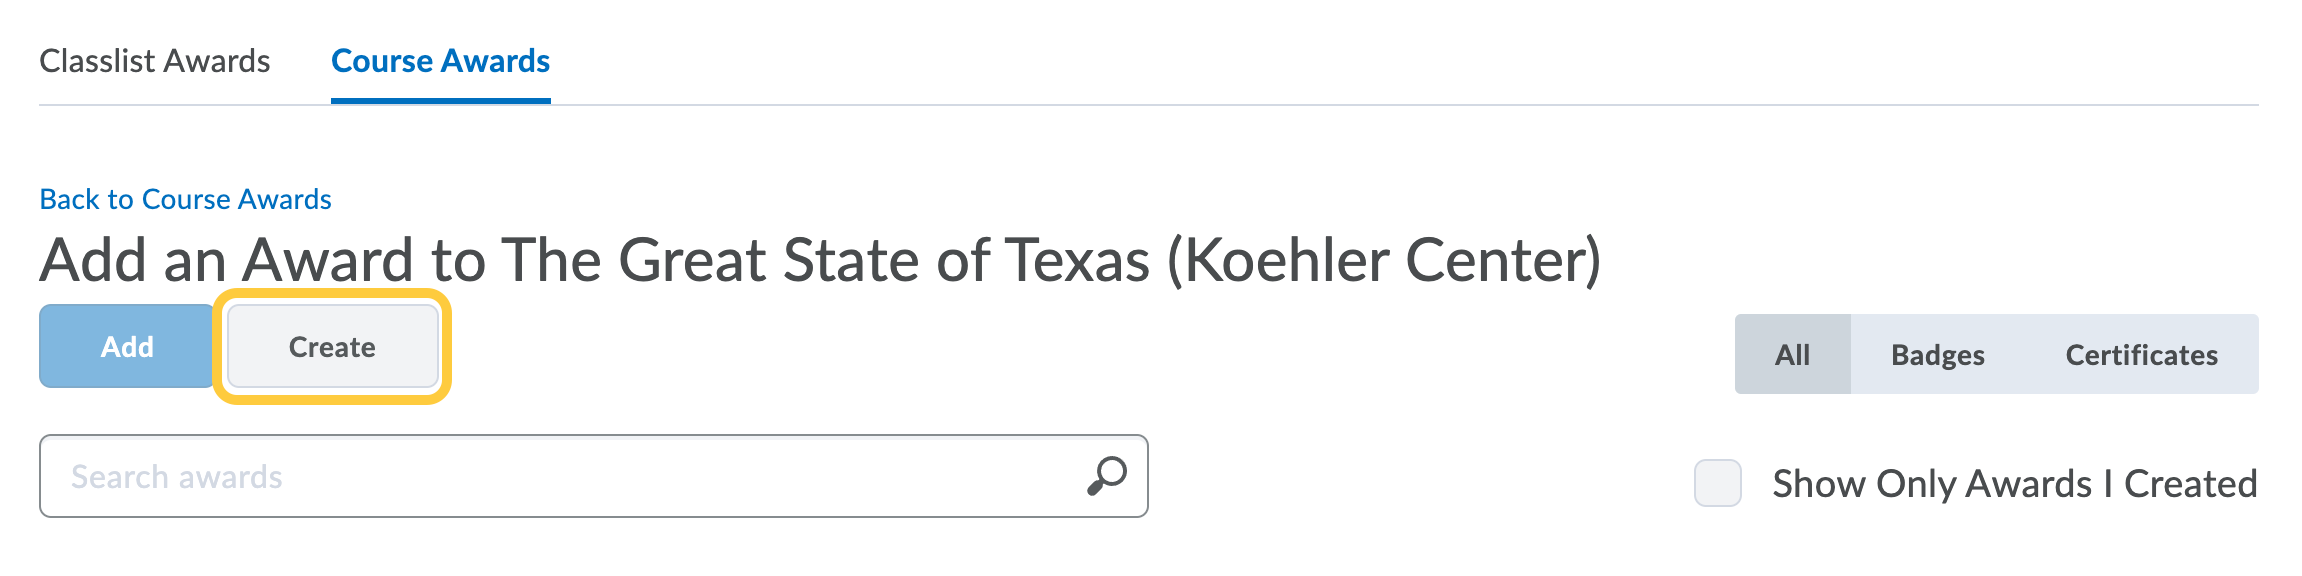
- Click Create Award.
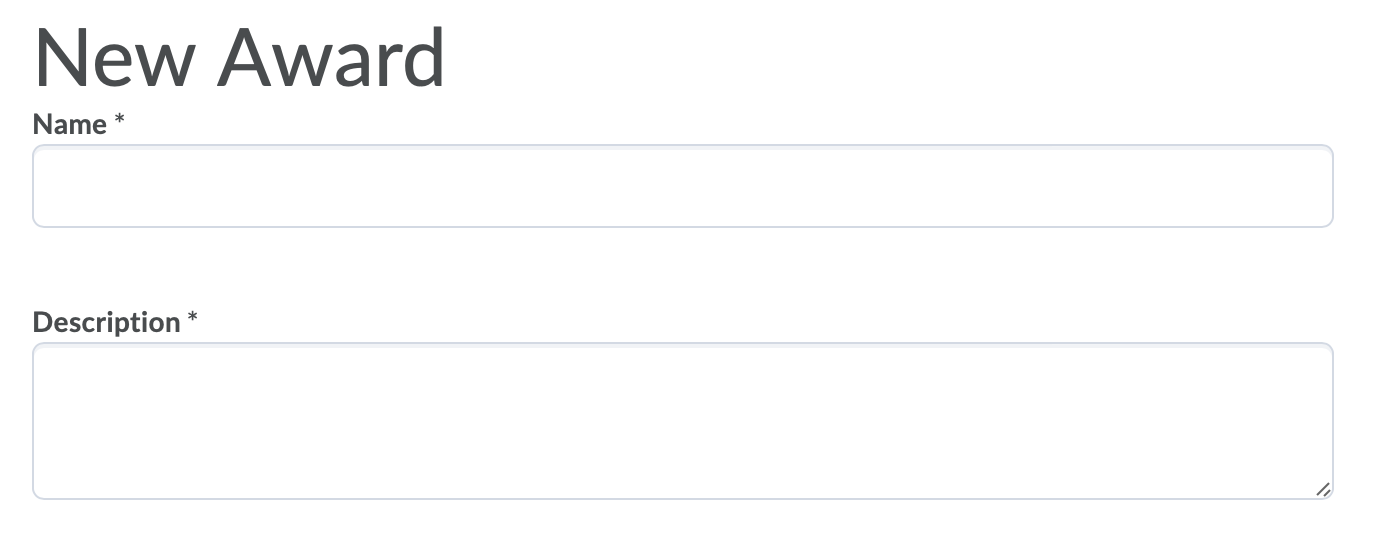
- Enter a name and description for the new award.
- Select the Badge award type from the drop-down list.

- Select the appropriate check boxes to indicate if you want the award to be available to other award managers, and where it is available within the org structure. We recommend the first option to Make this award available to all of your courses.

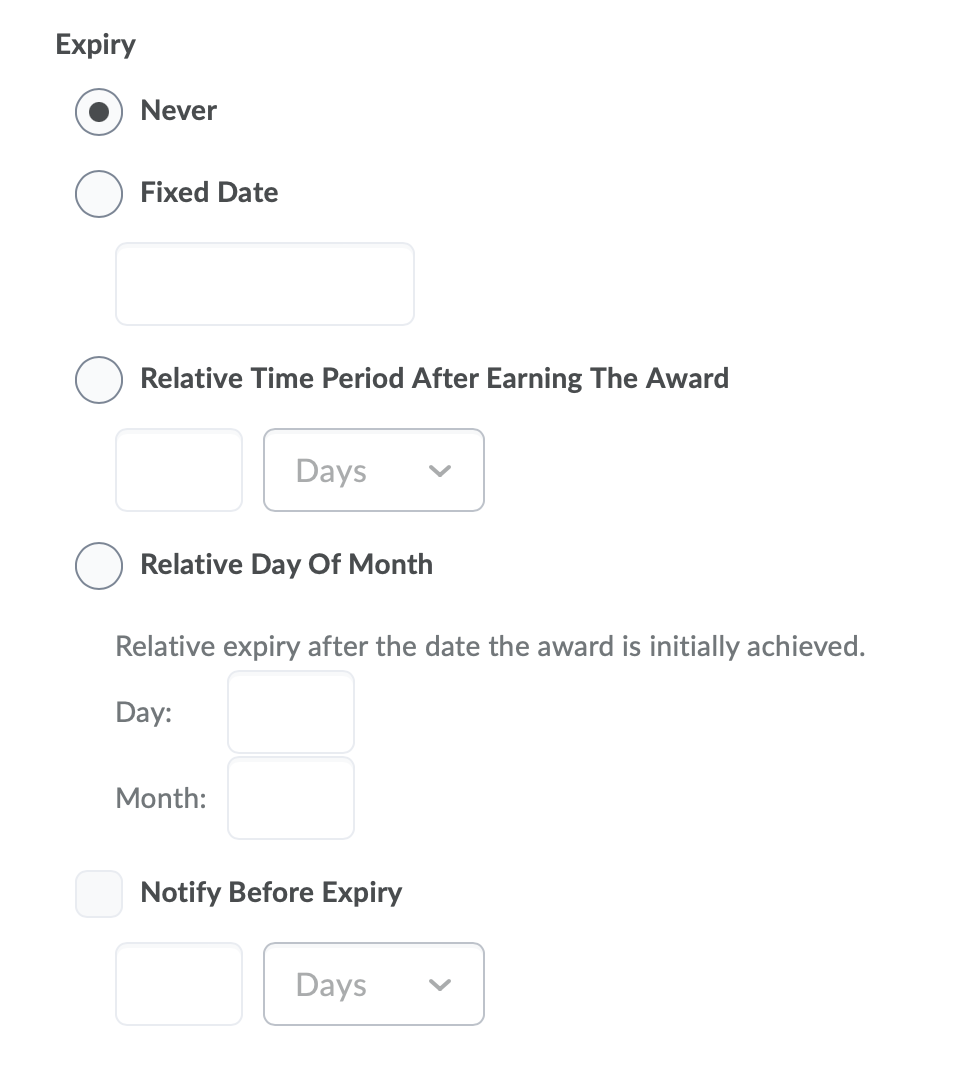
- Select the expiry options:
- If the award will not expire, select Never. Examples of awards that never expire are certificates of merit for passing a course, or badges for perfect attendance.
- If the award will expire on a specific date, select Fixed date. Examples of awards that will expire on a specific date are certifications for a skill that must be renewed, such as first aid training.
- If the award will expire on a day relative to the day the award was granted, select Relative Day of the Month. Examples of awards that expire on a relative date are badges for Learner of the Week or for having achieved 100% on a test or assignment.
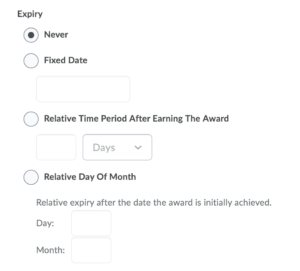
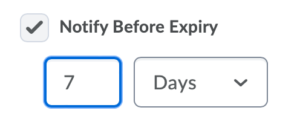
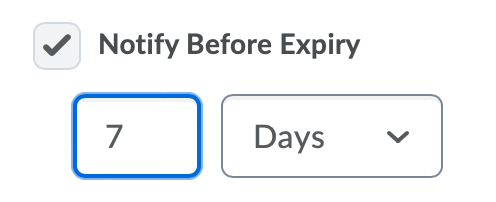
- If you chose to set an expiration date: (Optional) If you want to notify the award recipient before an award expires, select the check box and indicate the number of days of lead time.
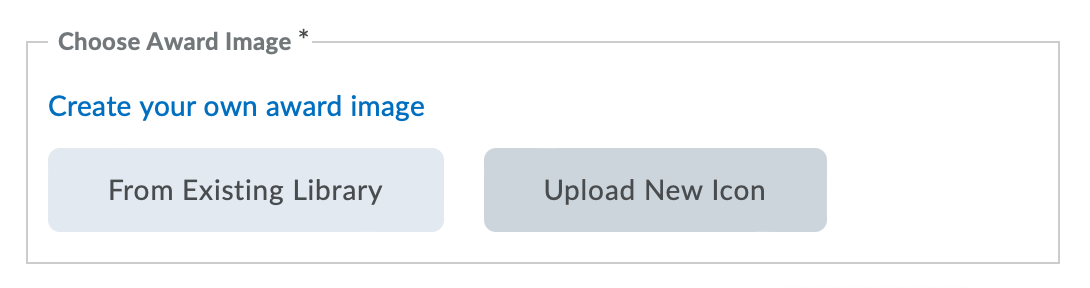
- In the Choose Award Image area, do one of the following:
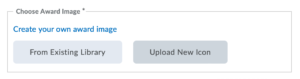
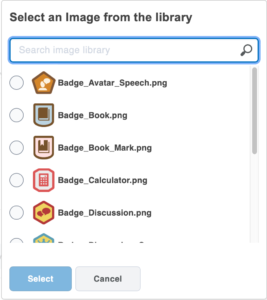
- To select an award image from the image library, click From Existing Library.
- If you want to add a new icon to the image library, click Upload New Icon. Then, locate the icon image on your computer, and upload it.
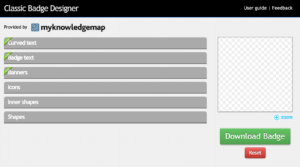
- To launch the OpenBadges website, click Create your own award image. OpenBadges is a free website that allows you to create custom icons.
- To select an award image from the image library, click From Existing Library.
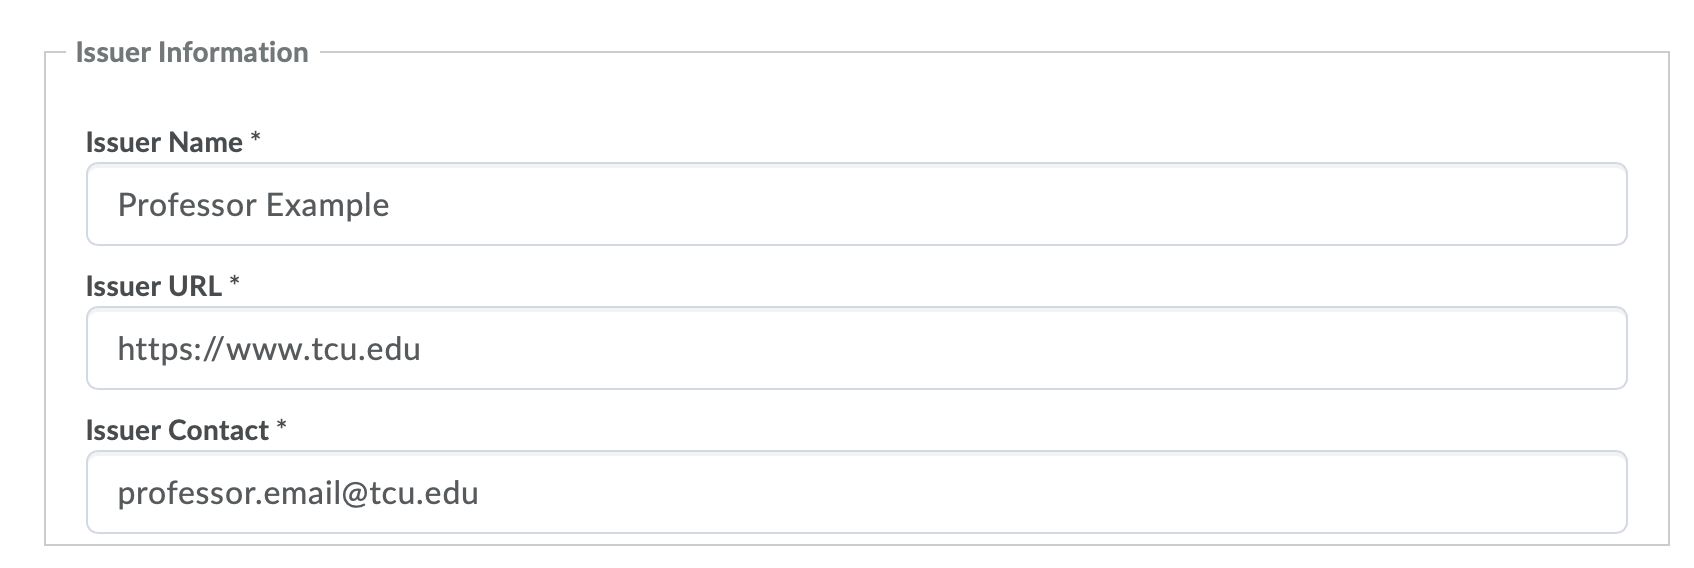
- Update the Issuer Information:
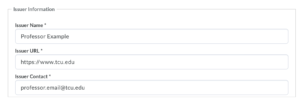
- Add your name or program in the Issue Name field.
- Update the Issuer URL. We recommend TCU’s website, your college’s website, or D2L.TCU.EDU.
- Issuer Contact: Add your email address
- Check the box for Use this award in <current course> now.
- Click Save and Close.
- The Badge will display in the Course Awards tab within the Awards tool.
- Follow the steps to Add release conditions to an award.

Create a Certificate & Add to Course
- On the nav bar, click the Assessment menu, then select Awards.
- Click Course Awards then click Add Award to Course.
- Click Create Award.
- Enter a name and description for the new award.
- Select the certificate award type from the drop-down list.

- Select the appropriate check boxes to indicate if you want the award to be available to other award managers, and where it is available within the org structure. We recommend the first option to Make this award available to all of your courses.
- Select the expiry options:
- If the award will not expire, select Never. Examples of awards that never expire are certificates of merit for passing a course, or badges for perfect attendance.
- If the award will expire on a specific date, select Fixed date. Examples of awards that will expire on a specific date are certifications for a skill that must be renewed, such as first aid training.
- If the award will expire on a day relative to the day the award was granted, select Relative Day of the Month. Examples of awards that expire on a relative date are badges for Learner of the Week or for having achieved 100% on a test or assignment.
- If you chose to set an expiration date: (Optional) If you want to notify the award recipient before an award expires, select the check box and indicate the number of days of lead time.
- In the Choose Award Image area, do one of the following:
- To select an award image from the image library, click From Existing Library.
- If you want to add a new icon to the image library, click Upload New Icon. Then, locate the icon image on your computer, and upload it.
- To launch the OpenBadges website, click Create your own award image. OpenBadges is a free website that allows you to create custom icons.
- To select an award image from the image library, click From Existing Library.
- In the Choose Certificate Template area, do one of the following:
- If the PDF template already exists in the image library, click From Existing Library.
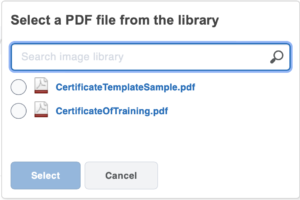
- If you want to add a new template to the image library, click Upload New Template. Then, locate the pdf image on your computer, and upload it. To learn about creating template from scratch, follow the steps to Create New Certificate Templates.
- If the PDF template already exists in the image library, click From Existing Library.
- Update the Issuer Information:
- Add your name or program in the Issue Name field.
- Update the Issuer URL. We recommend TCU’s website, your college’s website, or D2L.TCU.EDU.
- Issuer Contact: Add your email address
- Check the box for Use this award in <current course> now.
- Click Save and Close.
- The certificate will display in the Course Awards tab within the Awards tool.

- Follow the steps to Add release conditions to an award.
