Create a Module Visible Only to One Section in a Combined Course
If you wish to create a content module visible to all enrolled users in your course, follow the steps to Create a Module. As a reminder, you must create a module before you can add content topics. You can create sub-modules (modules within existing modules) to establish a deeper hierarchy.
The steps below will set a module or sub-module to be visible only to a specific section in a combined course.
- On the nav bar in your course, click Content.

- If you already have a module already created, skip this step. Otherwise, under the Table of Contents, click on the box with the text Add a module field then enter the name of your new module and then press Enter/Return on your keyboard.

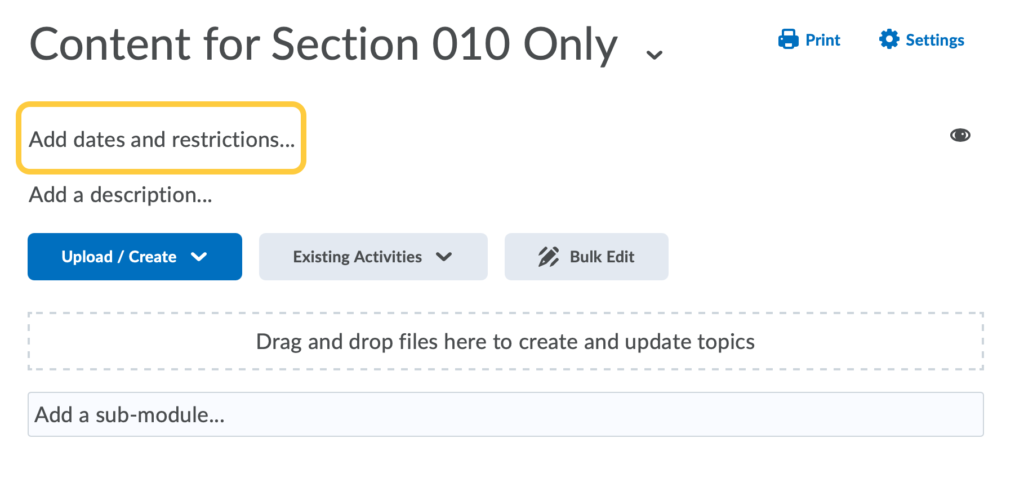
- After creating the module, click Dates and Restrictions for that module in the main area of the page.
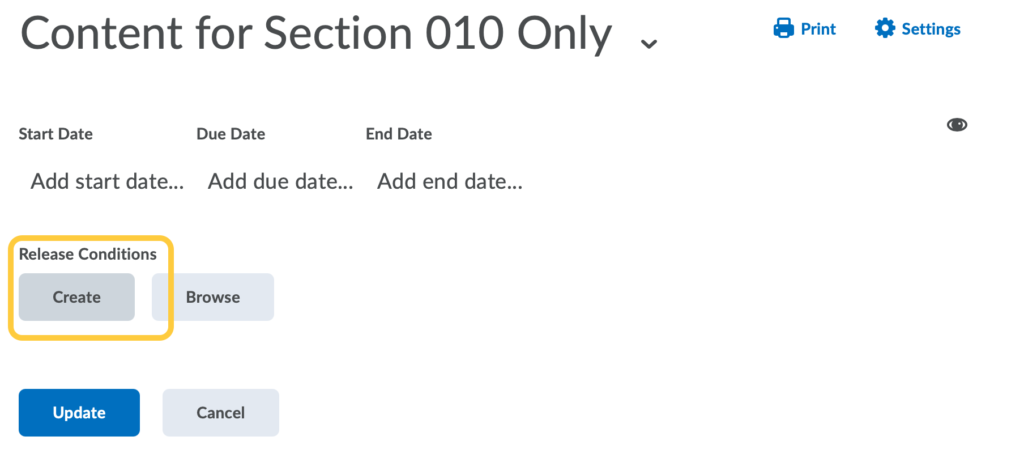
- Under Release Conditions, click the Create button.
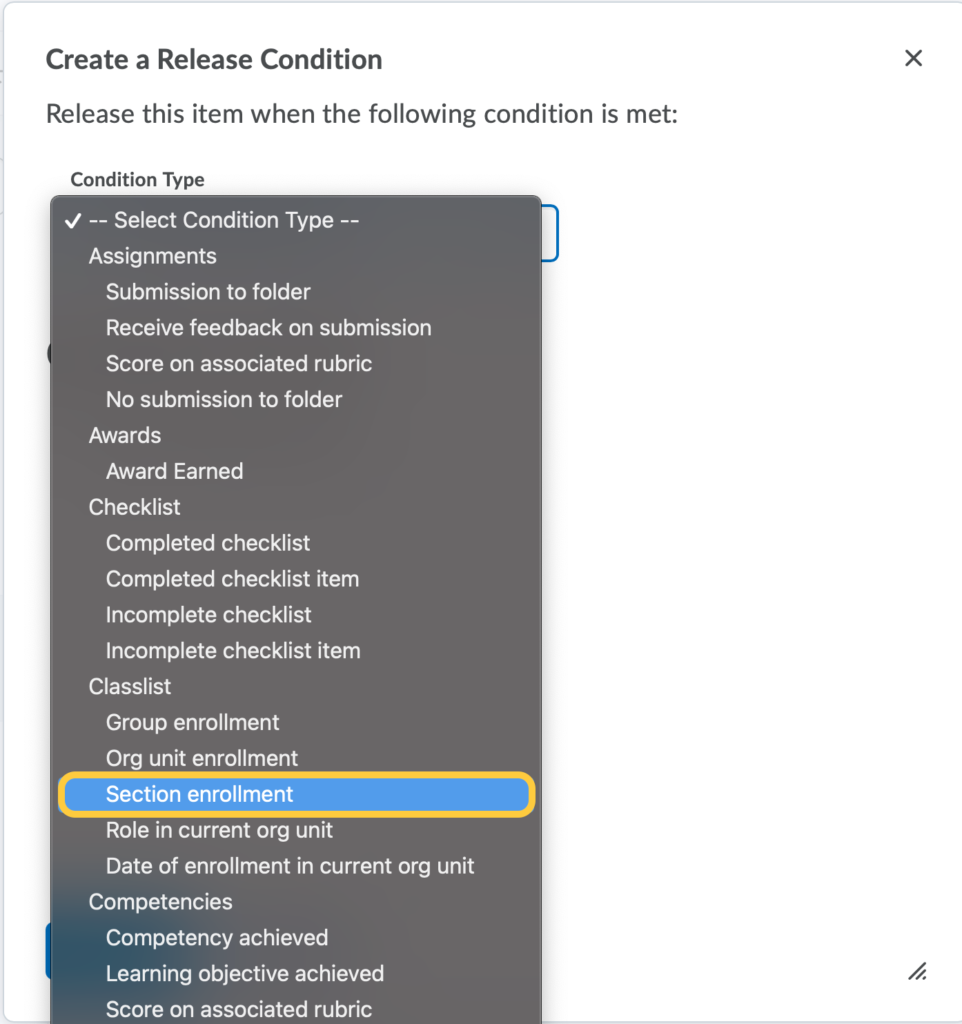
- In the pop-up window that opens, select the condition type Section Enrollment.
- Define the condition details by selecting the section for which you wish to restrict the module.
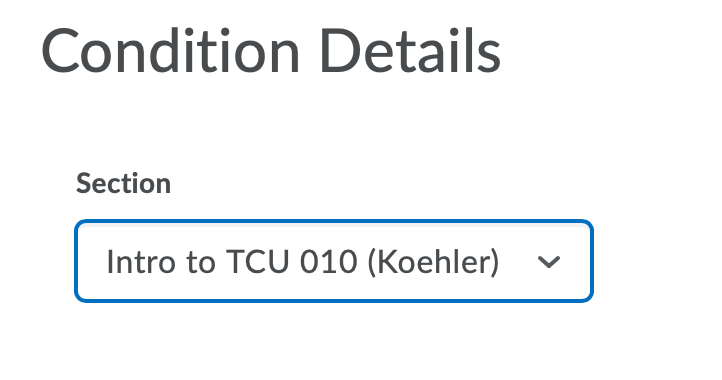
- Click Create to save your choices and close the pop-up window.
- These steps can be repeated to select different condition types if desired. If multiple conditions are used, we recommend selecting that students must meet all conditions in order to see the content. Example: You can release the module only to users in section 010, who have also submitted their Paper #1.
- The release condition(s) you create will display within the module settings. Click Update to apply the restrictions.
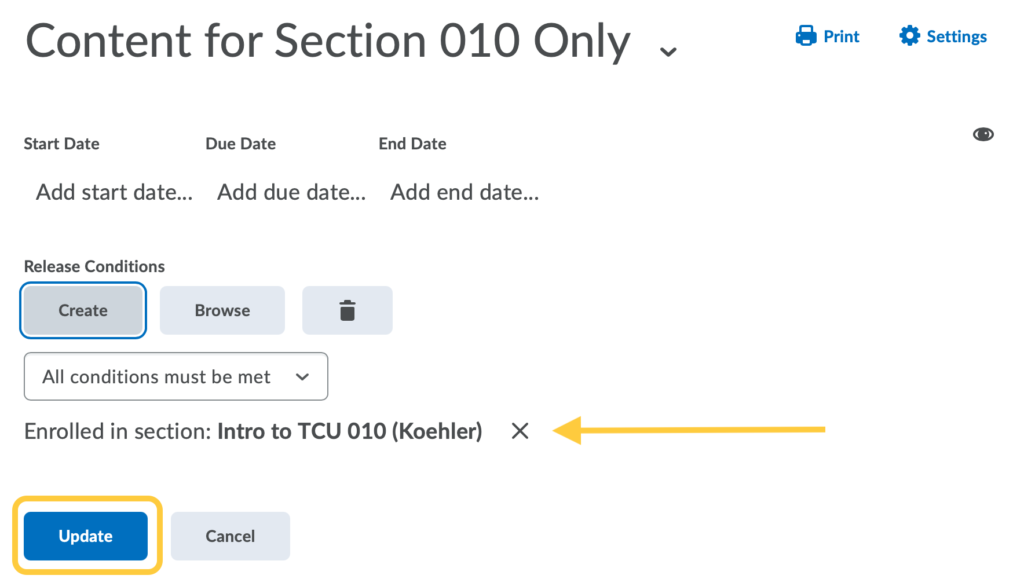
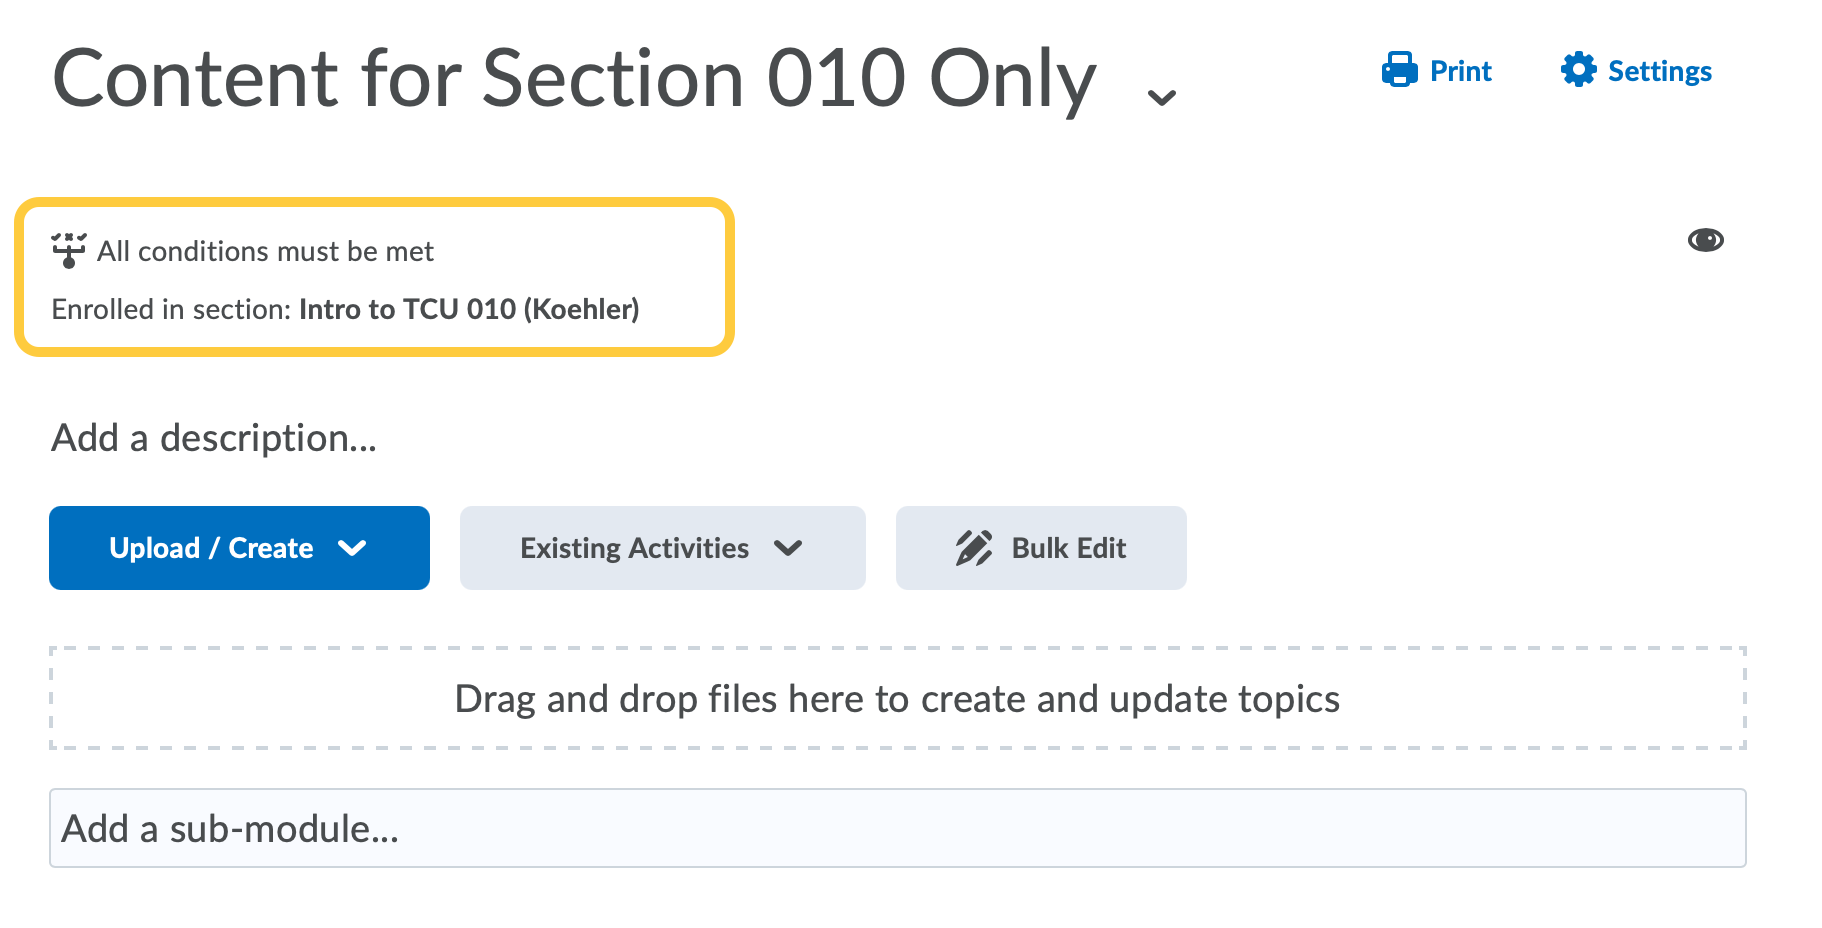
- Now, when viewing the module as an instructor, the release conditions you set will display under the module title.