Create a File in the Locker Tool
Create a File in Your Personal Locker
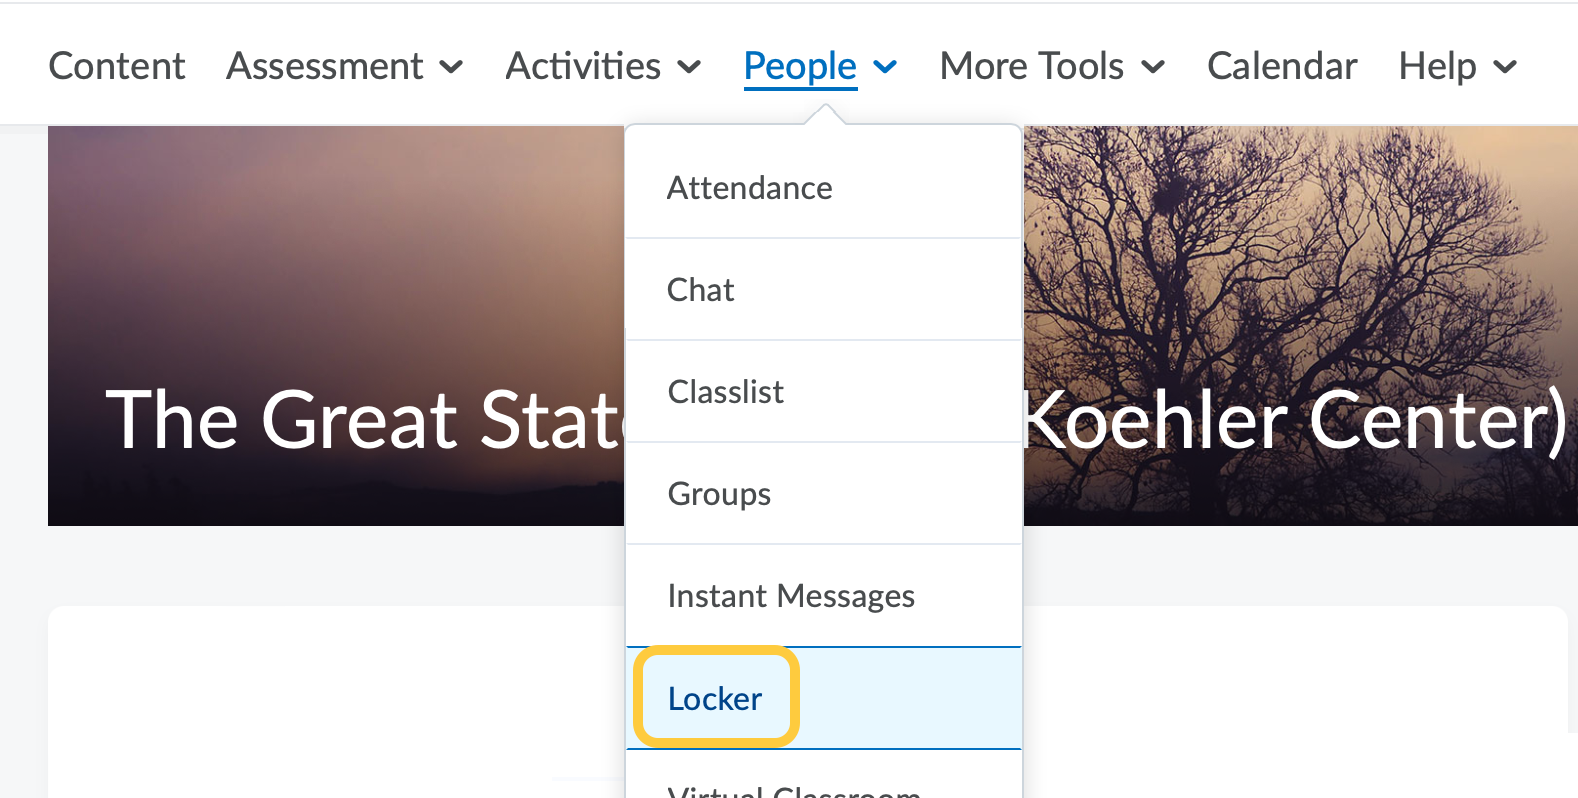
- On the nav bar, click the People menu, then select Locker.
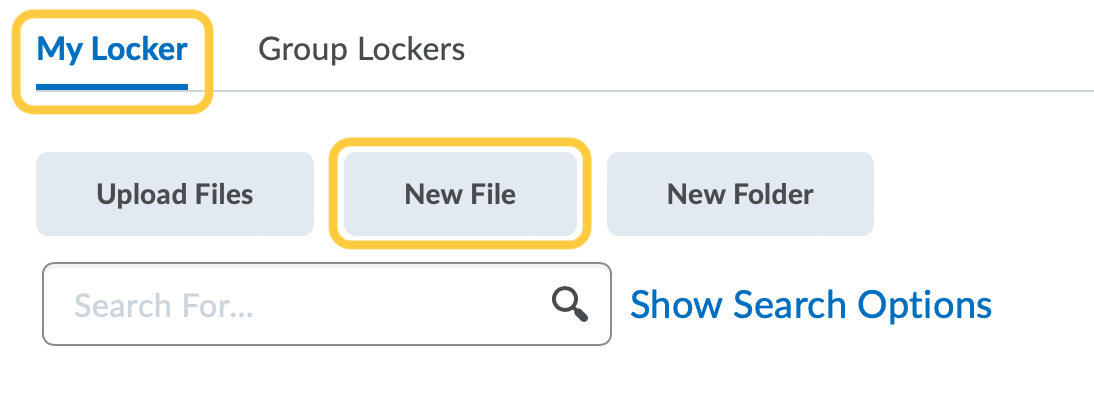
- From the My Locker tab, click New File.
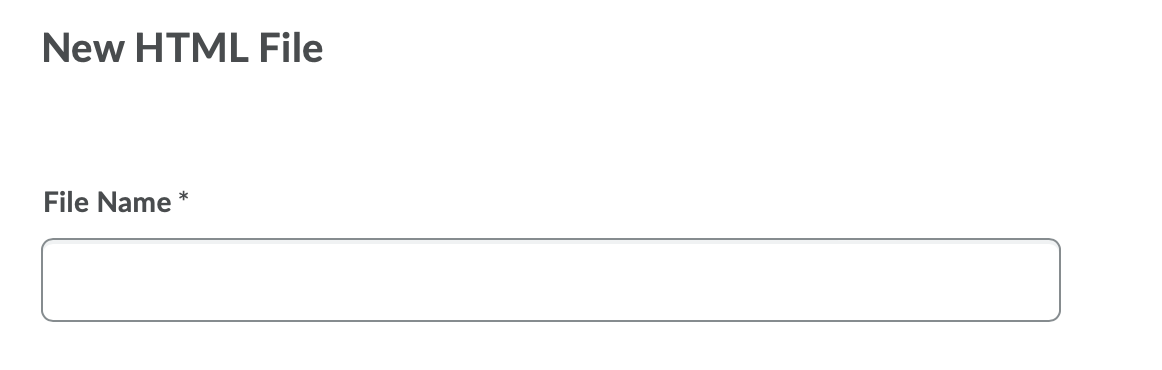
- Enter a File Name.
- In the Folder section, click Choose Destination to change or add the folder destination. The default location is My Locker.

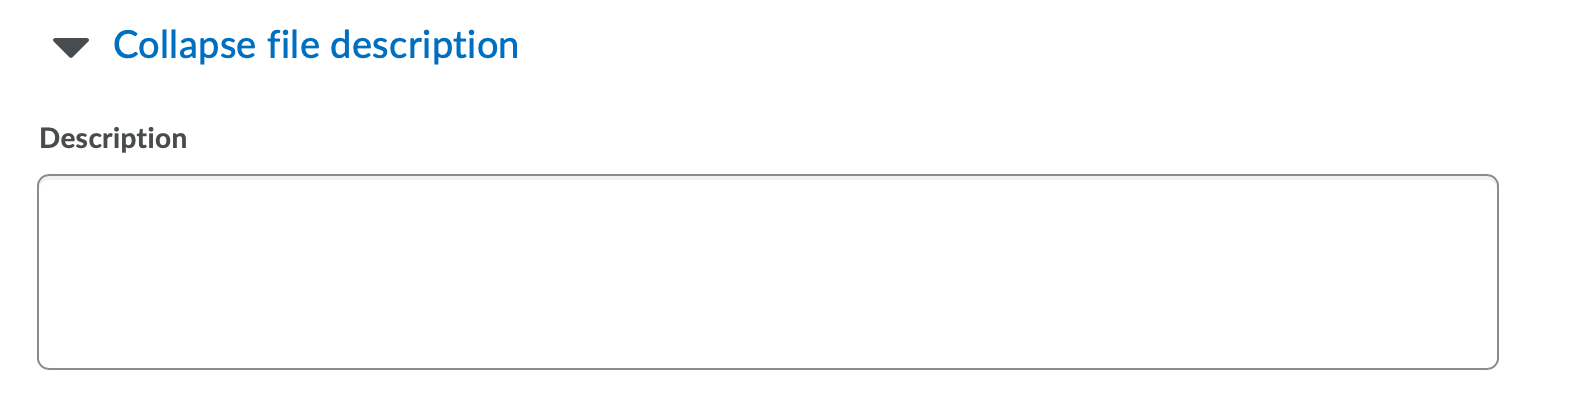
- Optional: Enter a Description for the file.
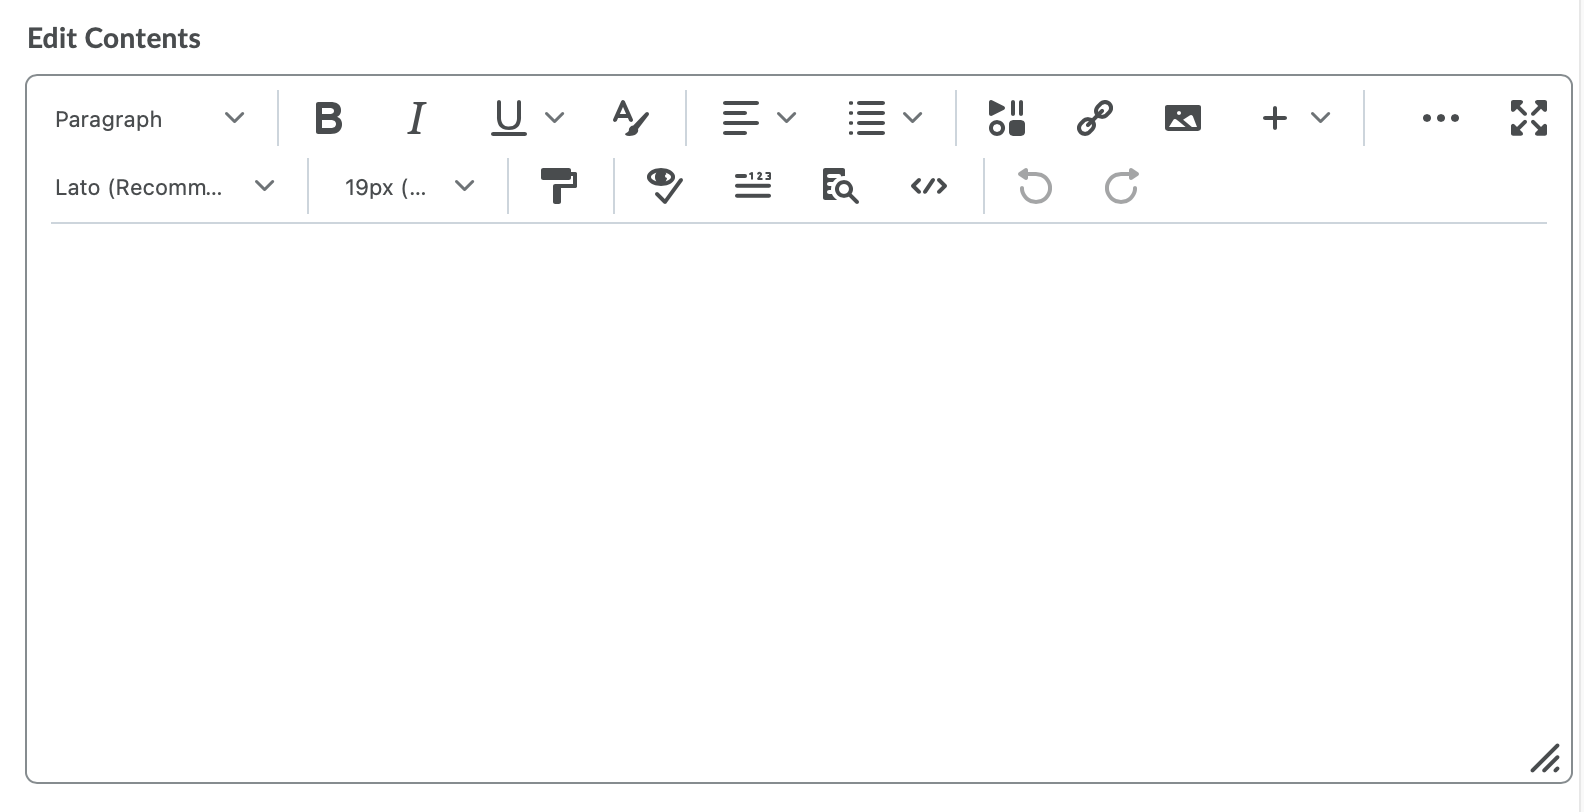
- In the Edit Contents field, enter the content you want to go in the file. Use the HTML editor to format text, add links, images, and embed multimedia. Learn more about how to Format HTML Course Content.
- Click Create to create and save your file.
Create a File in a Group Locker
- On the nav bar, click the People menu, then select Locker.
- Click the Group Lockers tab, then click New File.

- Enter a File Name.
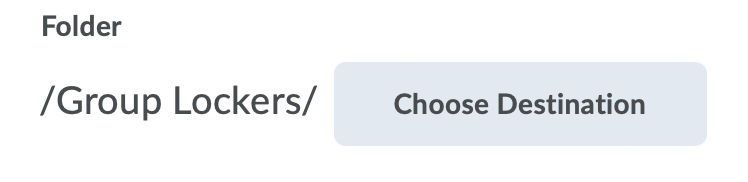
- In the Folder section, click Choose Destination to change or add the folder destination. The default location is My Locker.
- Optional: Enter a Description for the file.
- In the Edit Contents field, enter the content you want to go in the file. Use the HTML editor to format text, add links, images, and embed multimedia. Learn more about how to Format HTML Course Content.
- Click Create to create and save your file.