On the nav bar, click the Activities menu, then select Checklist.
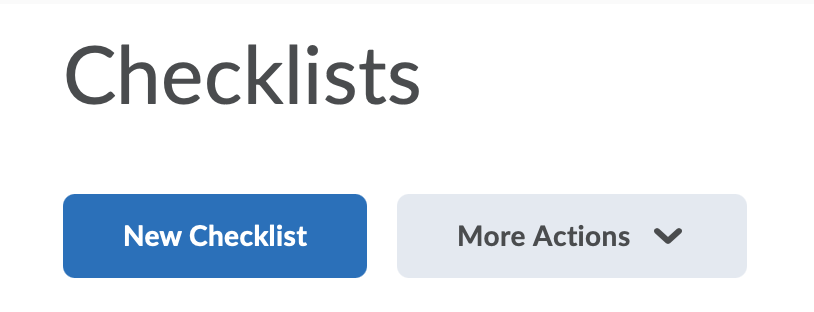
Click New Checklist.
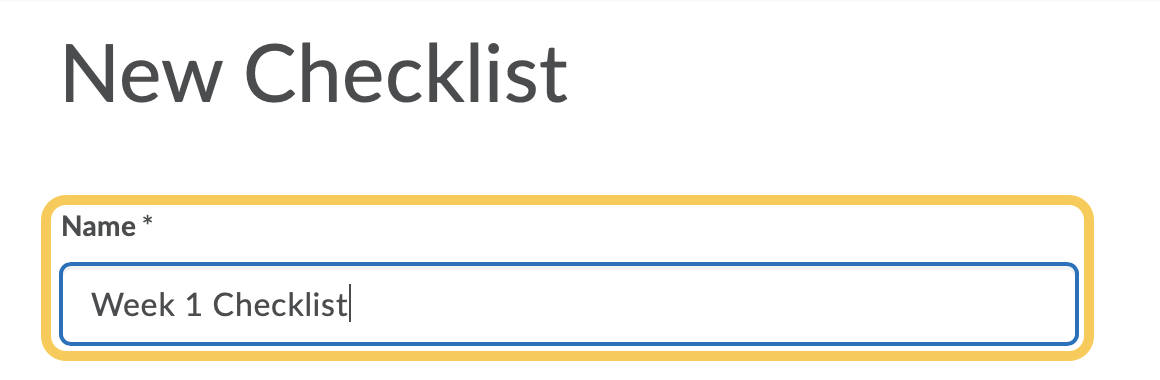
In the Name field, enter the title of your checklist. (Required)
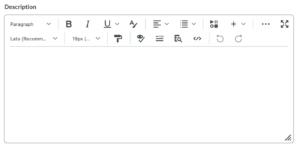
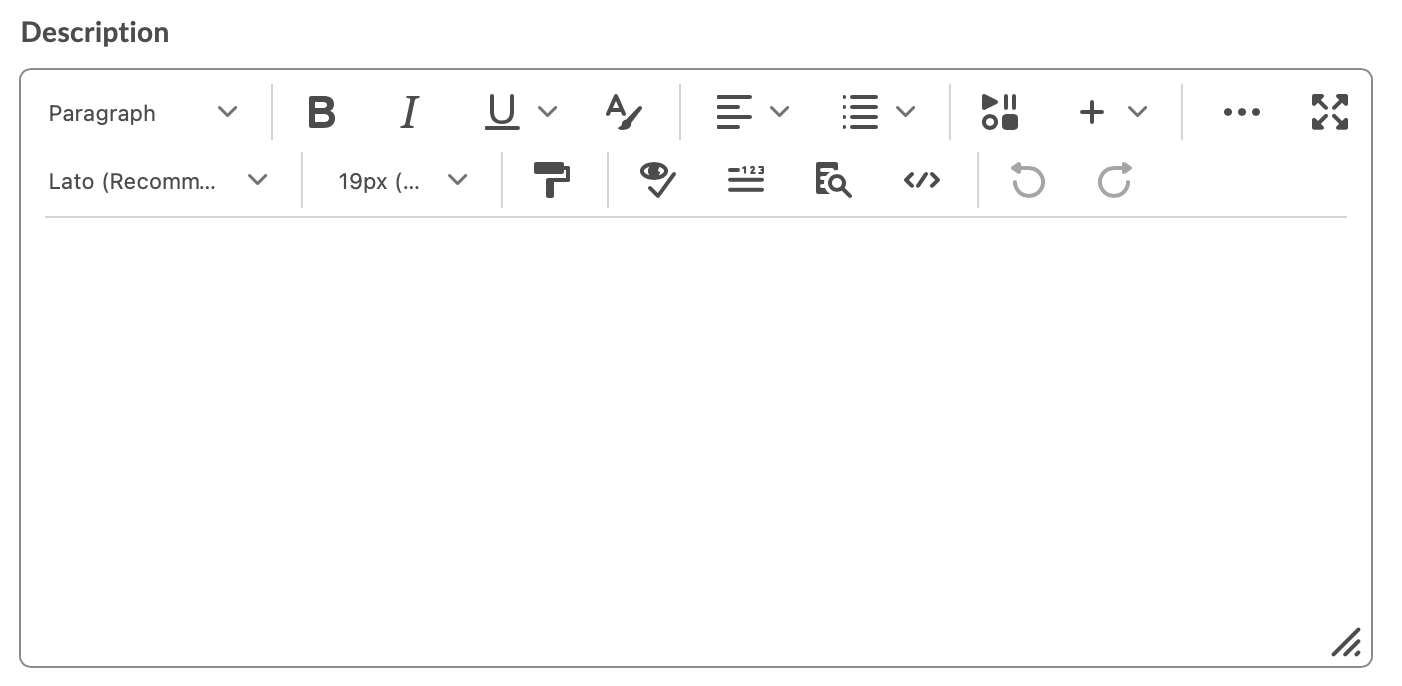
Optional: Add a Description of the checklist. Use the HTML editor to format text, add links, images, and embed multimedia. Learn more about how to Format HTML Course Content.
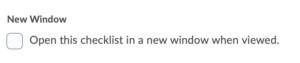
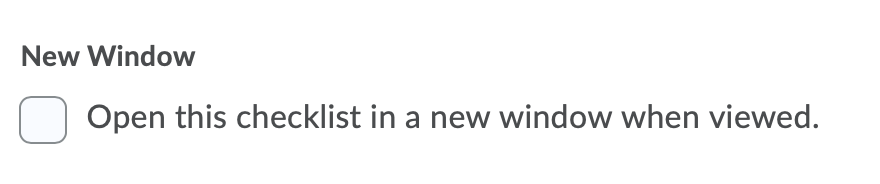
Optional: Check the box to Open this checklist in a new window when viewed.
Click Save.
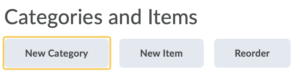
In the Categories and Items section of the page, do any of the following. Note: Checklist items must reside in a category:
Create a Category
To add a category to the checklist, click New Category.
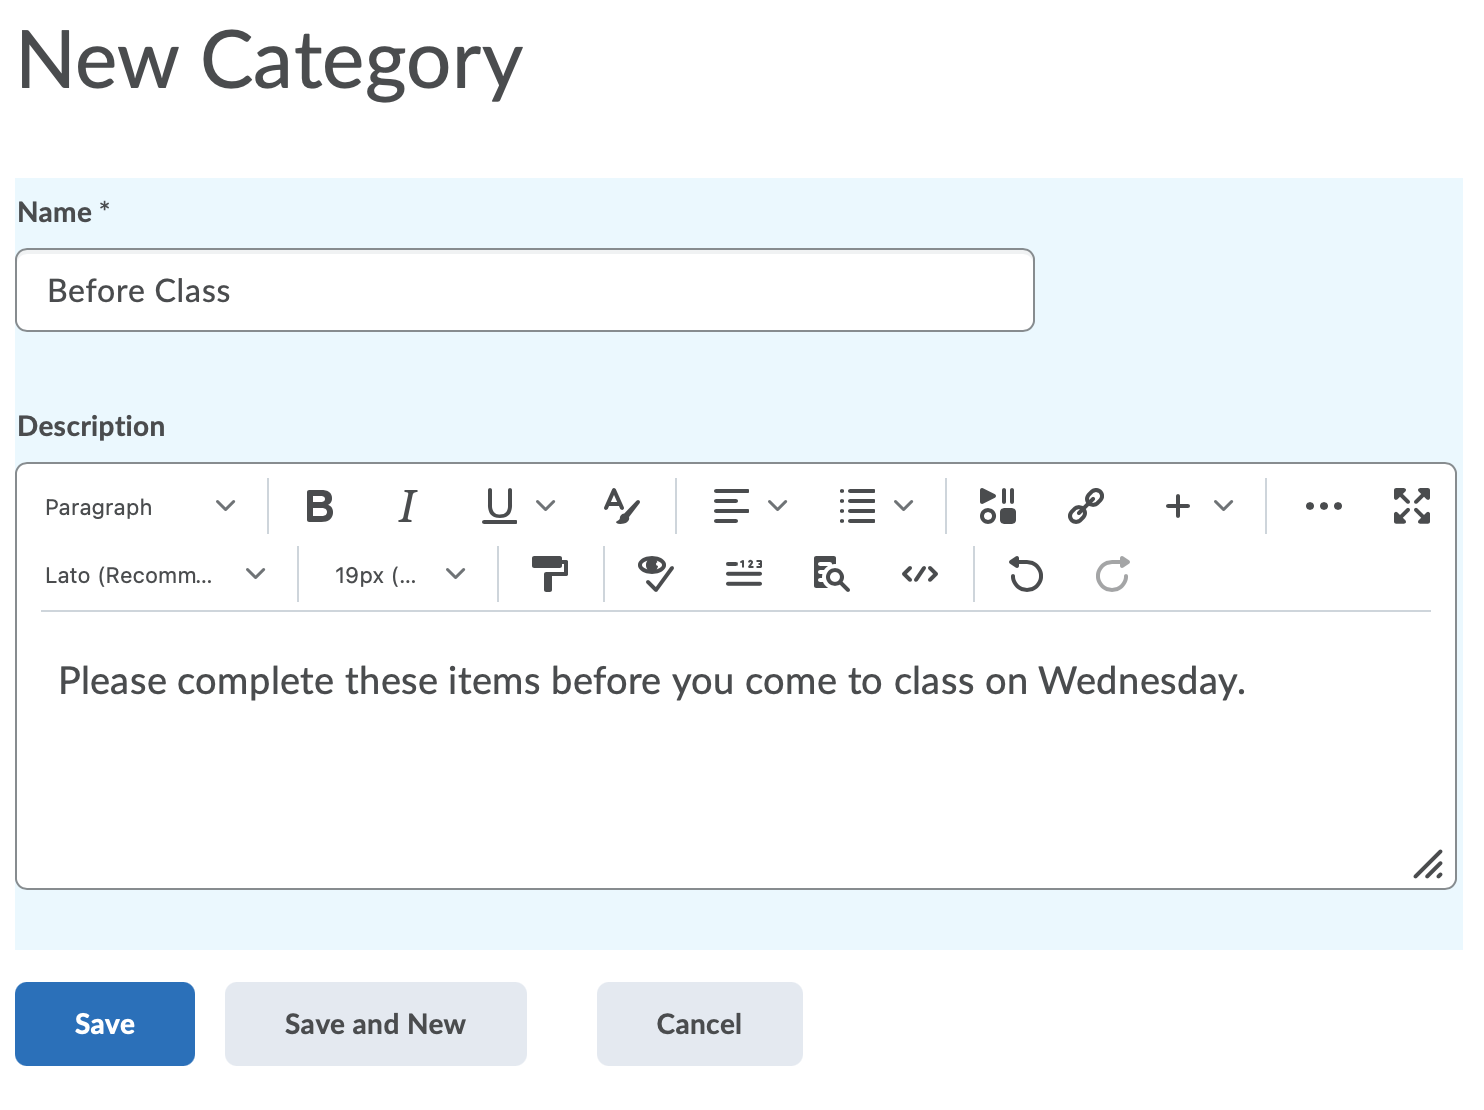
Enter the category Name and Description. Use the HTML editor to format text, add links, images, and embed multimedia. Learn more about how to Format HTML Course Content.
Click Save or Save and New to create more categories.
Create a Checklist Item
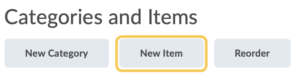
To add an item to the checklist, click New Item.
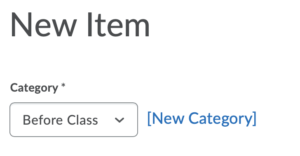
From the Category drop-down list, select the category for your item.
Enter the checklist item Name (Required).
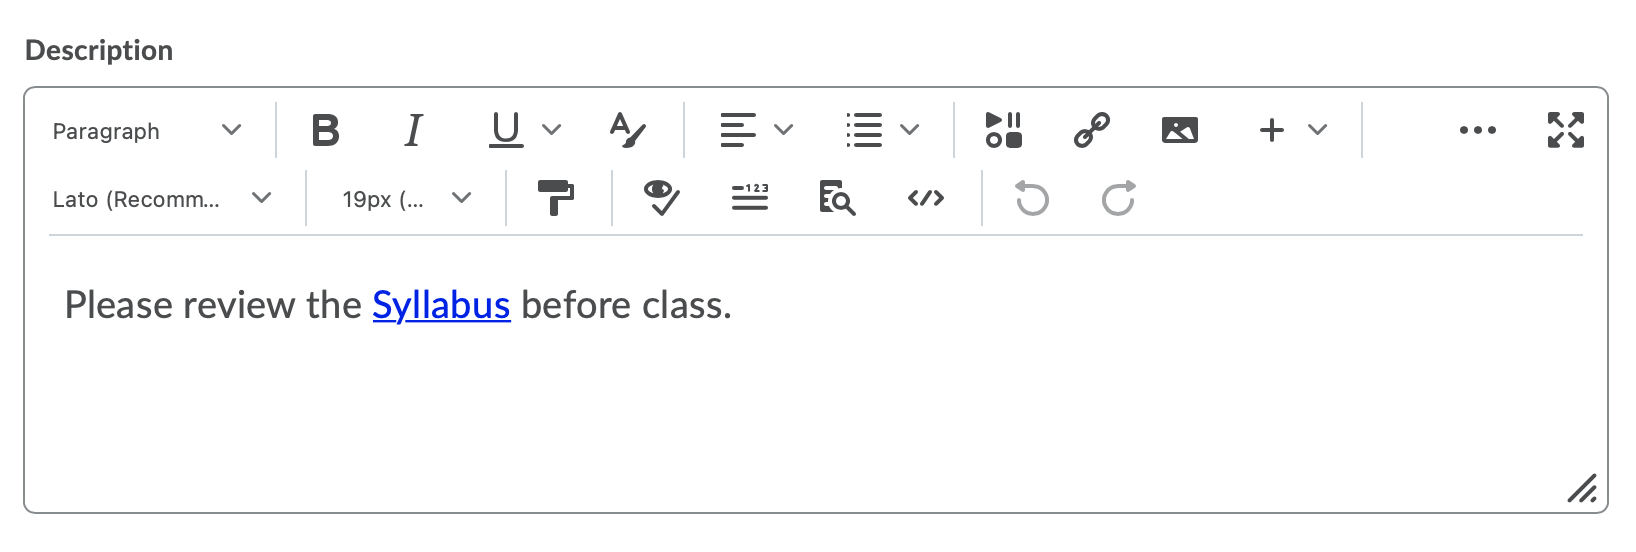
Optional: Enter a Description. Use the HTML editor to format text, add links, images, and embed multimedia. Learn more about how to Format HTML Course Content.
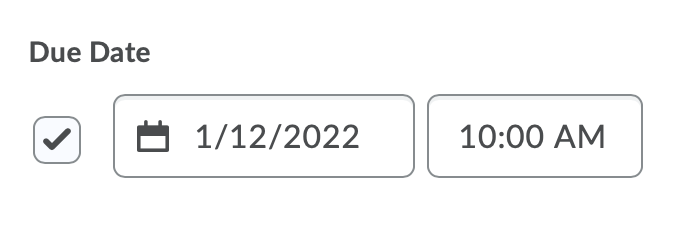
Optional: Add a Due Date – If you want the item to be due by a certain date or time, select the check box and set a Due Date. Note: The default due date for a checklist item is one month from the current date.
Optional: If you set a due date in the previous set, check the box to Display in Calendar. Note: Before checking the Display in Calendar checkbox, consider whether you have already displayed that item in the calendar from the originating tool. If yes, do not display the date in the calendar in the checklist as it will create a duplicate entry in the student’s calendar.
Click Save.
Repeat the Create a Category and/or Create an Item steps until you’ve added all your content to the checklist.