Upload a File to the Locker Tool
Upload Files in Your Personal Locker
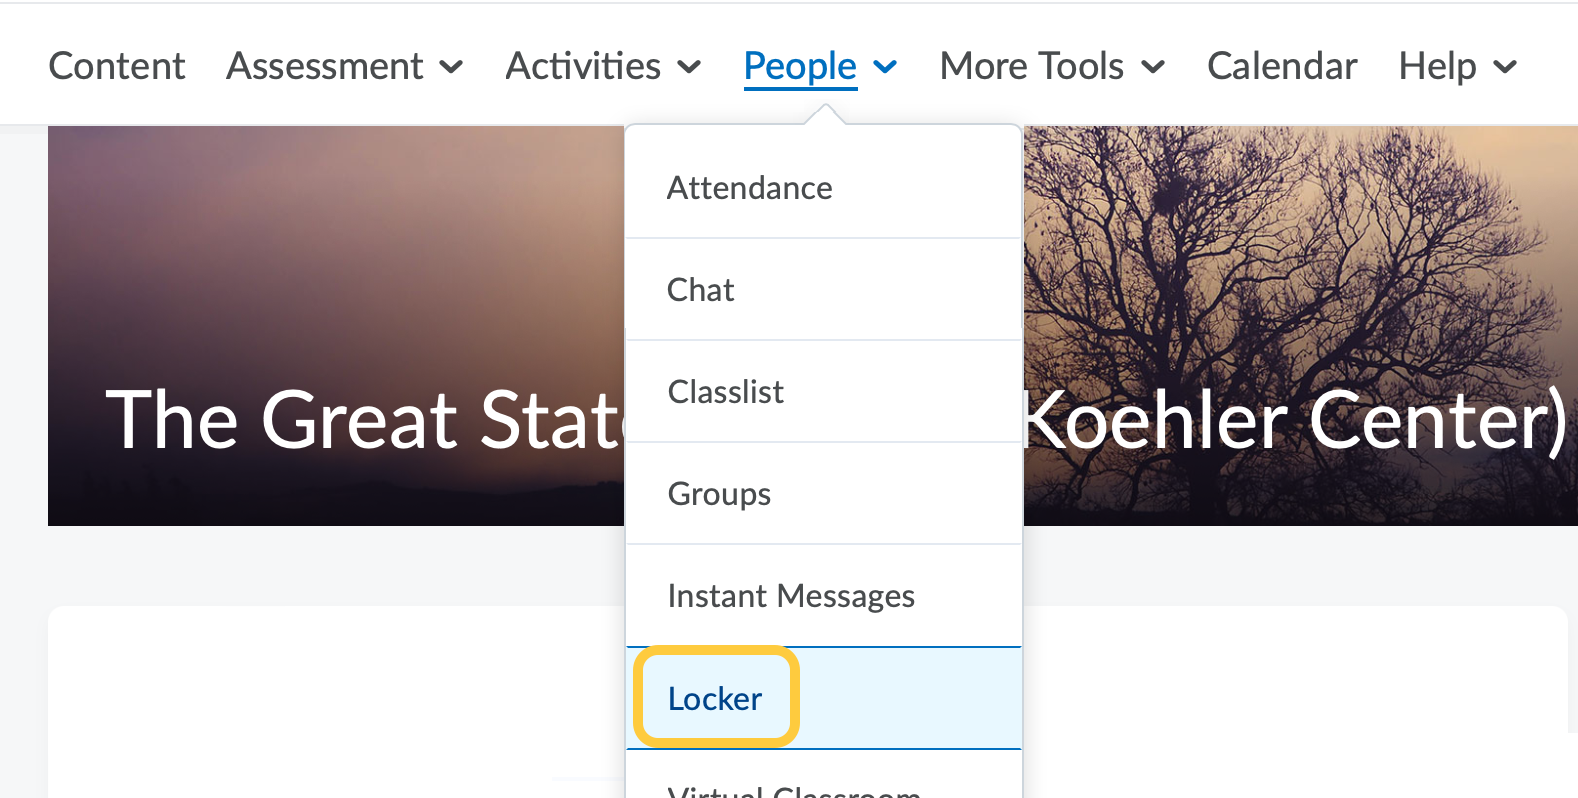
- On the nav bar, click the People menu, then select Locker.
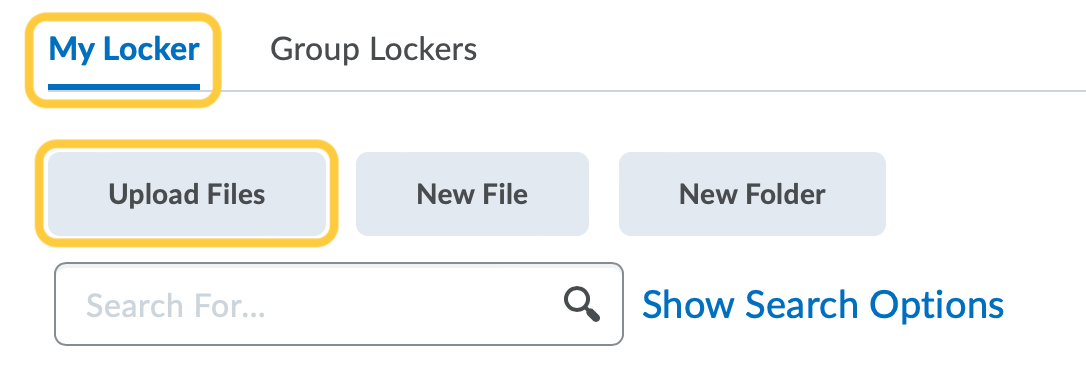
- From the My Locker tab, click Upload Files..
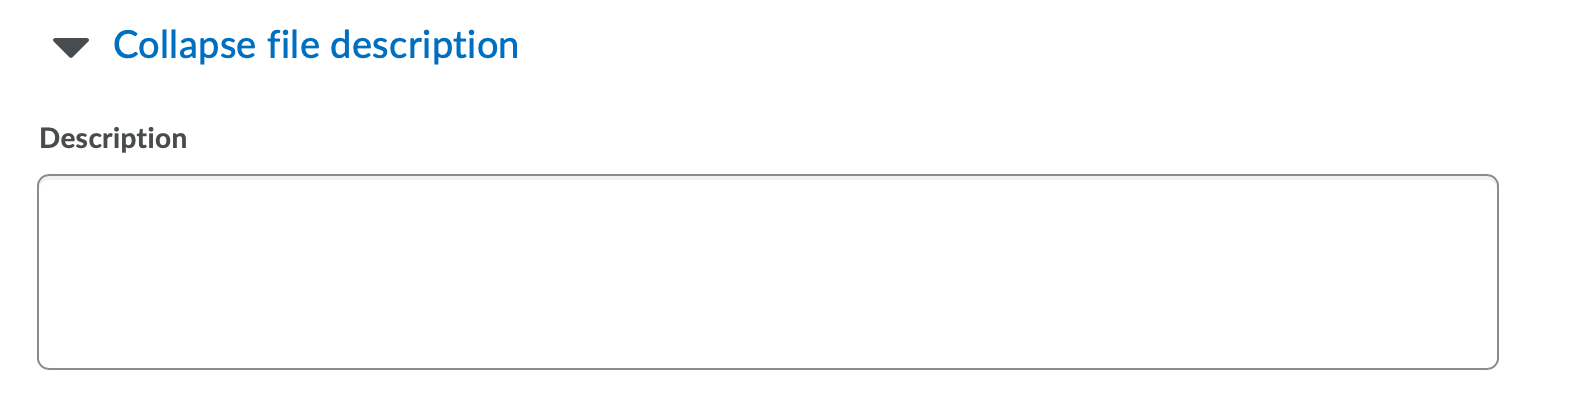
- Optional: Enter a Description for the file.
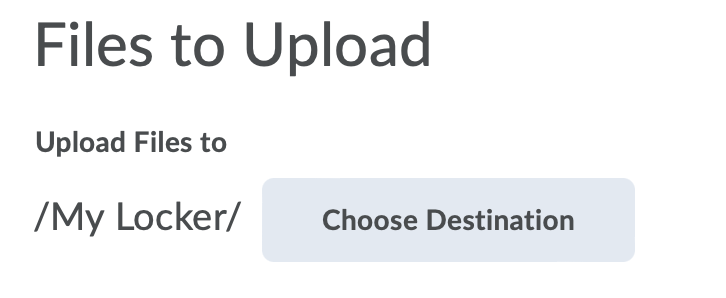
- In the Folder section, click Choose Destination to change or add the folder destination. The default location is My Locker.
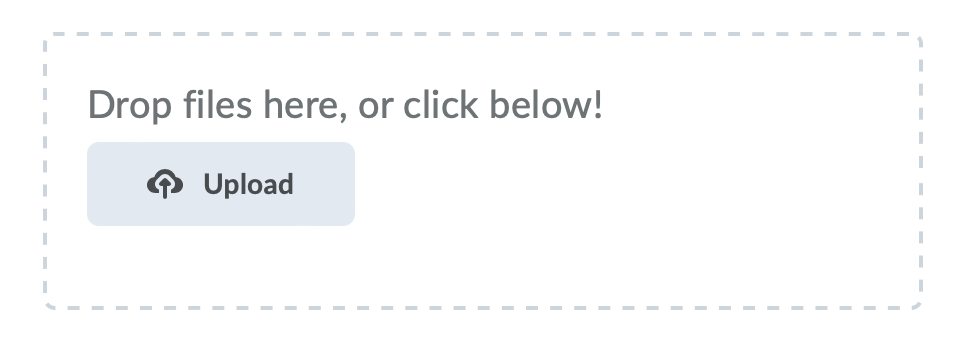
- Drag & drop your file(s) into the upload area, or click Upload to select your file from your computer. Note: Restricted locker file formats: For security reasons, you cannot upload applications or programs to your locker. For example, you cannot upload files with the extension types: .asp, .bat, .config, .dll, or .exe.
- Click Save.
Upload Files in a Group Locker
- On the nav bar, click the People menu, then select Locker.
- Click the Group Lockers tab, then click Upload Files.
 .
.
- Optional: Enter a Description for the file.
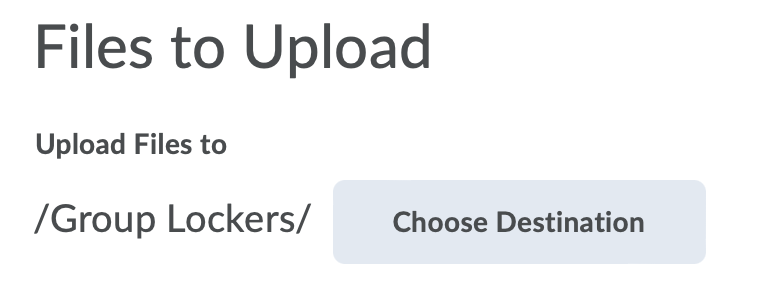
- In the Folder section, click Choose Destination to change or add the folder destination. The default location is the Group Locker.
- Drag & drop your file(s) into the upload area, or click Upload to select your file from your computer. Note: Restricted locker file formats: For security reasons, you cannot upload applications or programs to your locker. For example, you cannot upload files with the extension types: .asp, .bat, .config, .dll, or .exe.
- Click Save.