Schedule a Meeting with Virtual Classroom in TCU Online for a Specific Section in a Combined Course
Follow these steps to schedule a meeting in zoom for a specific section in a combined course using the Virtual Classroom tool in TCU Online.
Only students invited to the meeting will see the meeting in the Calendar tool and Virtual Classroom tool.
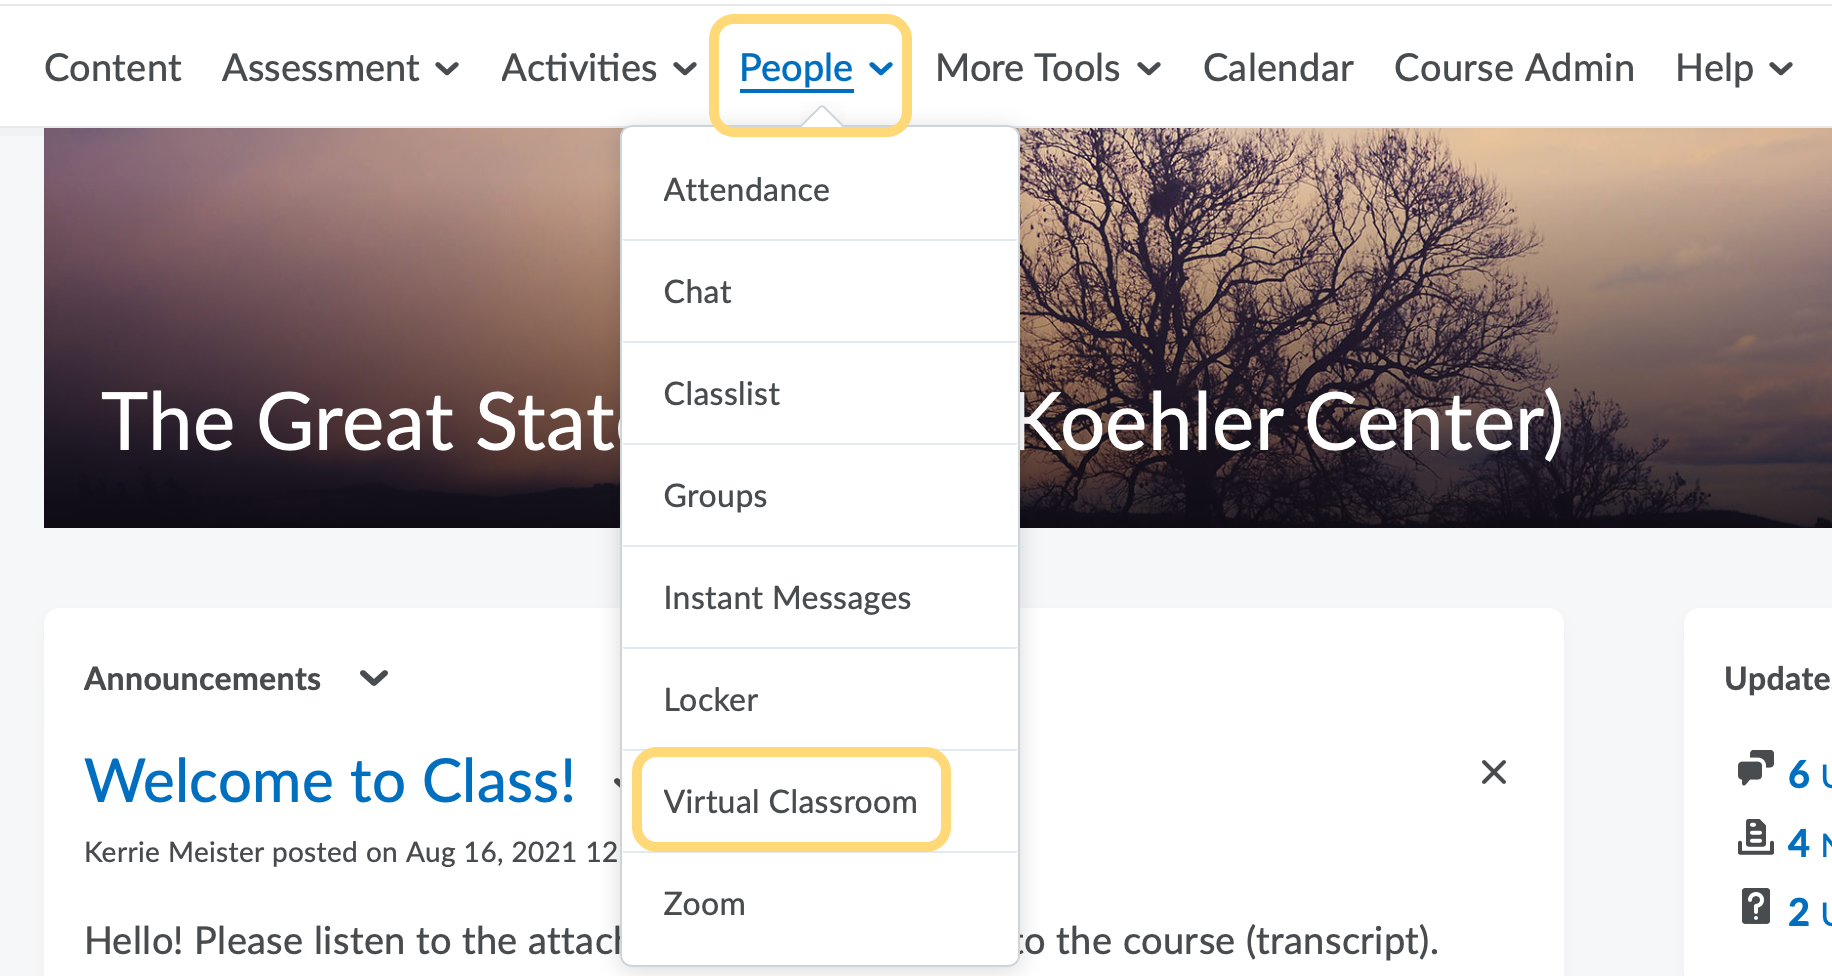
- On the nav bar, click the People menu, then select Virtual Classroom.
- If prompted, give authorization to access Bongo.
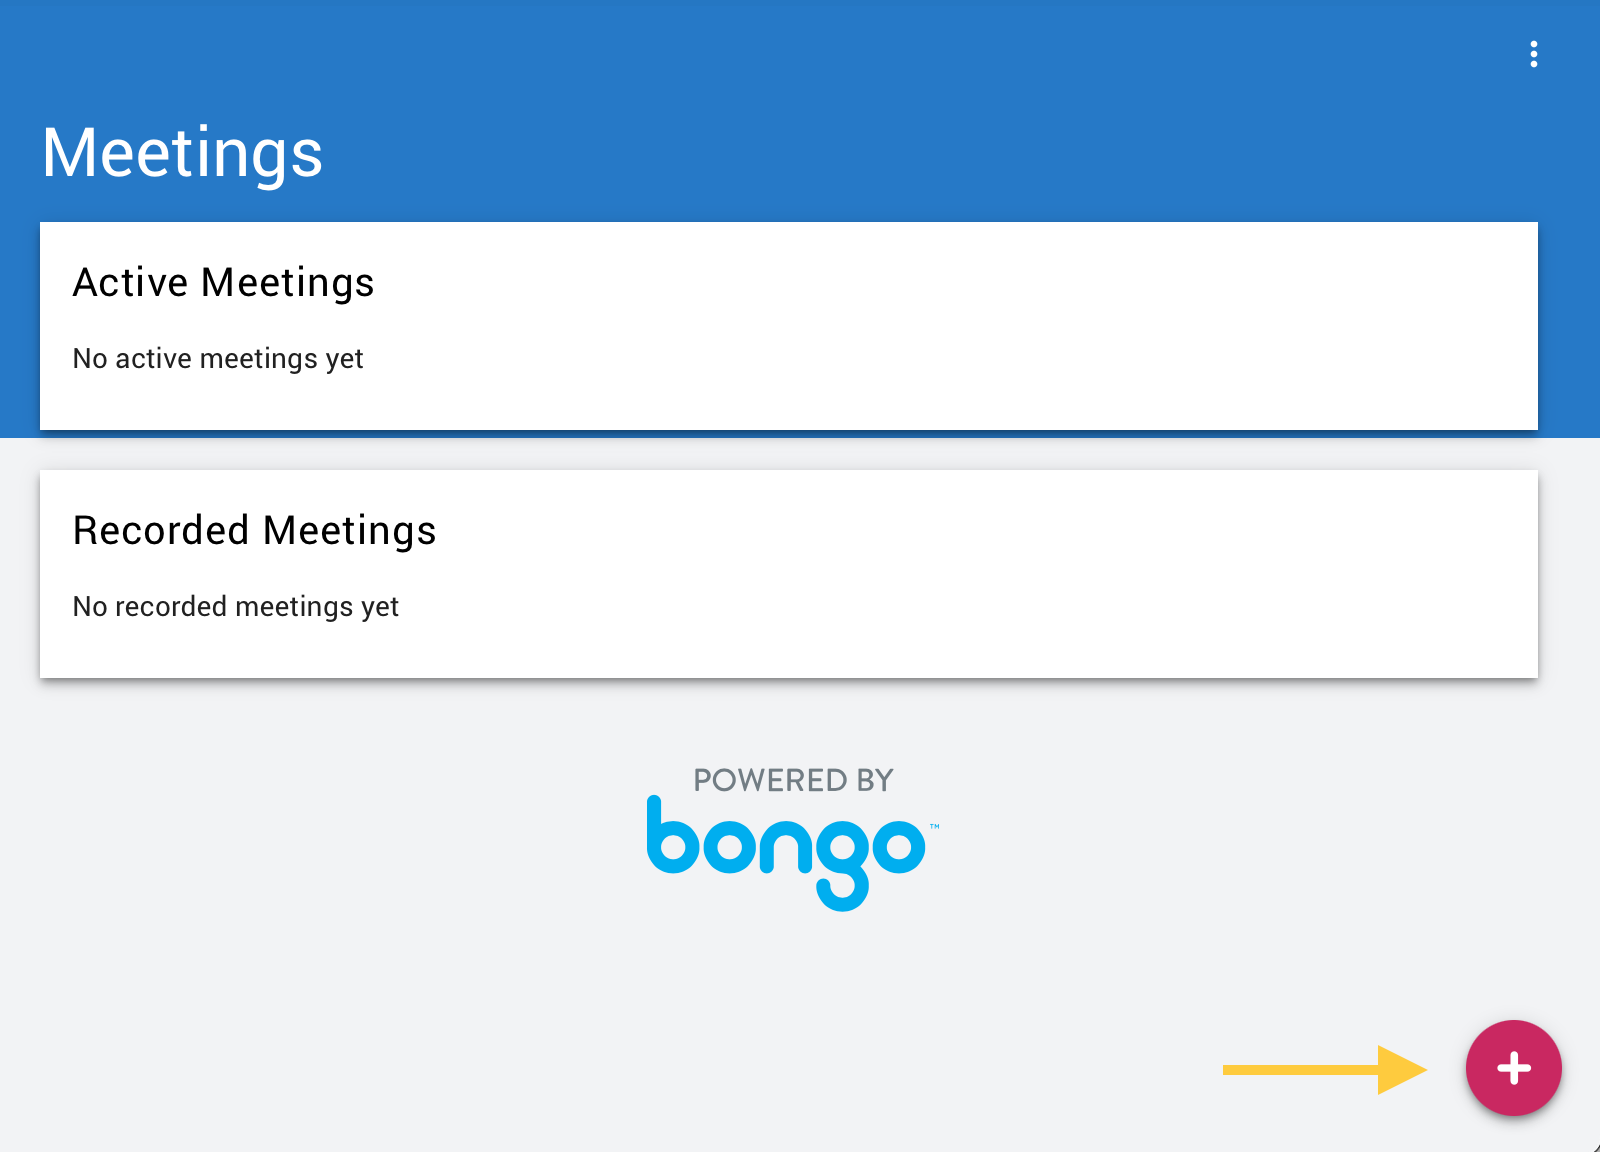
- Click on the Schedule Meeting button in the bottom right corner of the screen.
- In the Schedule Meeting pop-up window, add the following:
- (Required) Enter a Title for the meeting. Important: Create this name to include the specific section number so students and you will understand who is expected to participate. For example, you may want to add “- section 010 only” (replace 010 with the section number) to the end of the meeting title.

- (Required) Enter the Meeting Date. Clicking in the Meeting Date field will open a calendar. Choose the date on the calendar, then click OK.

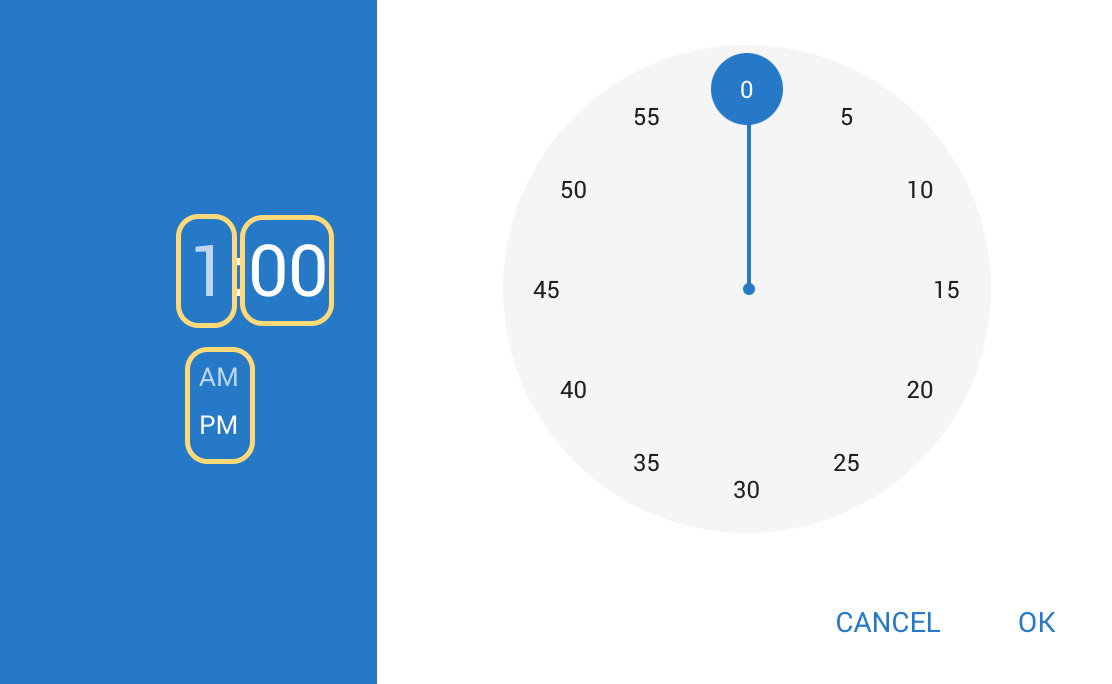
- (Required) Enter the Meeting Time. Clicking in the Meeting Time field will open a clock. Choose the start hour, then click the minutes to set the minute, and select AM or PM. Click OK.
- Set the Max Duration for the meeting: Options include 30 minutes or 60 minutes (default).

- Set recurrence: Repeat weekly for: Does not repeat (default) or 2-15 weeks.

- Optional: Check the box if you wish to Automatically record the meeting
- Optional: Check the box if you wish to Publish recorded meeting
- Optional: Check the box if you wish to allow external participants
- IMPORTANT: Uncheck Invite entire class.

- (Required) Enter a Title for the meeting. Important: Create this name to include the specific section number so students and you will understand who is expected to participate. For example, you may want to add “- section 010 only” (replace 010 with the section number) to the end of the meeting title.
- Click Save.
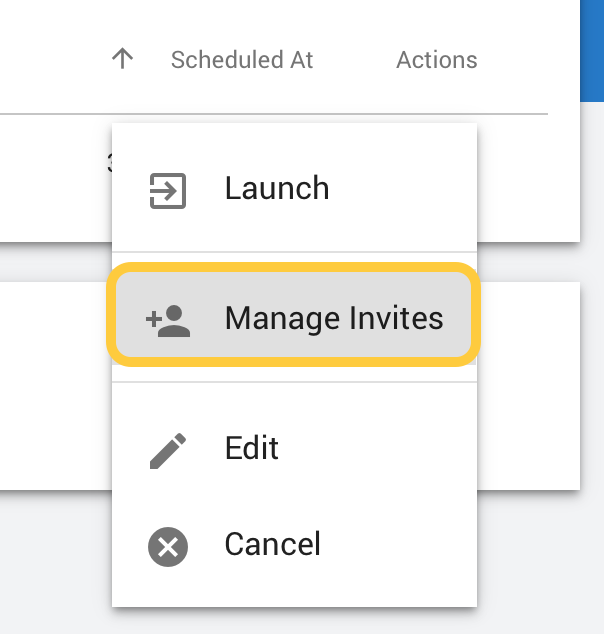
- On the Meetings page, under Actions, select the 3 dots for the Class Meeting you just scheduled.
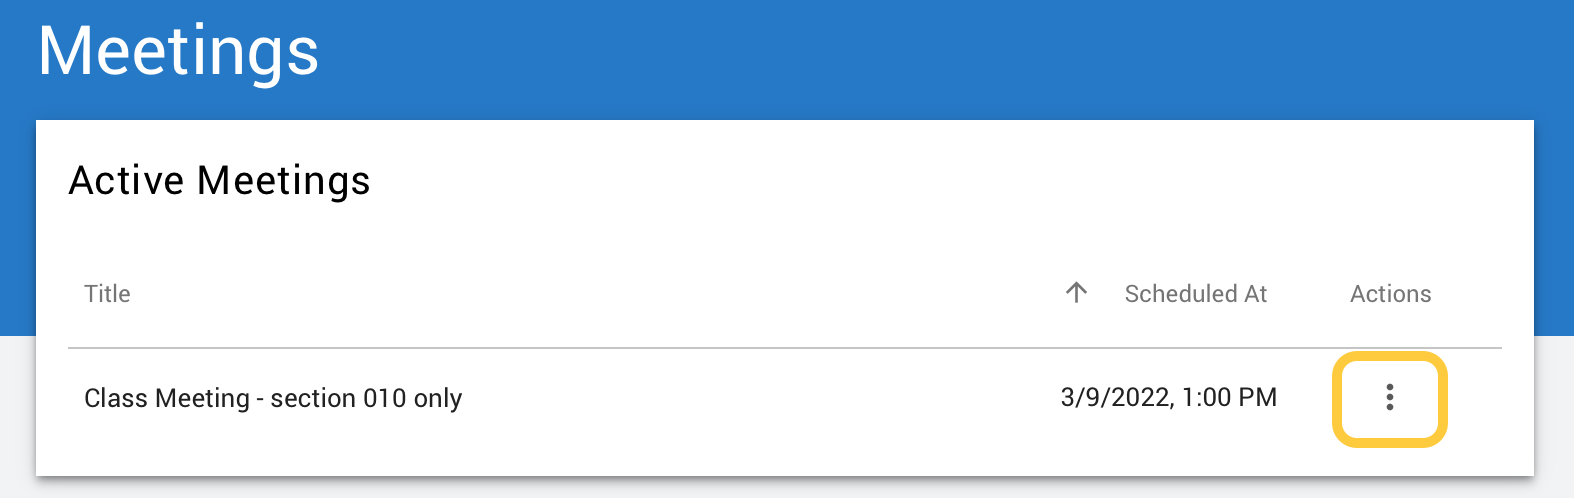
- Select Manage Invites.
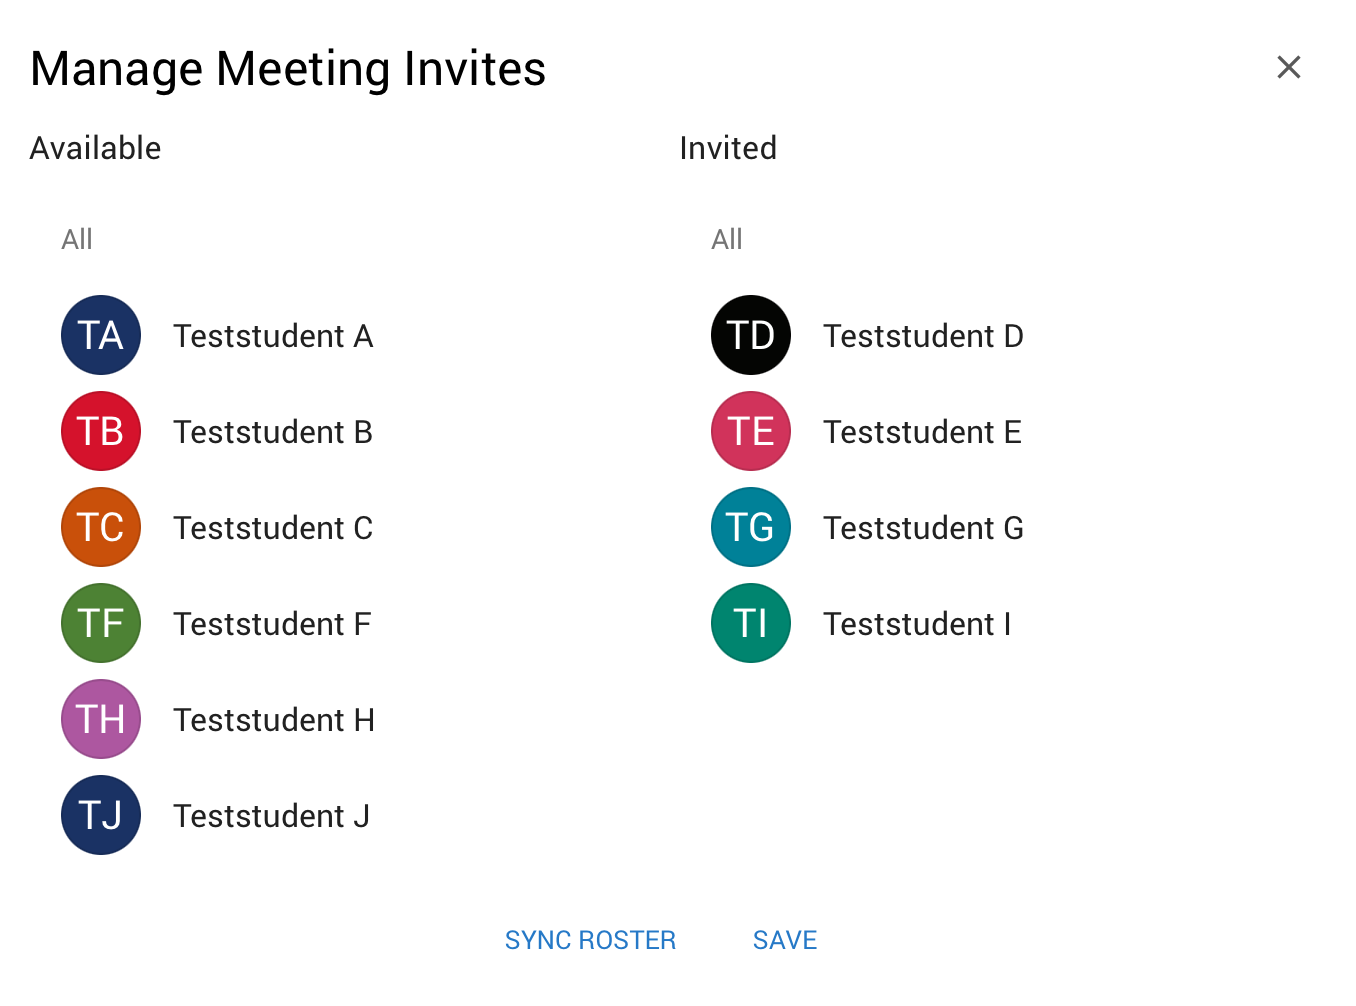
- In the Manage Meeting Invites window, select the name of each user you want to add to the meeting. That name will move from the list on the left to the list on the right. Since you are unable to sort this list by section, you need to either open the Classlist in a separate window, or pull the list of names prior to managing the invites.
Click Save once you have selected all users from the section.
Note: IF you do not see all users in the course, click Sync Roster.
- The meetings will now be added into the Calendar in the course and the invited users will view it.
- If you need to set up an individual or recurring meeting for other sections in this course, repeat these steps.
Learn More About Virtual Classroom.