Edit Images
The HTML Editor includes expanded image editing capabilities for the WYSIWYG editor. Users can edit images in place (including flipping, rotating, and adjusting brightness, sharpness, and color), edit the image description, and edit the size of the image. Users with access to Manage Files can save image edits to the Manage Files area, while users without access to Manage Files can save images as attachments.
This feature is currently unavailable for the Quizzing experience.
Note: Image changes save at the course-level root to Manage Files or, depending on user permissions, as new file attachments to the item (e.g. Discussions) every time a change is made. Multiple edits, in turn, create multiple files. If the course is copied, all image edits are copied as well.
Edit an image from the HTML Editor
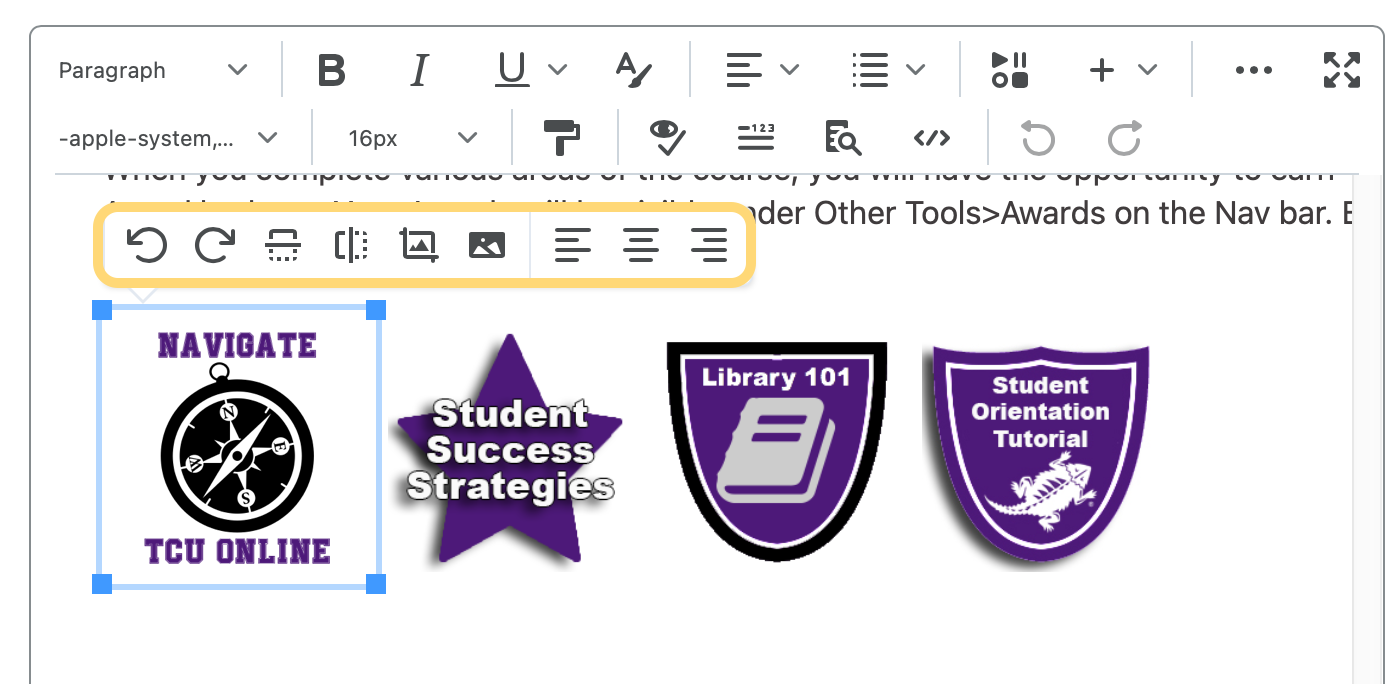
- Select the image by clicking on it. A new set of tools will display below the image.

Advanced image editing screen in the HTML Editor
- Select the the Edit Image icon to open the editing window.

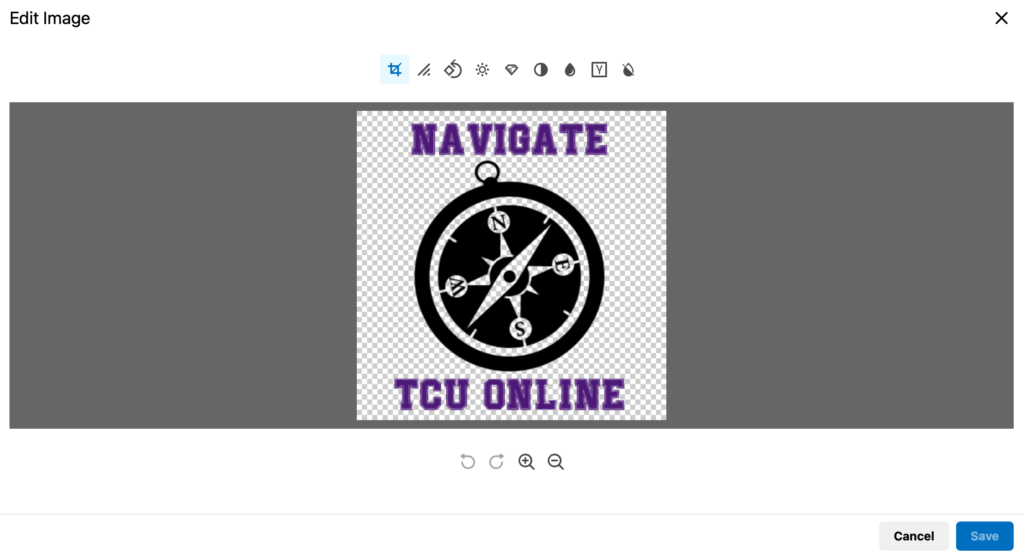
- Make your desired edits by clicking each tool and dragging your mouse to change the settings. Click Save when you are done.
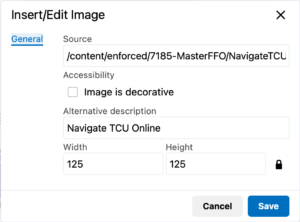
- Select the Image Options icon to edit the image description and resize the image. Note: Adding an Alternative description is necessary for accessibility.
Click Save when done.

- When your edits are complete, click Update or Publish to save the changes in the HTML Editor.