Create an Attendance Register with Sessions
The first step in using the Attendance tool is to create an attendance register. The register is a group of class sessions/meetings for which you wish to track attendance.
Most often, instructors will create one register titled Class Attendance. That register would then contain individual sessions for each date your class meets. Use registers to define the sessions, attendance expectations, and applicable users and enter data as you complete each session.
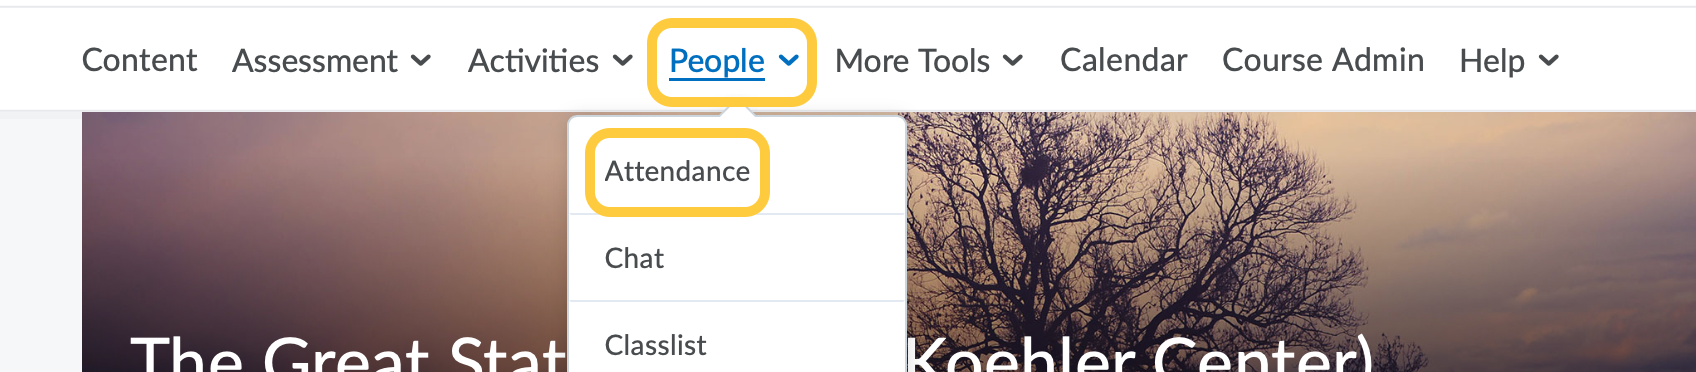
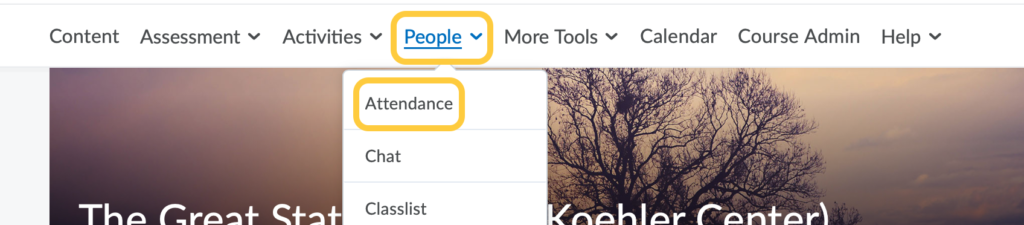
- On the nav bar, click the People menu, then select Attendance.
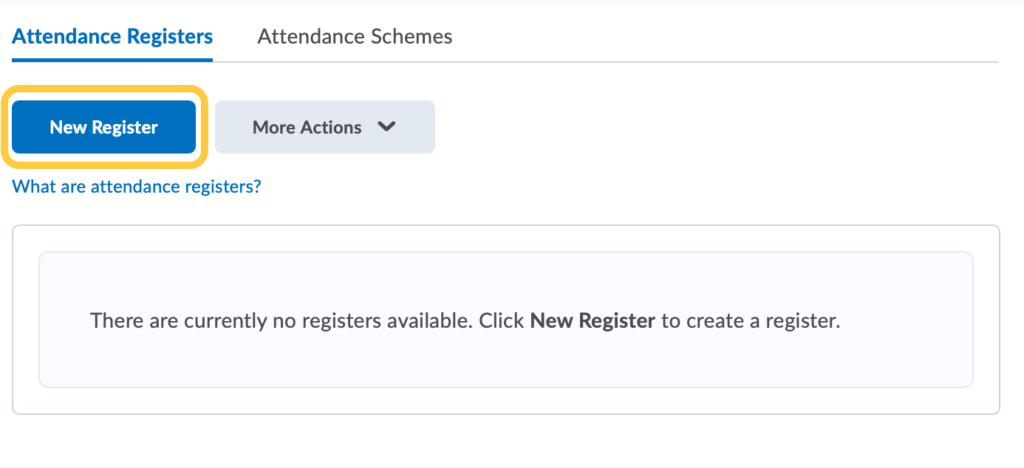
- Click the New Register button.
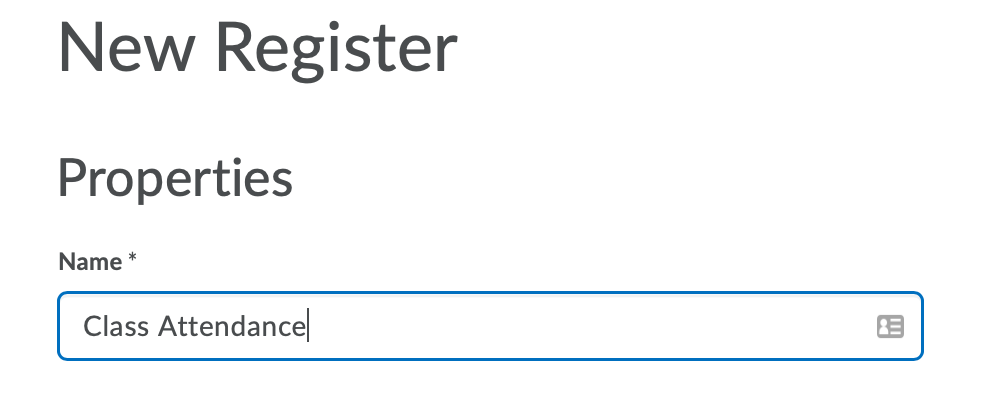
- Enter a Name for your attendance register such as Class Attendance.
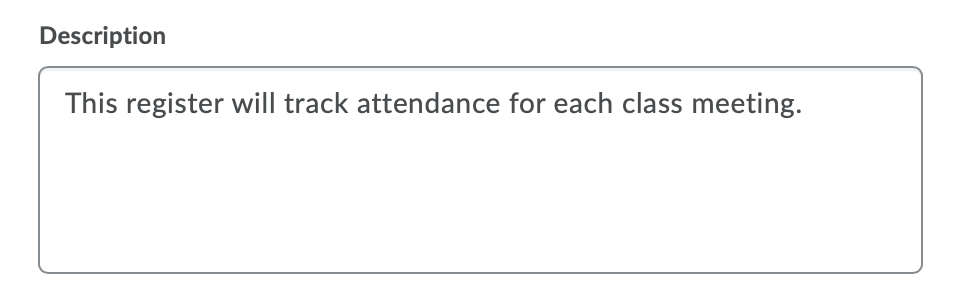
- Optional: Add a Description for the Attendance Register. The description will be visible to students when they access the Attendance tool. The description can be helpful if you create multiple registers within a course that track different activities.
- Select the Attendance Scheme for your Register: Use the Attendance Scheme drop down menu to select the attendance scheme you’d like your attendance register to use if you don’t want to use the default. The default is P (100%) for present and A (0%) for Absent. If you wish to create your own Attendance Scheme, you can keep this on the default for now. Then when you create your new scheme you can return to edit this register to select the new scheme. Note: The scheme cannot be modified while the register contains user attendance data.
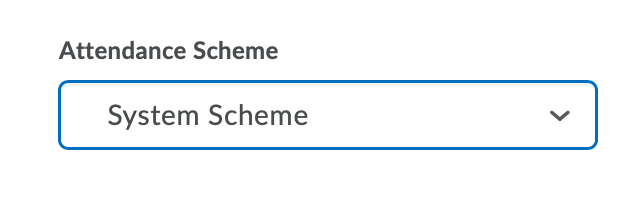
The default attendance scheme: System Scheme is Present (100%) or Absent (0%)
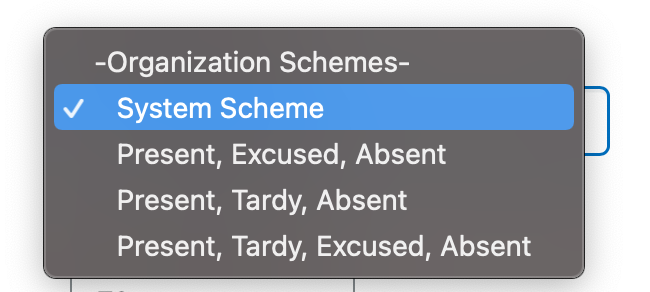
Attendance Scheme options include: System Scheme (Present/Absent) Present, Excused, Absent Present, Tardy, Absent Present, Tardy, Excused, Absent.
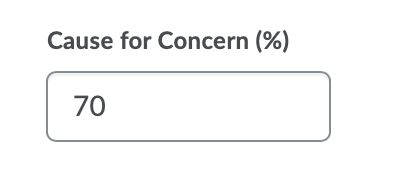
- You may enter a Cause for Concern value. By default this is 70%. The Cause for Concern metric helps you track learners that fail to meet your attendance requirements by placing the Cause for Concern icon beside their names on the Attendance Data page. This value will be a percentage that indicates your minimum attendance requirement. Learn How Attendance is Calculated. If students’ attendance falls below the Cause for Concern percentage, they will be flagged.
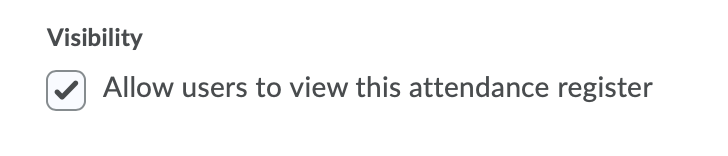
- All users to view the attendance register: If you would like participants to be able to view the attendance register, make sure the option to Allow users to view this attendance register is checked. This is checked by default.
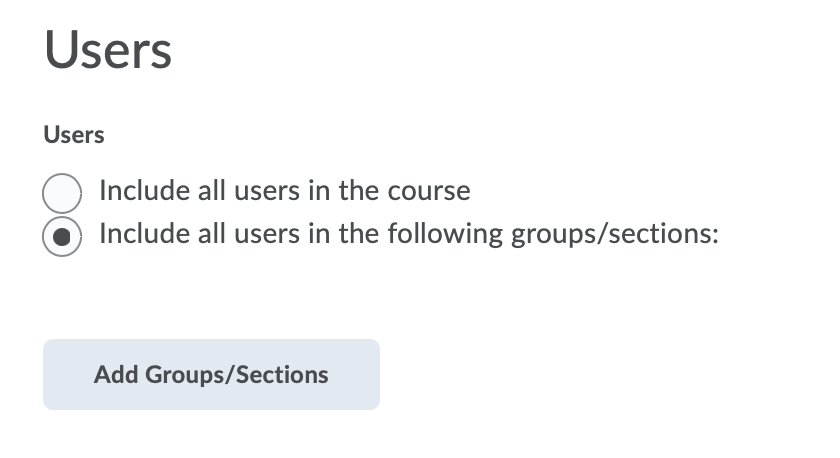
- Users – Select who should be included in the register. Choose either:
- Include all users in the course (Default), if you would like all users in the course to be included in this register.

- Include all users in the following groups/sections. If you choose this option, you then need to click Add Groups/Sections to select the users who should be included.
- Include all users in the course (Default), if you would like all users in the course to be included in this register.
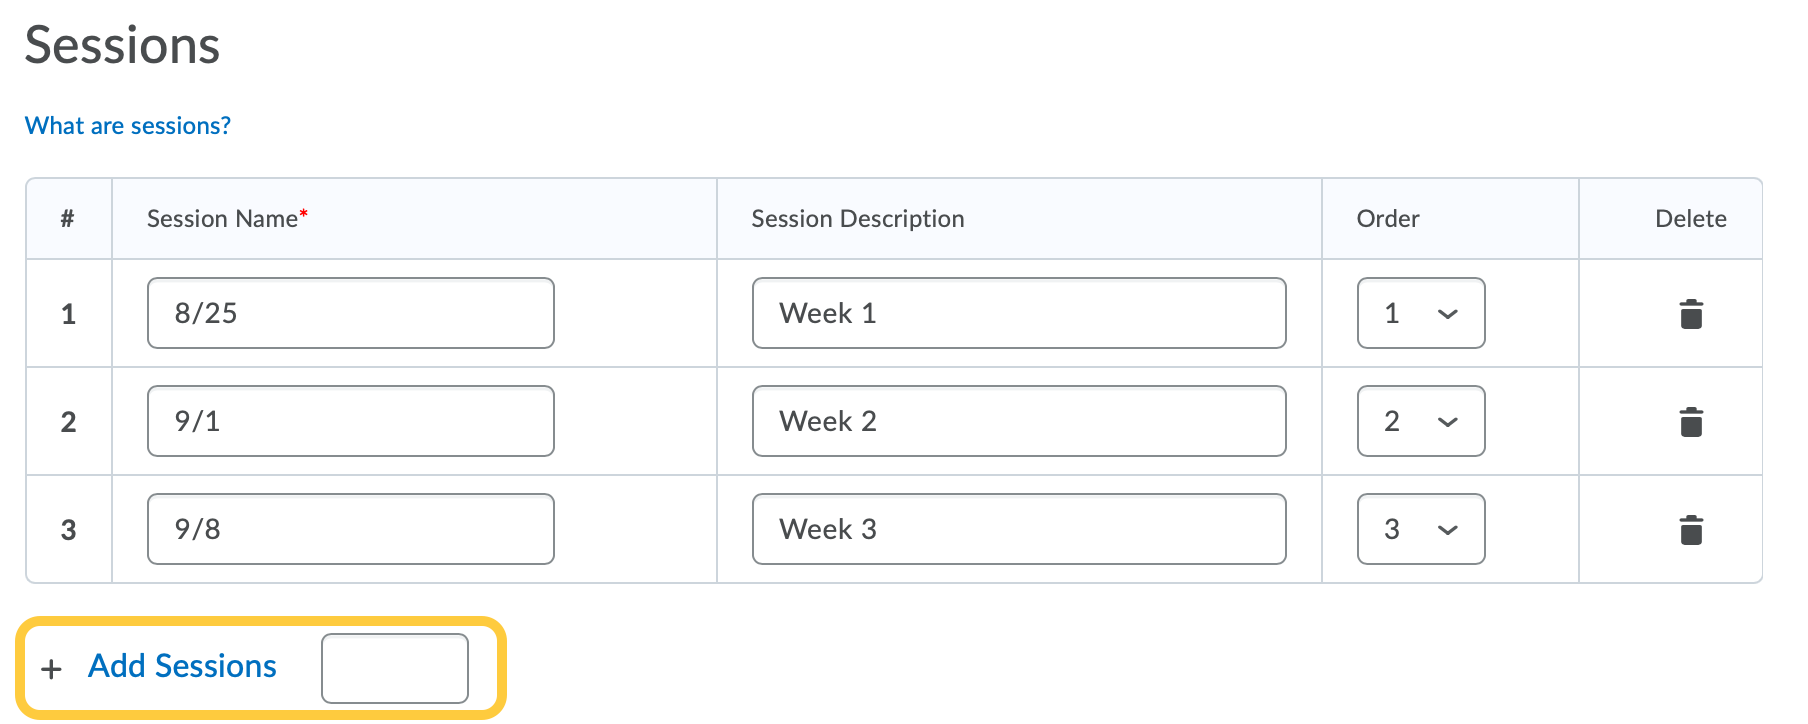
- Create Sessions:
- Enter names for each of your sessions. Typically, these are the dates the class meets. Attendance data is tracked for each session and displayed on the register’s Attendance data page.
- Optional: Add a Session Description. This will display to both students and instructors within the Attendance tool.
- Set the Order for how the sessions display (this is helpful if you forget to add a session date and have to add it later).
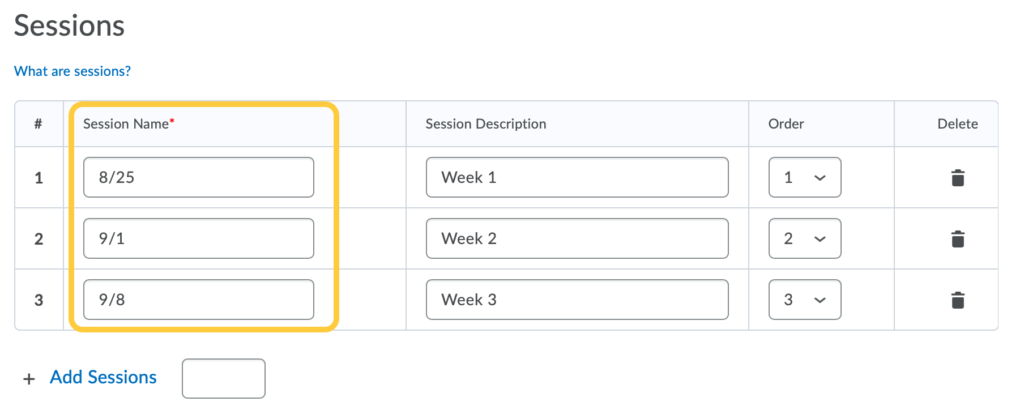
- By default, three sessions are provided for your attendance register. If you would like more than three, enter the number of additional sessions you would like in the Add Sessions field and then click the Add Session link. To remove a session, click the Delete icon.

- Click the Save button to save your attendance register.
- Click the Close button.