Chat: Group Chats
Faculty can utilize the Chat tool to hold real-time chats within their TCU Online course shell. While there is not an automated group chat feature, there are ways to set this up.
The instructions below assume that you have already setup your groups. This requires faculty to go to People>Groups tool, setup a category and setup enrollment preferences for the groups.
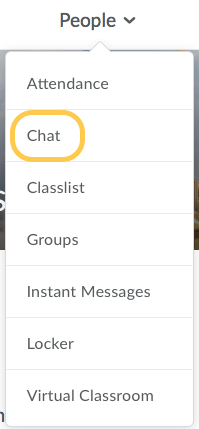
- Go to your course and select People, then the Chat tool.
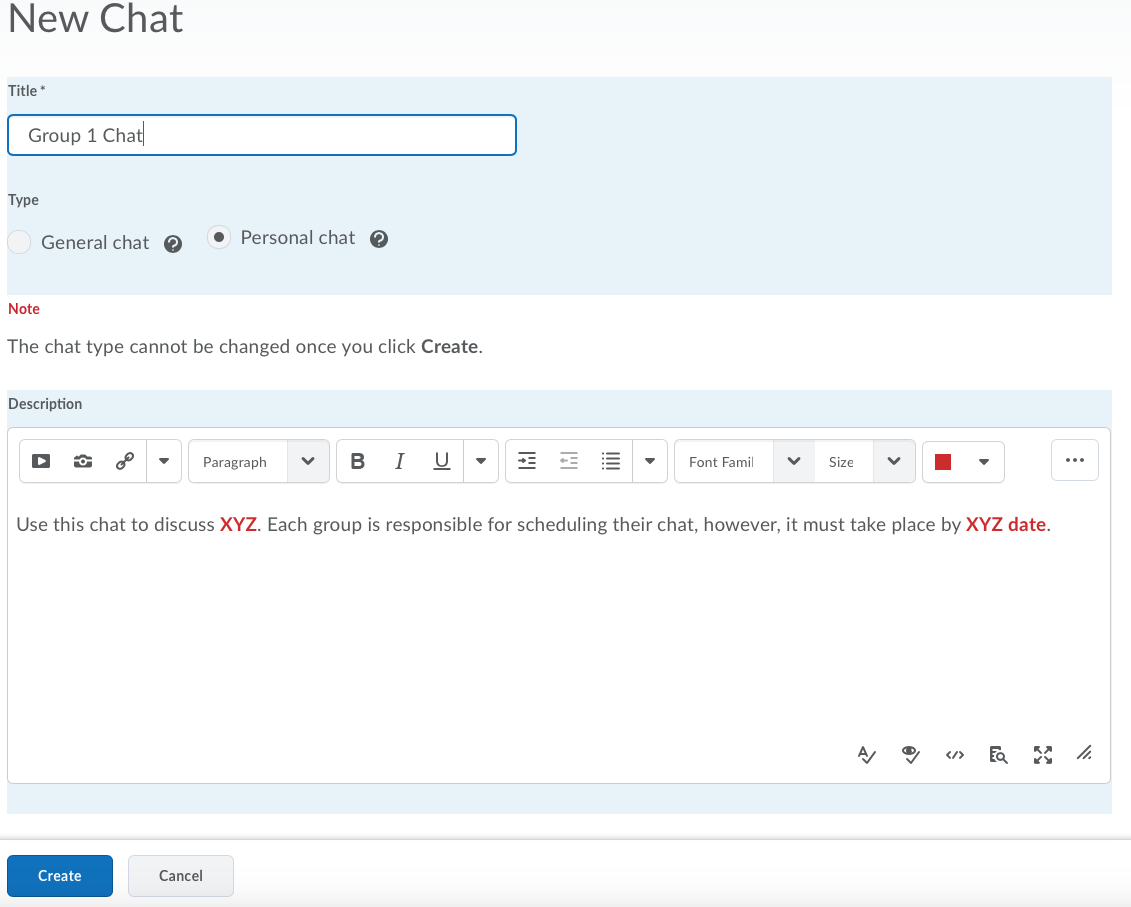
- Select the New Chat button.

- Enter a title for your chat. We recommend that you indicate the Group name in the chat title. Then select Personal Chat. Add any instructions to the users for the chat in the description below. Then click Create. Note: Personal Chats mean that only those added as members of the chat will see the course. A General Chat is visible by all users in the class. In this example, we are working with Personal Chats.

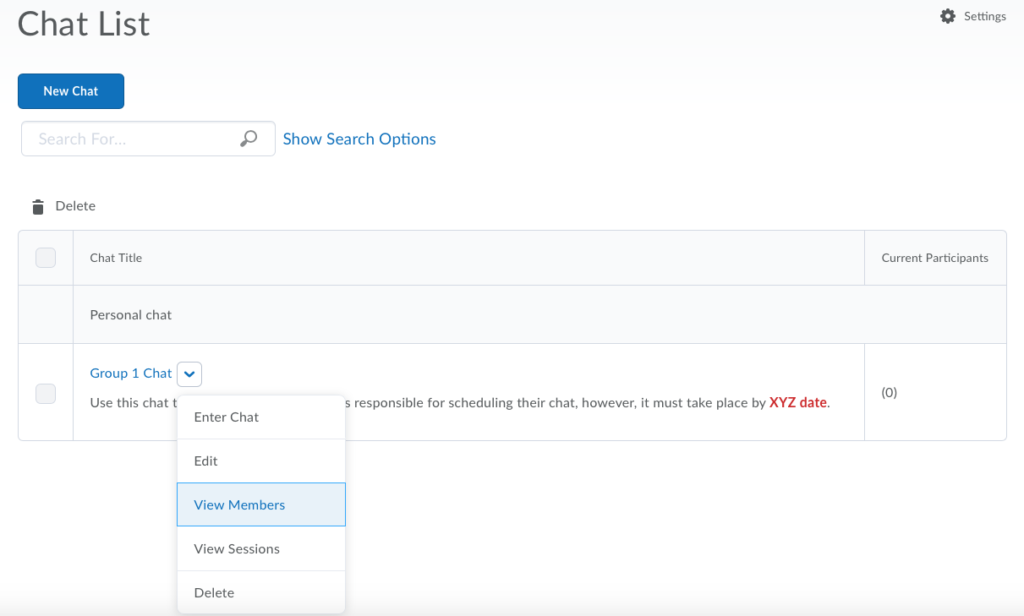
- The new chat will appear in your Chat list. Select the context menu (little arrow pointing downward) next to the Chat title. Select View Members.
- Click Add Members.

- On the page that follows, select the dropdown menu to View By Groups. Then click Apply.
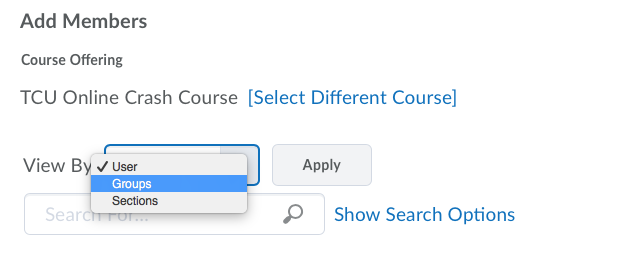
- A new dropdown menu will appear with your Groups. Select the group you would like to assign members from.

- The list of users in the group will appear below. Check the boxes next to those you want to add to the chat, then click Add.
- Then click Done.
- Repeat steps 2-9 for any remaining groups you need to create.