Insert Quicklinks in the HTML Editor
Within the HTML editor is the “Insert QuickLink” button. Quicklinks function like text hyperlinks.

Selecting the Quicklinks button will reveal several course objects that can be linked to using Quicklinks. You can create Quicklinks that link to Announcements, Assignments, Course Files, Discussions, Modules, Content Topics, and more.
Create a Quicklink to a Course File
- Highlight the text that you want to make into a Quicklink.
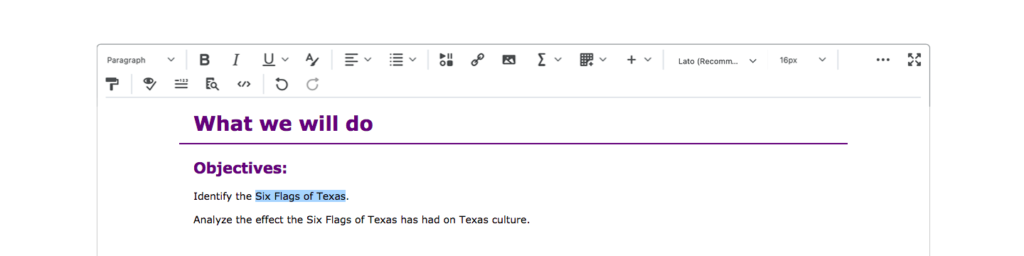
- Select the Quicklinks button.

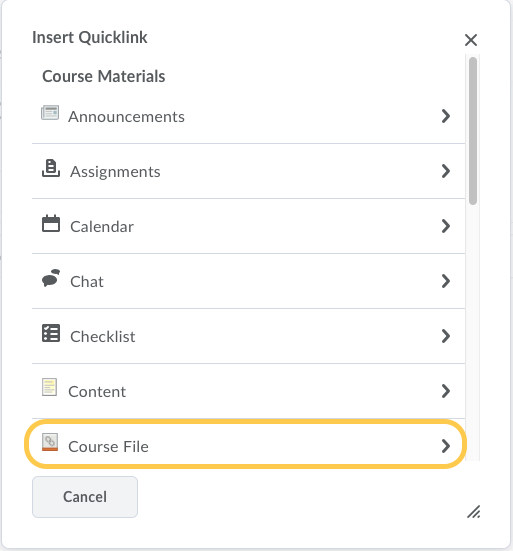
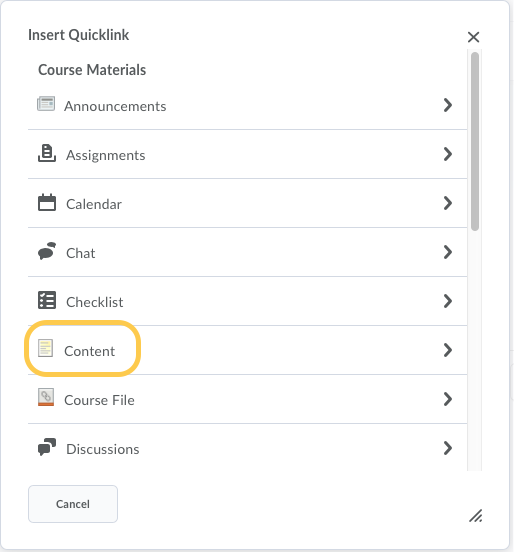
- Select the course object you wish to link to. For example, a Course File.
- Select the course file you wish to link to. Or, scroll to the bottom of the list and click Create New File to upload a new file to your course.

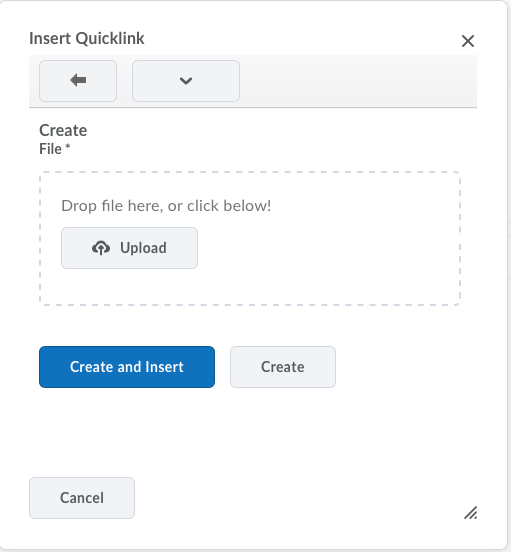
- If creating a new file, drag and drop your file in the window, or click Upload to search for your file. Then click Create and Insert. Remember, if you add audio or video files, you need to include a transcript or closed captions for accessibility purposes.
Students will see the Quicklink that will take them to the particular content file. When students select the link, they will be able to download the file, or view or play it on their device. Students will need to have any necessary software required to view or play the file.

Create a Quicklink to a Discussion Forum or Topic
- Highlight the text that you want to make into a Quicklink.

- Select the Quicklinks button.
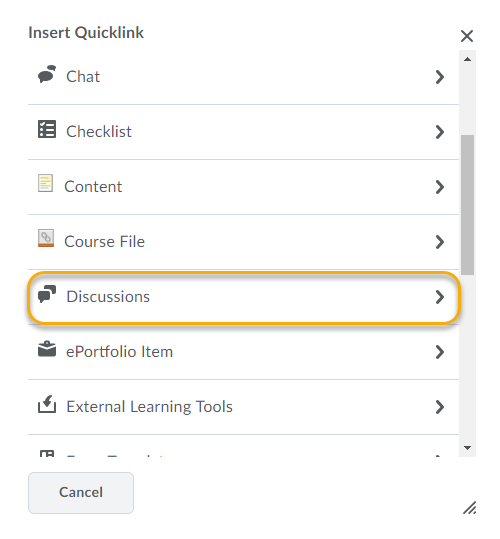
- Select the course object you wish to link to. For example, a Discussion.
- Select the desired forum.
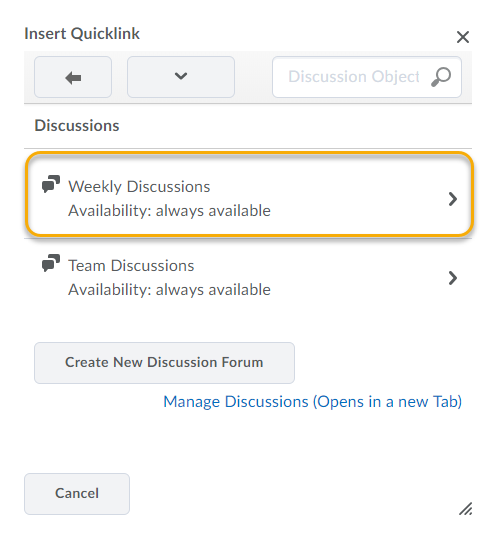
- To link to the entire forum, click the Insert icon (“+” symbol) at the top of the topics list. To link to an individual topic, select the desired topic.
Create a Quicklink to a Content Module or Content Item
- Highlight the text that you want to make into a Quicklink.
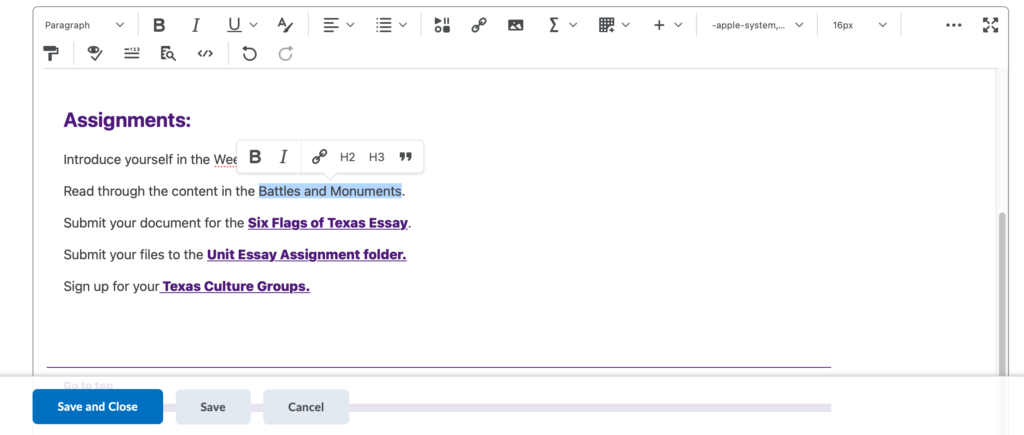
- Click the Quicklinks button.
- Select the course object you wish to link to. For example, to link to a module or topic, select Content.
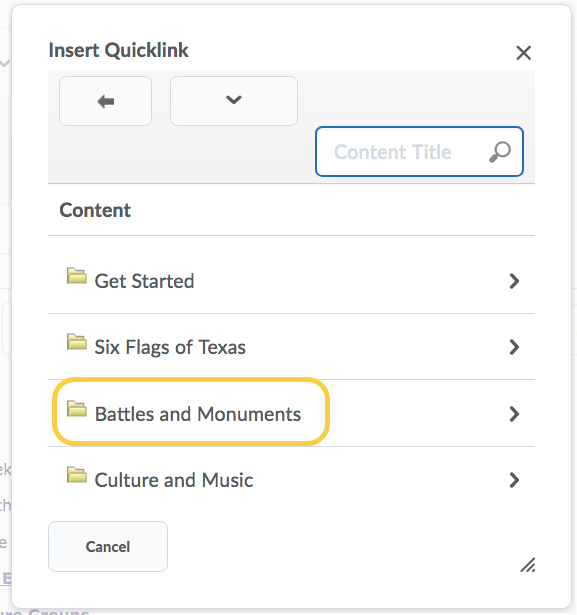
- Click the desired module. For example, we selected the Battles and Monuments module.
- Do one of the following:
- Link to an Entire Module: Click the Insert icon (“+” symbol) at the top of the topics list.

- Link to an Individual Content Topic: Click the module containing the topic, then select the desired topic. For example, we selected Readings.

- Link to an Entire Module: Click the Insert icon (“+” symbol) at the top of the topics list.
- Update or Publish your changes.

Create a Quicklink to Audio or Video in the Media Library
Adding audio or video in this manor will create a hyperlink to that media in your content.
- Place your cursor where you want to add your audio or video. In the
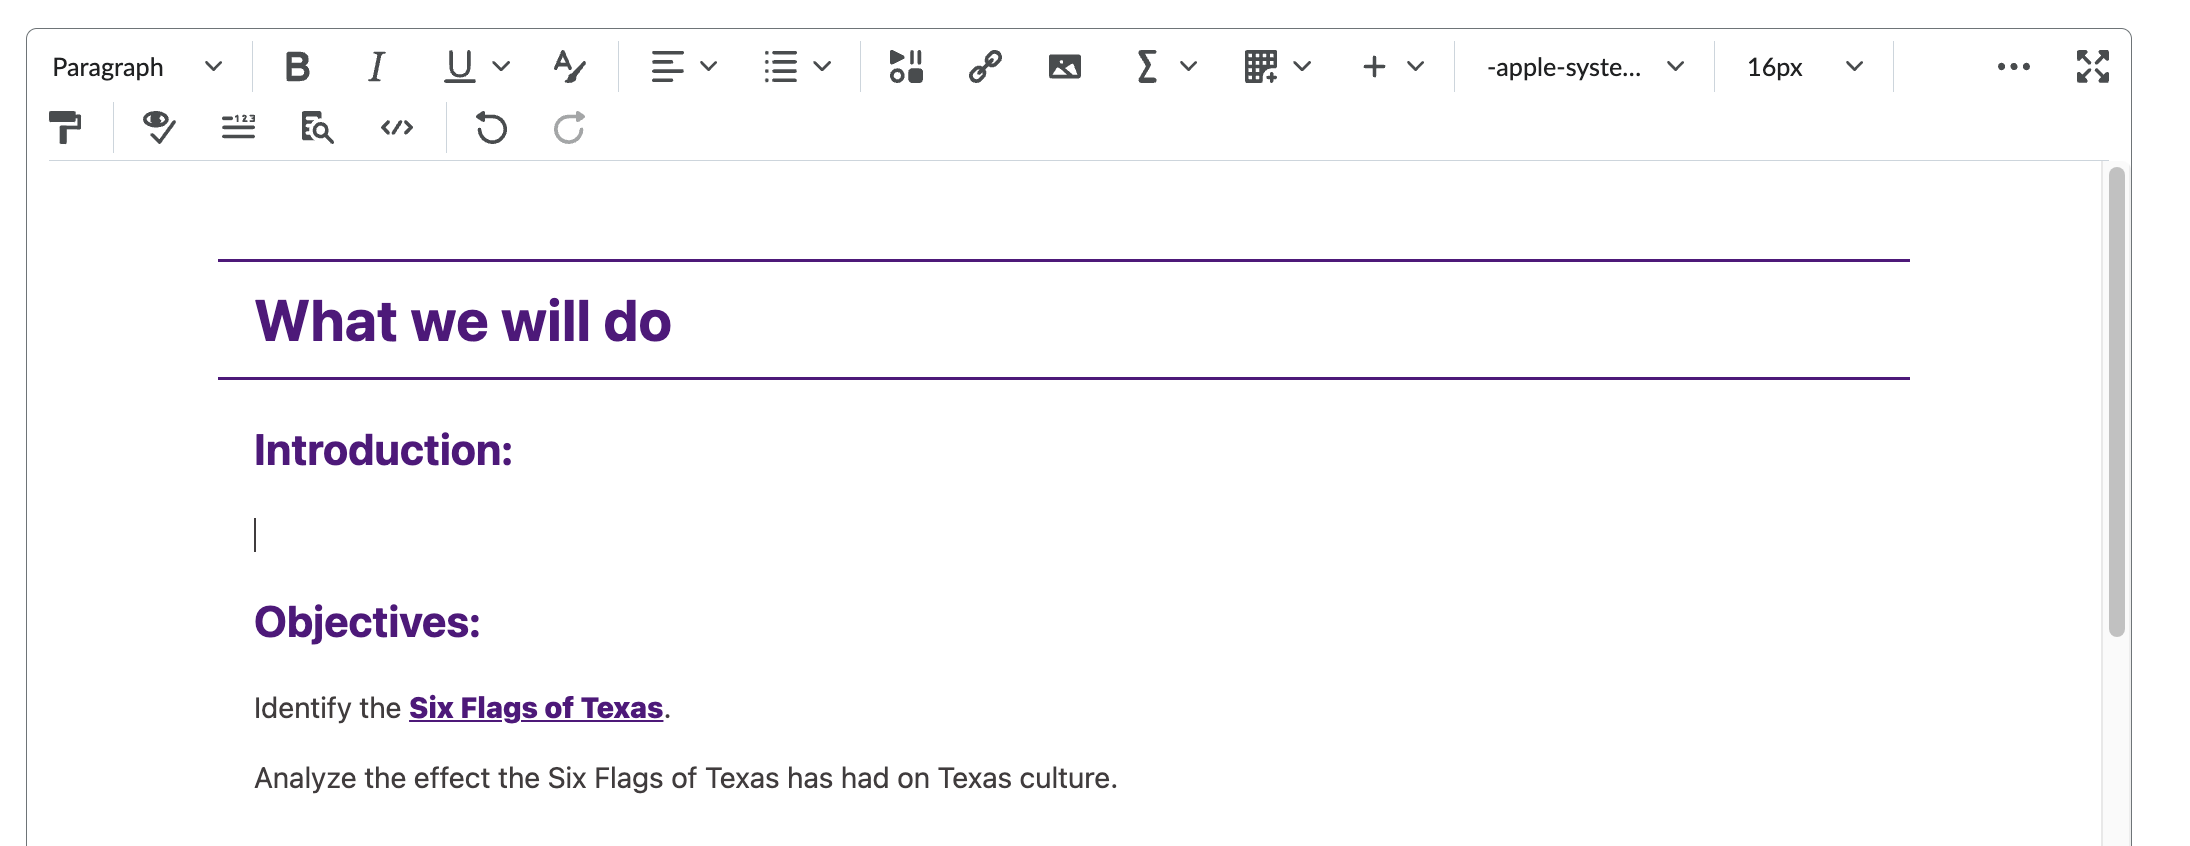
- Click the Quicklinks button.
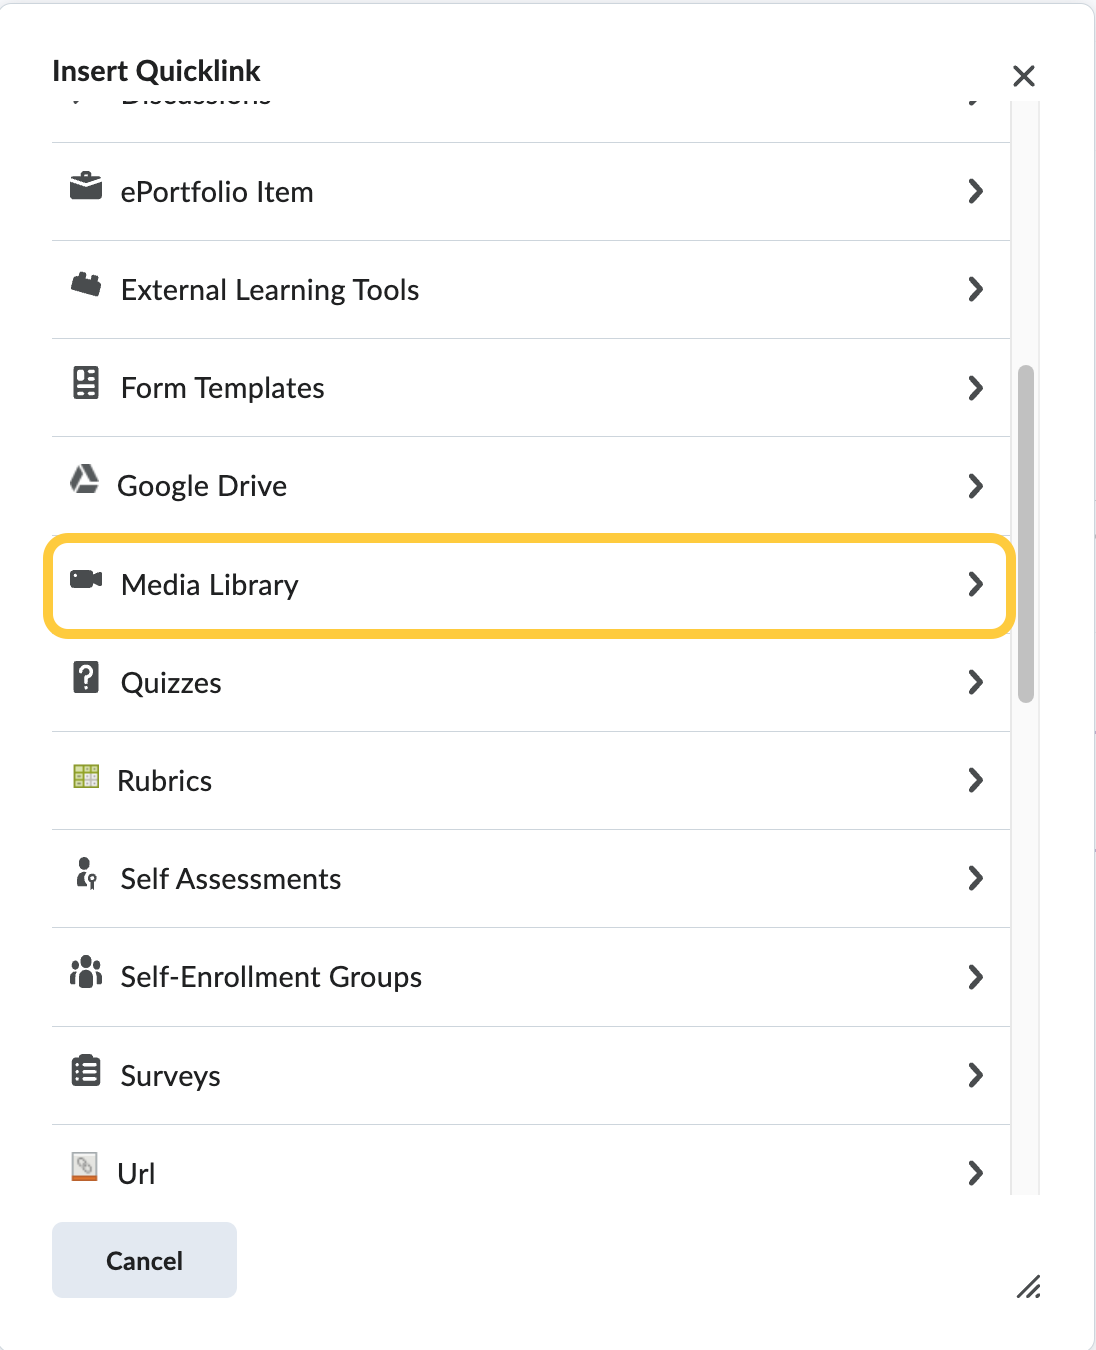
- Select the Media Library option from the menu.
- Click the radio button for the media you want to link to. Optional: type in the search field keywords to locate a video, or select the Filter or Sort by menus.
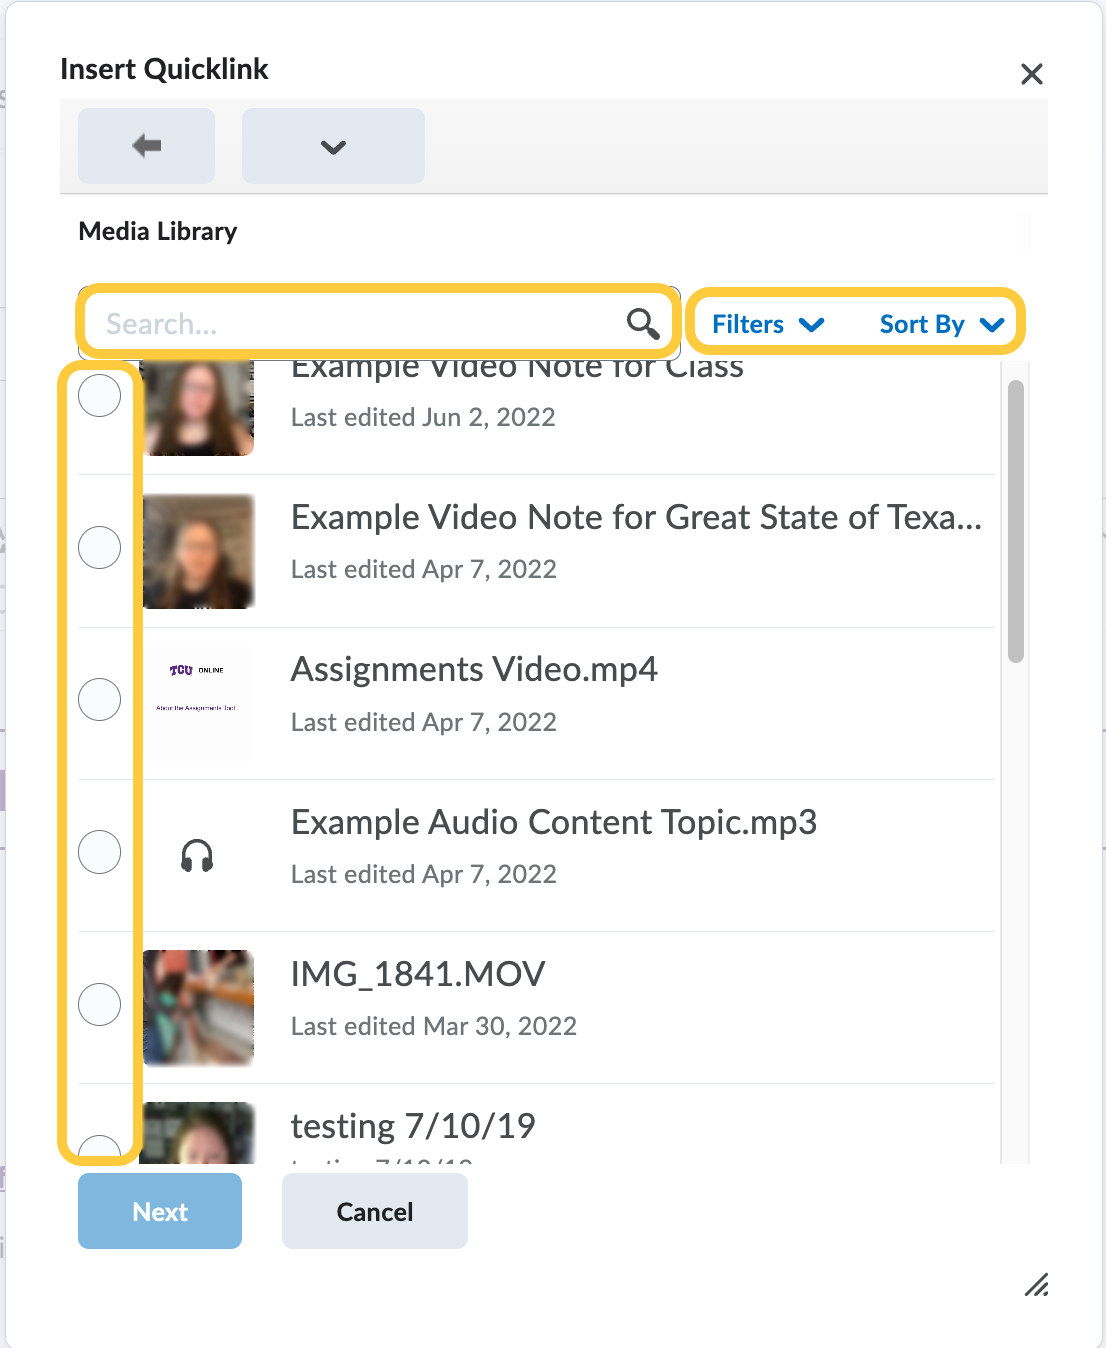
- Click Next.
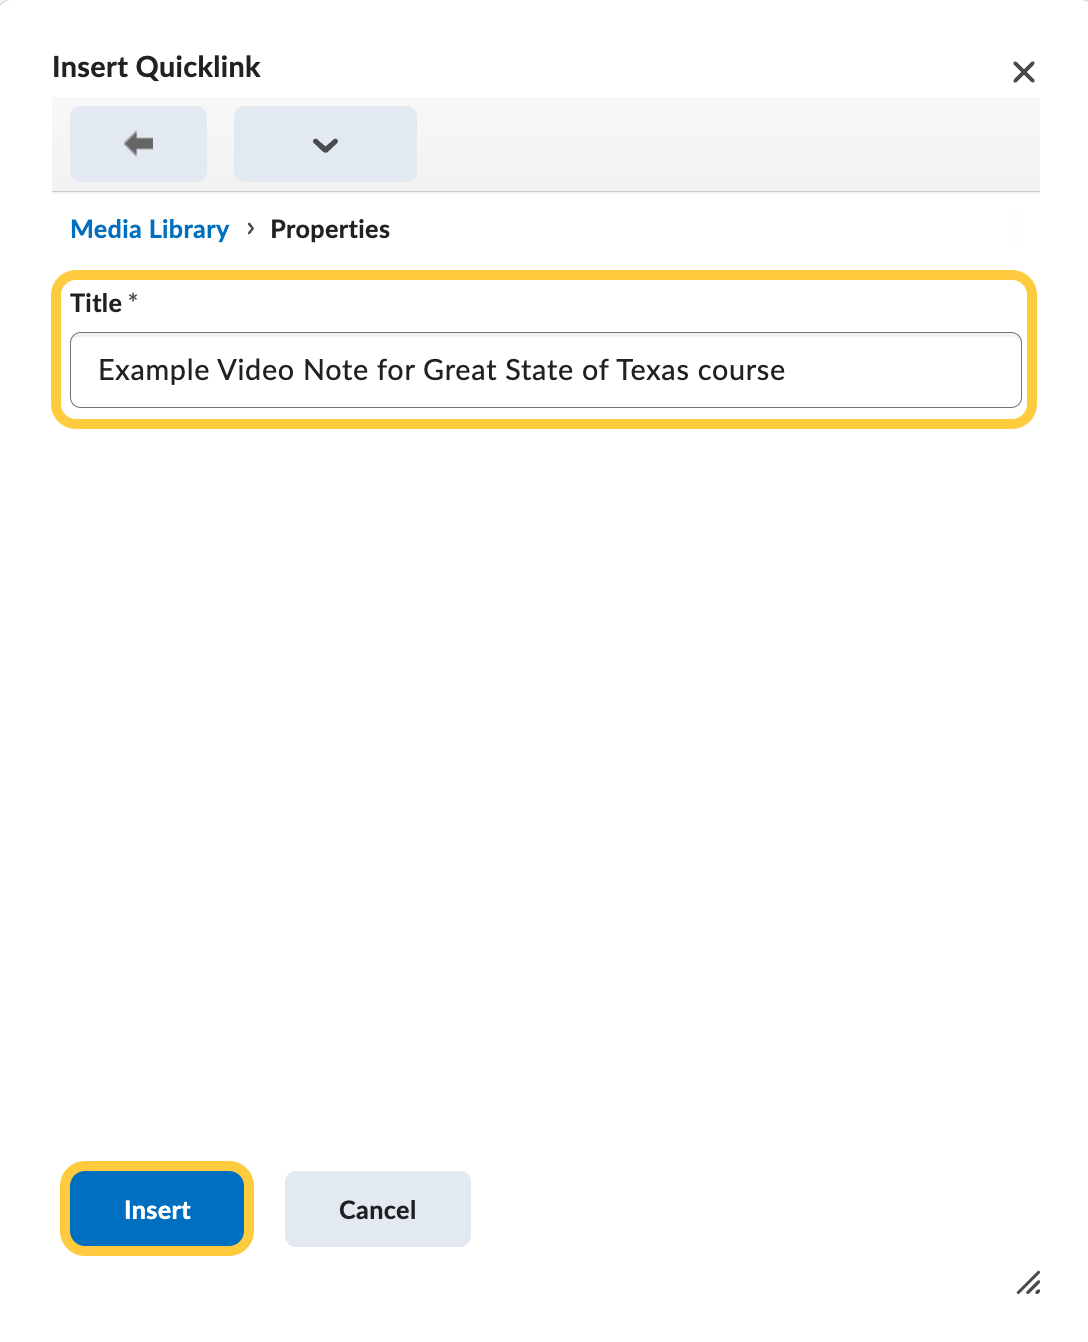
- The media title will display, if you wish to update it, make your edits. This text will be used for your hyperlink text. Click Insert.
- Update or Publish your changes.
Create a Quicklink to a Self-Enrollment Group
In the Content tool, instructors can create a self-enrollment link for discussion groups to facilitate sorting the members of a course with many students into groups.
- Highlight the text that you want to make into a Quicklink to the Self-Enrollment Group.
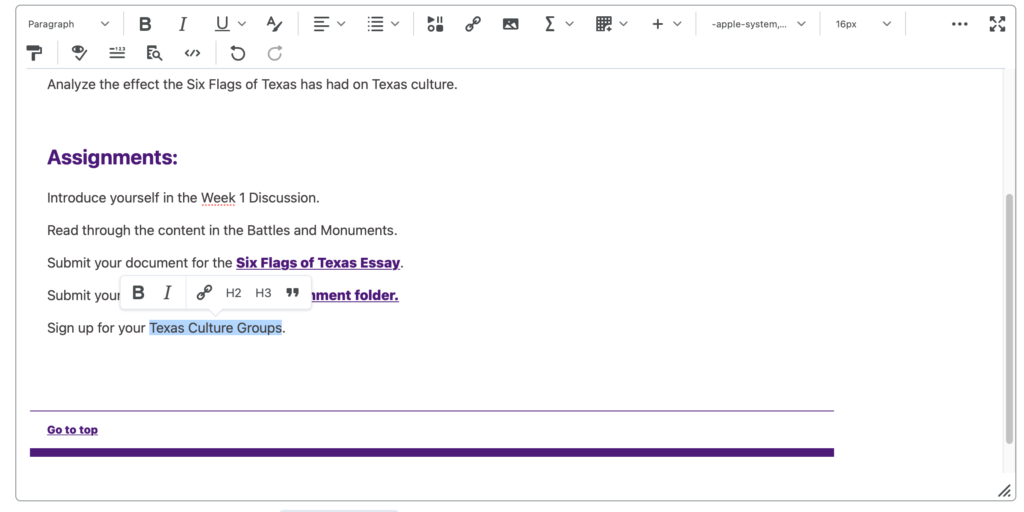
- Select the Quicklinks button.
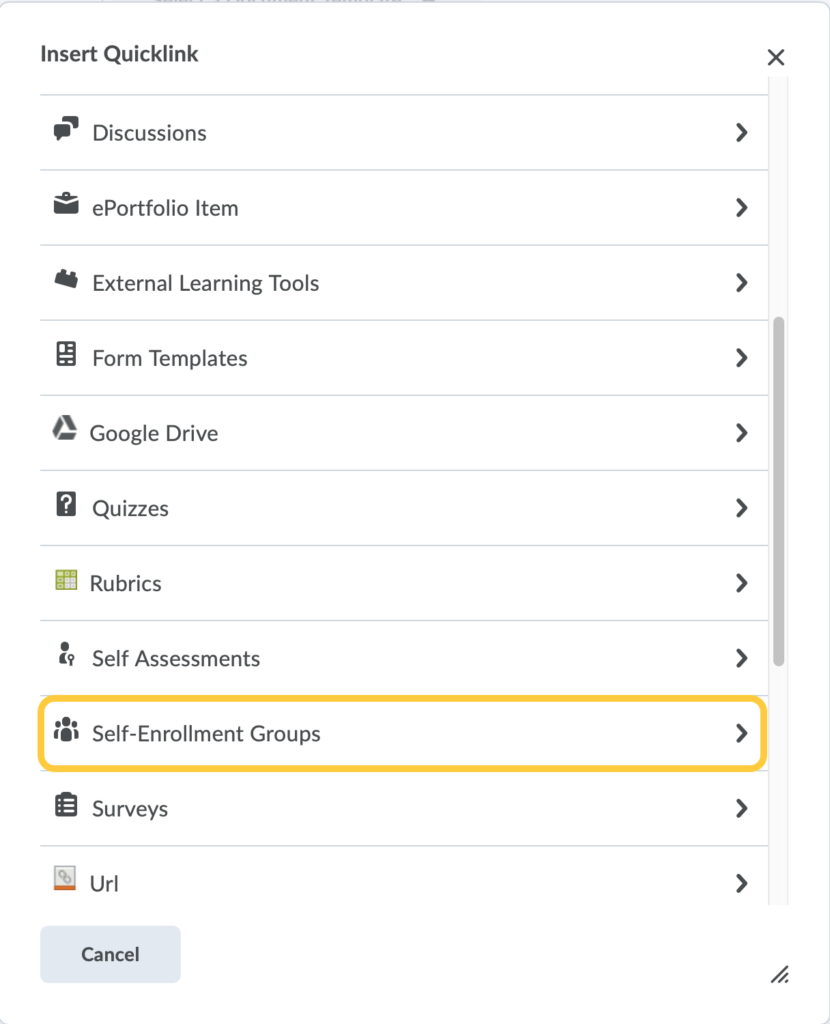
- Select Self-Enrollment Groups from the Insert QuickLink menu.
- Select the self-enrollment group category.
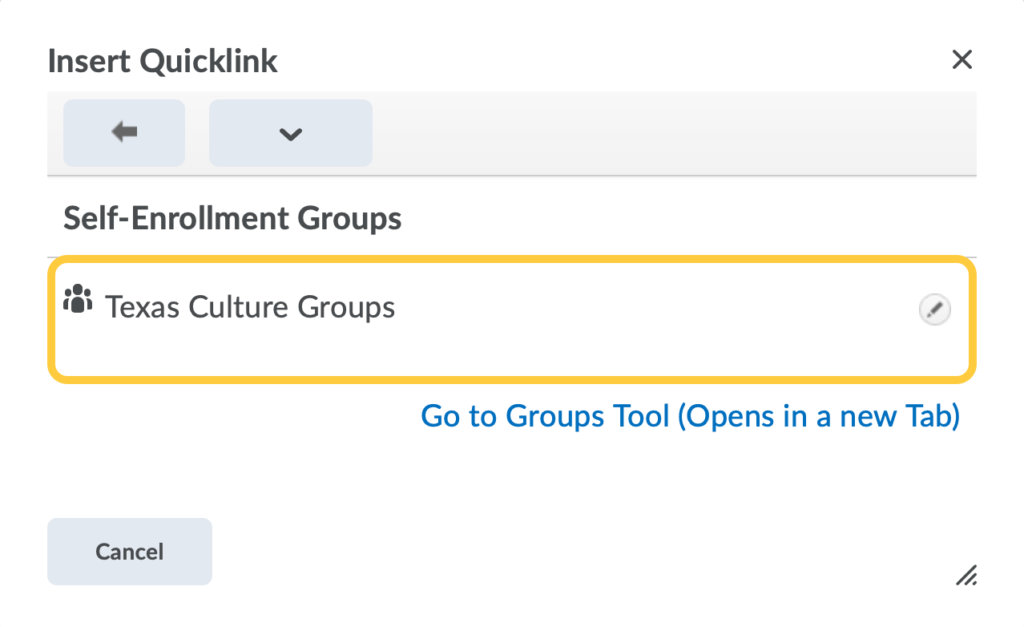
- Update or Publish your changes.


Create, Preview, Edit, or Remove a Link From the Context Menu of the HTML Editor
Create a Link
These steps are best used for links that you have the URL for, such as websites.
- Within the HTML editor, type your text.
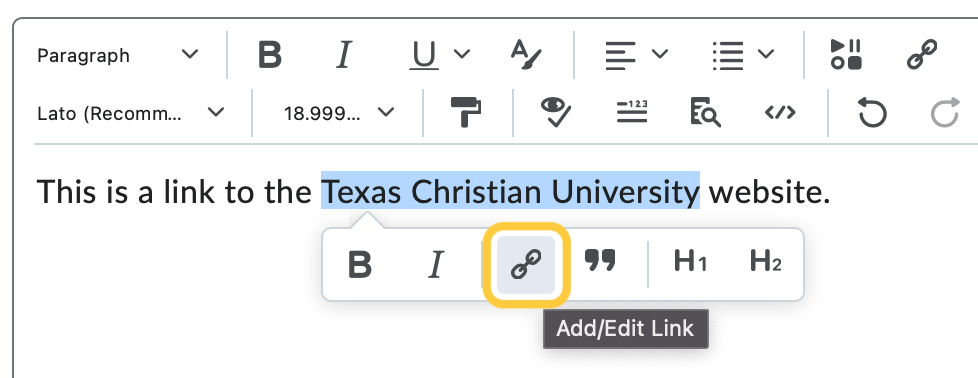
- Highlight the text you want to make into a link. A context menu will display. Click the Add/Edit a Link (chain link) icon.
- Enter a title and a url for your link, then click Create.
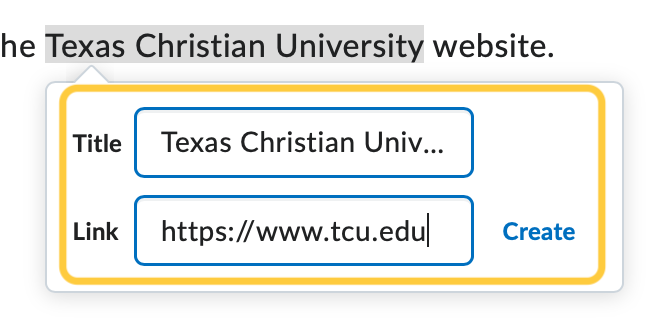
- The text will become a hyperlink.

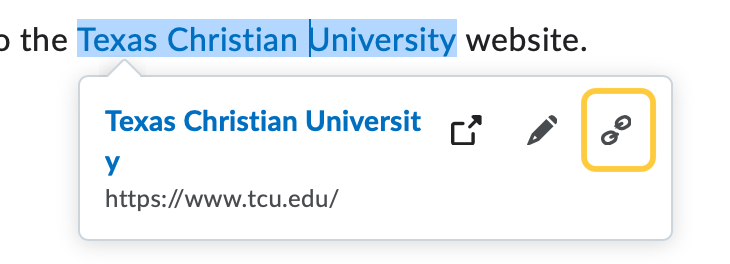
Preview Link
- Within the HTML editor, click your mouse on a hyperlink.
- A context menu will display. Click the Open Link icon.
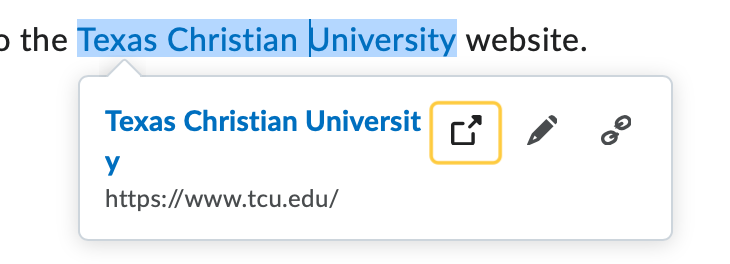
- Your link preview will open in a new browser tab or window.
Edit Link & Add Title
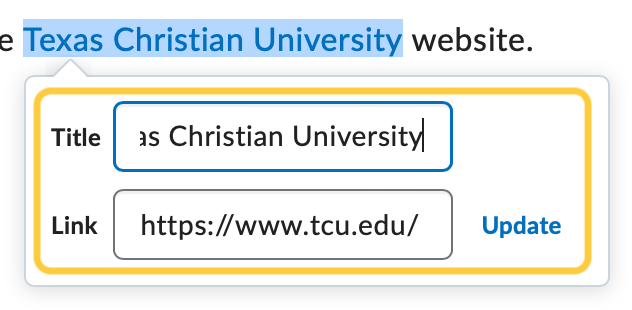
- Within the HTML editor, click your mouse on a hyperlink.
- A context menu will display. Click the Edit Link icon.
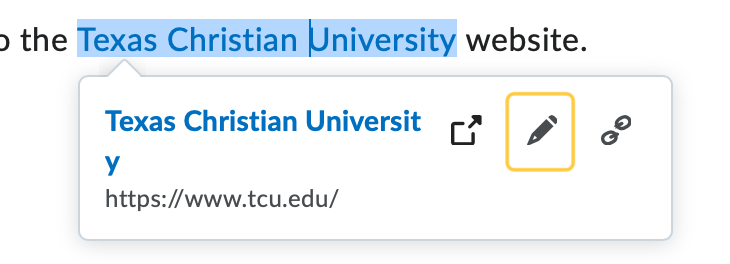
- Enter or update the title and a url for your link, then click Update.
Remove Link
- Within the HTML editor, click your mouse on a hyperlink.
- A context menu will display. Click the Remove Link icon.
Error Messages for Unavailable Content/Activities
Note: An error message will appear if students click on a Quicklink for a course object that is not yet available or is no longer available due to availability date restrictions.
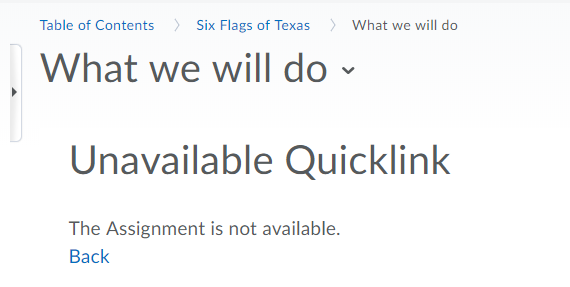
An error message will appear for the following course objects if they are unavailable due to date restrictions:
- Announcements items
- Assignments
- Calendar events
- Chat sessions (if the user is not part of a group chat)
- Content modules
- Content topics and files
- Checklists
- Discussion topics
- ePortfolio (for items that are not shared to the user)
- External learning tools links
- Groups (with expired self enrollment option)