Create an Assignment in a Combined Course with Different Due Dates for Each Section
The steps below are to guide instructors who have a combined course and want to create an assignment folder for their combined course, with different due dates for each section in their course. It combines the steps for creating an assignment and using special access. This allows for only one grade item but offered different due dates. If your due dates are identical for all sections in your combined course, then you should instead follow the Create an Individual or Group Assignment since no special access for alternate due dates will be needed.
Example setup: You have 2 sections (section 010 and section 020). When you create the assignment, the due date you set on the create assignment page will apply for all users. When you set special access, you can select one of the sections (section 020 for example) and set a different due date for those students. This will mean that the assignment due date that was once for all users will only apply to those who did not get special access.
-
- On the nav bar, click the Activities menu, then select Assignments.

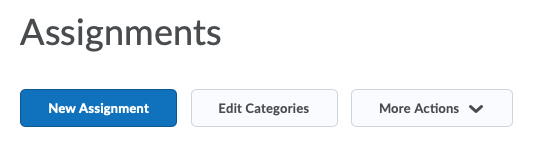
- On the Assignment page, click New Assignment.
- Enter a Name. By default, the assignment name will say “Untitled.” Be sure to change this. Note: Naming convention is important. Make sure the assignment name matches what you have in your syllabus.

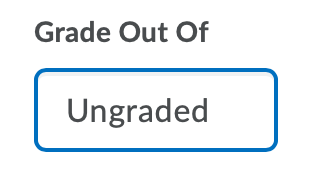
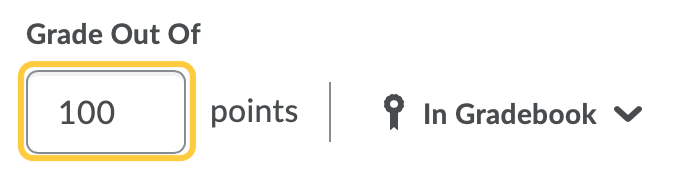
- If your assignment is ungraded, then no changes are needed for the Grade Out Of field. You can skip ahead to step 6.
- If your assignment is graded:
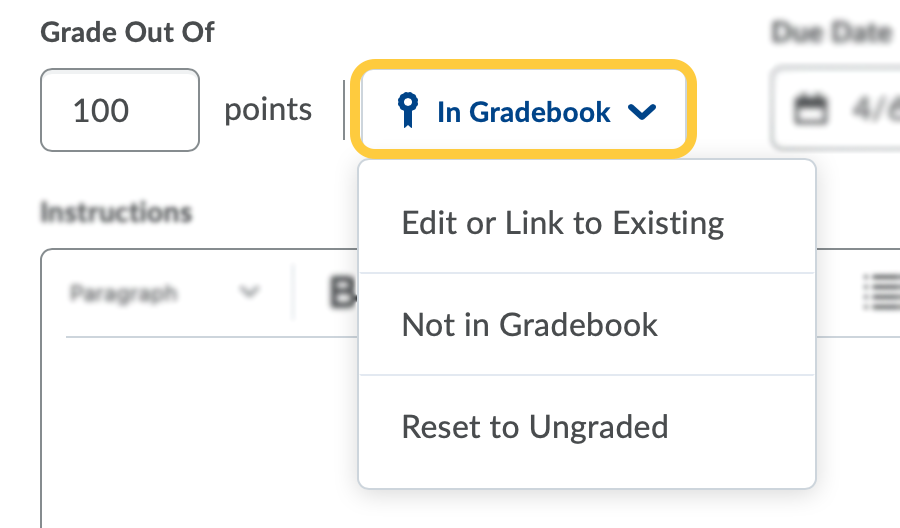
- In the Grade Out of field, click Ungraded. Enter a points value. If there’s also an associated grade item, maintain consistency by matching the value of the Out Of field to the grade item’s Max Points value in Grades. Make sure the out of score also matches your syllabus.
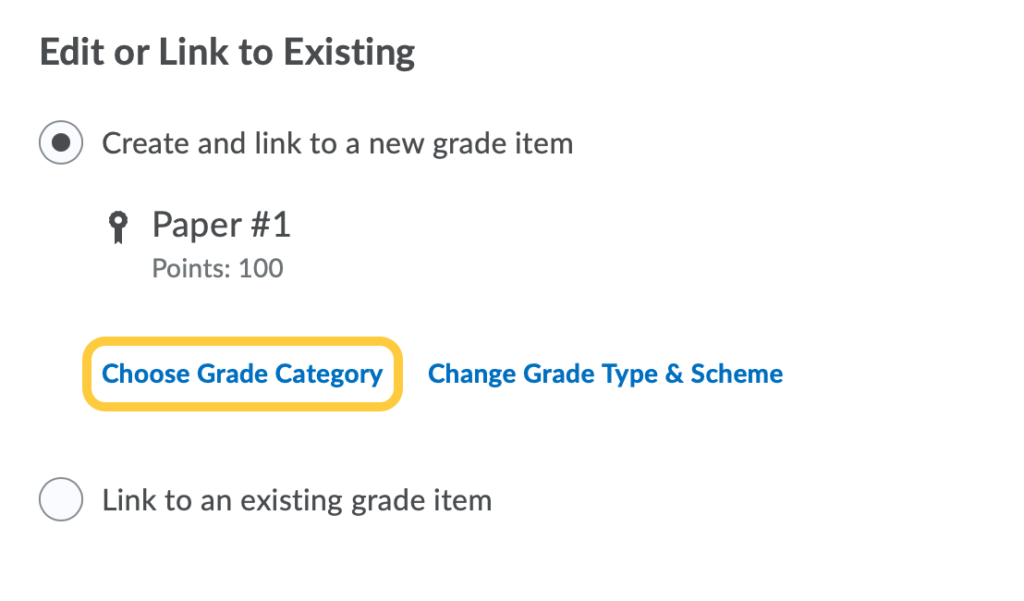
- Click In Gradebook, then Edit or Link to Existing and either:

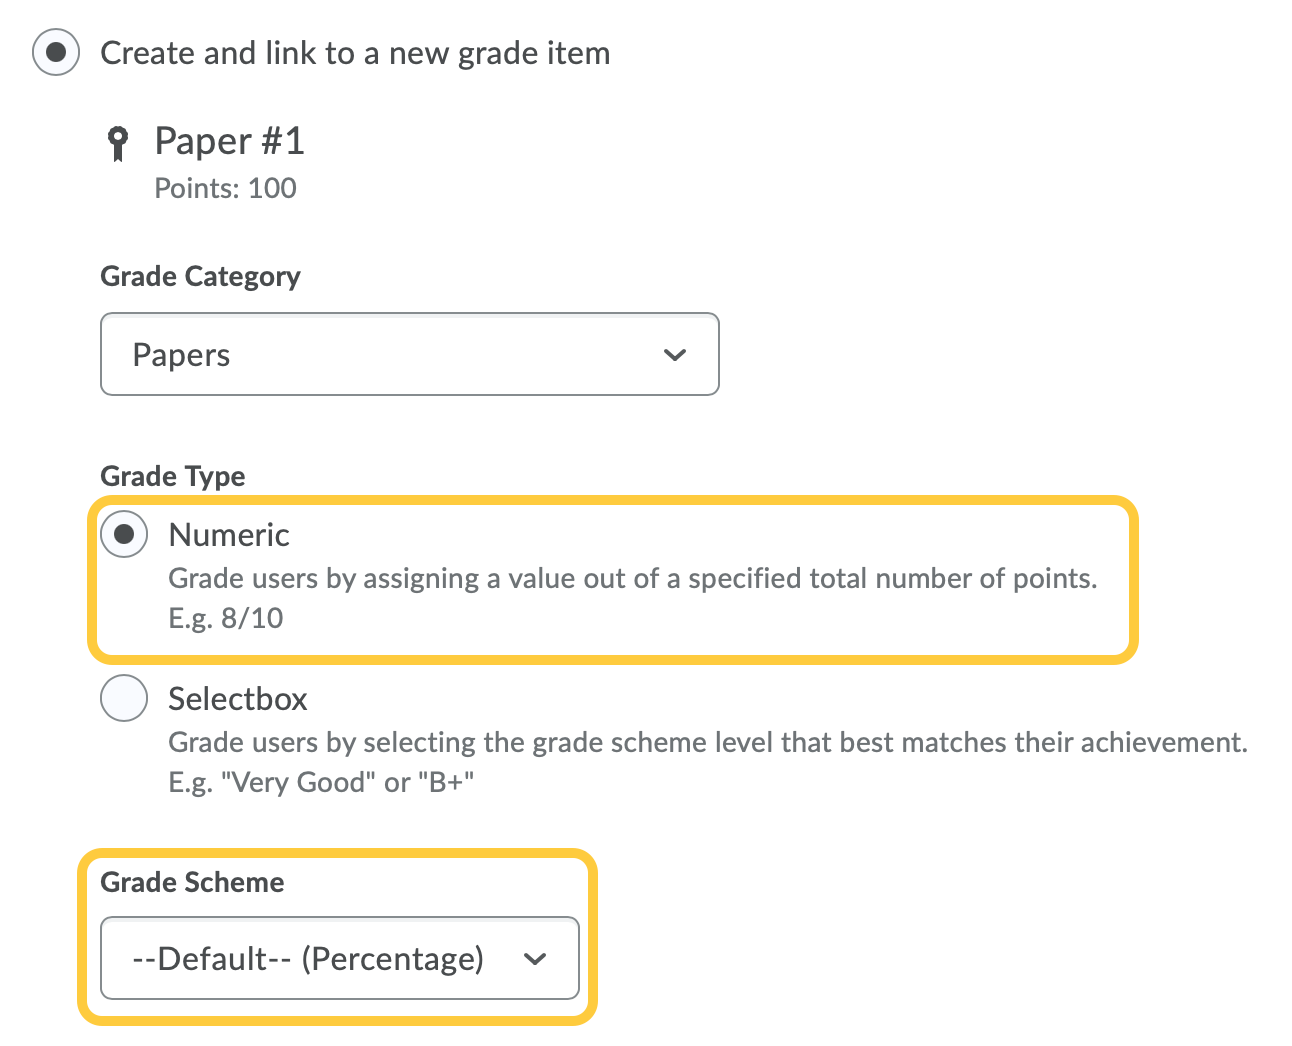
- Create and link to a new grade item.
- This will create a new grade item with the same name as your new assignment with the point value set in the Grade Out Of field in the previous step.

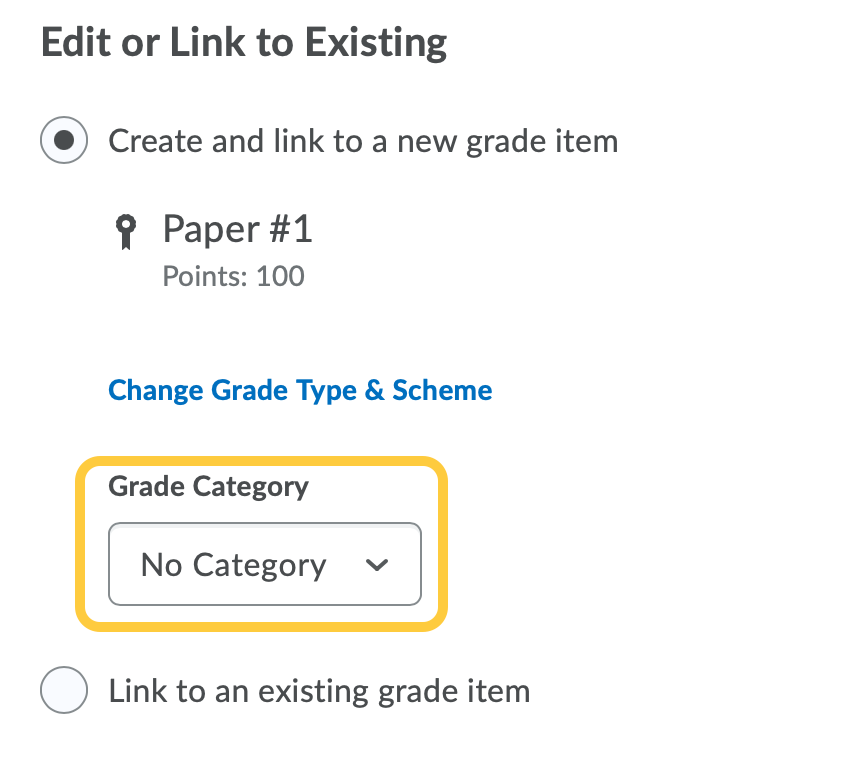
- Click Choose Grade Category.
- In the Grade Category dropdown menu choose an existing Grade Category or select No Category.
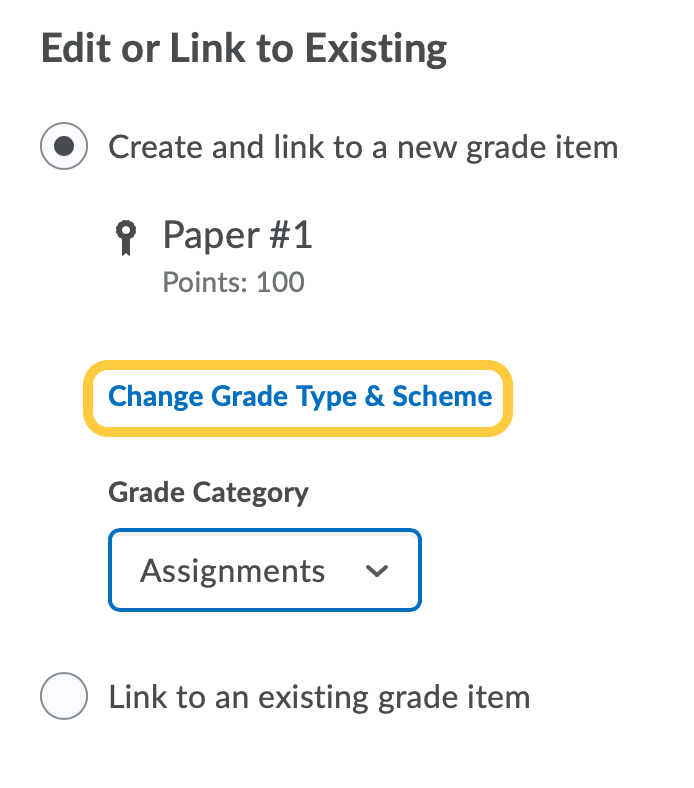
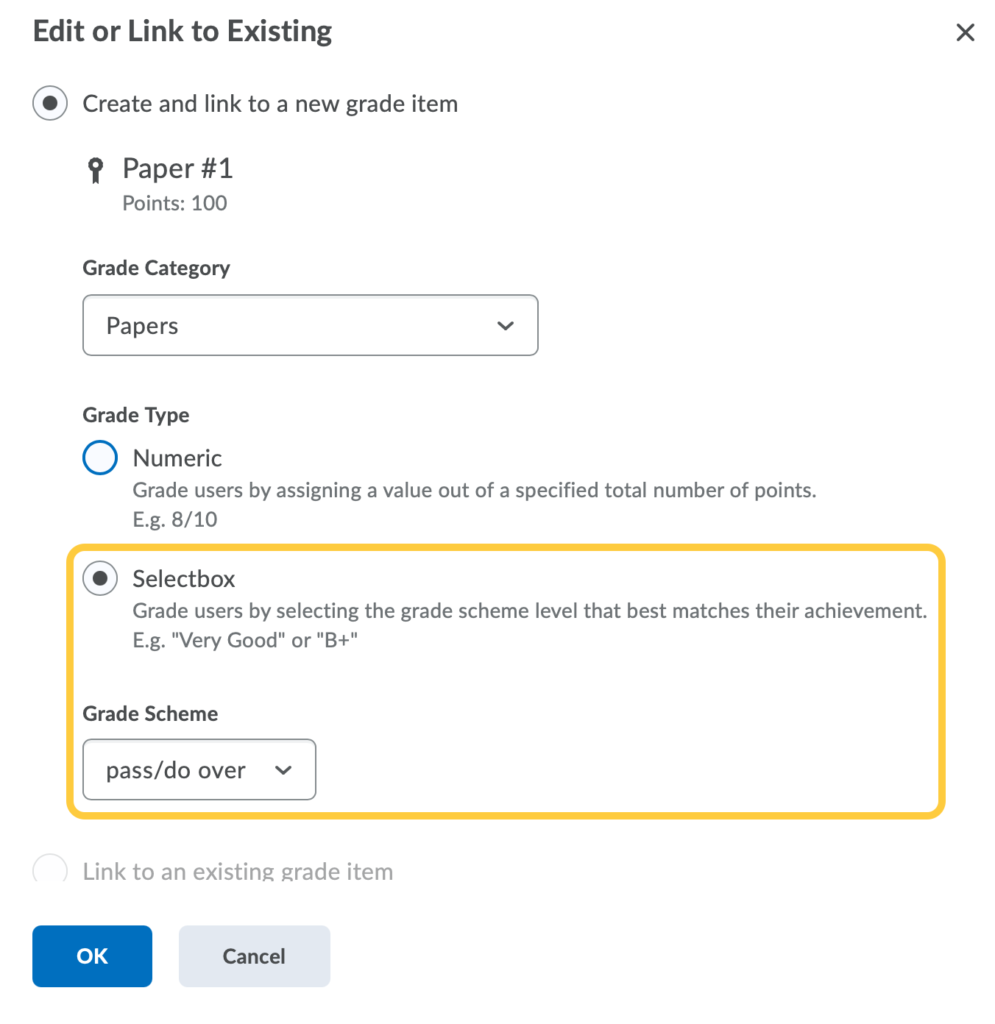
- Click Change Grade Type & Scheme. Note: Only Numeric or Selectbox grade items can be associated with assignment. Choose either:
-
- Numeric Grade Item: Grade items by assigning a value out of a specified total number of points. Optional: Select a Grade scheme for this grade item. Default scheme is %.

- Selectbox: Grade users by selecting the grade scheme level that best matches their achievement. Select a Grade scheme for this grade item. If you need to create a specific scheme for this assignment, follow the steps on the Grading Schemes page.
- Numeric Grade Item: Grade items by assigning a value out of a specified total number of points. Optional: Select a Grade scheme for this grade item. Default scheme is %.
-
- This will create a new grade item with the same name as your new assignment with the point value set in the Grade Out Of field in the previous step.
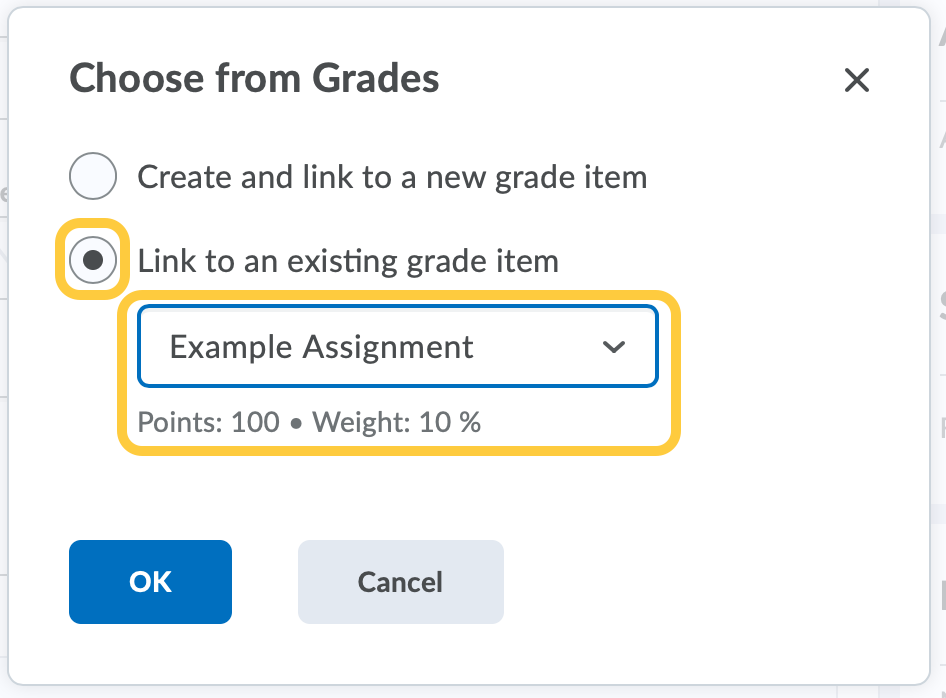
- (Recommended) Link to an existing grade item. This will allow you to choose any grade items not associated to other activities. Note: Only numeric and selectbox grade items can be associated with assignment.
- Optional settings are: Not in Gradebook, or Reset to Ungraded.
- Create and link to a new grade item.
- In the Grade Out of field, click Ungraded. Enter a points value. If there’s also an associated grade item, maintain consistency by matching the value of the Out Of field to the grade item’s Max Points value in Grades. Make sure the out of score also matches your syllabus.
- Set Due Date by anywhere in the due date field.
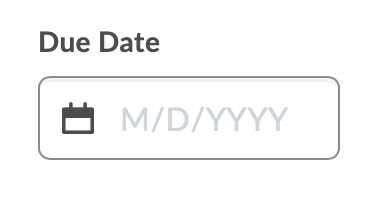
Then select a date from the calendar, and enter the time the assignment will be due. By default the time will be 11:59 PM.
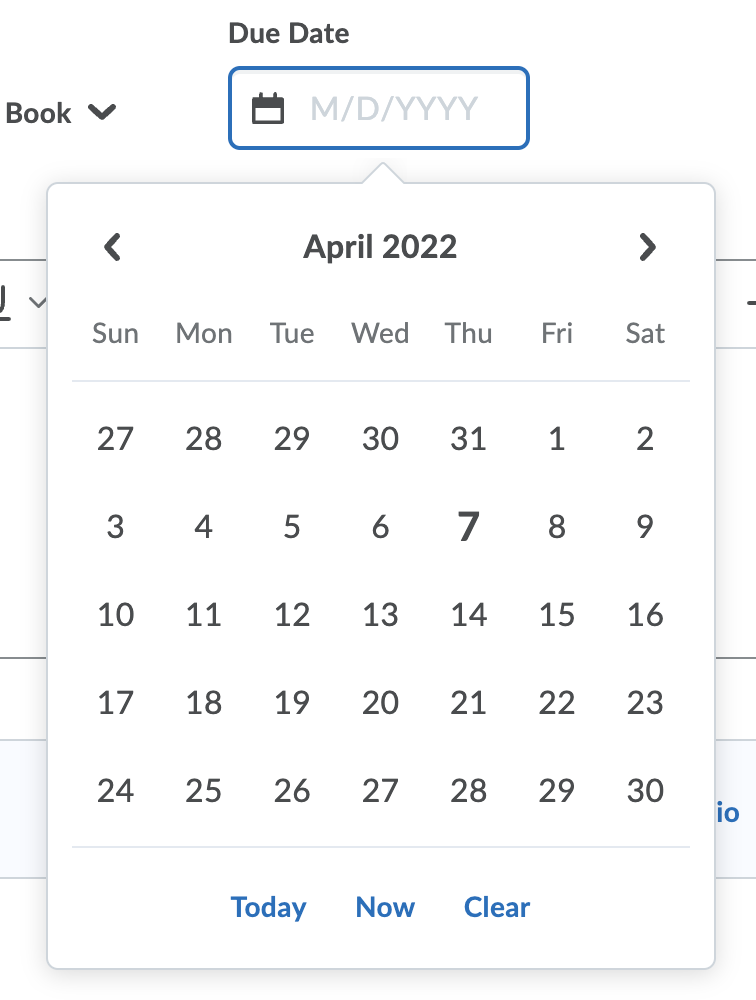
The due date specifies a time when the assignment is expected to be completed. An assignment is flagged as late if it is submitted after the due date. Due dates are automatically added to the course calendar. Note: If a due date is set, the student is notified two days prior to this date on the Pulse app and will appear on the TCU Online calendar for students enrolled in the course and on the general course calendar. - Provide assignment expectations, requirements, and instructions to students in the Instructions text field. Click the elipsis (three dots) within the HTML editor for additional text editing options. Use the HTML editor to format text, add links, images, and embed multimedia. Learn more about how to Format HTML Course Content.

- Optional:

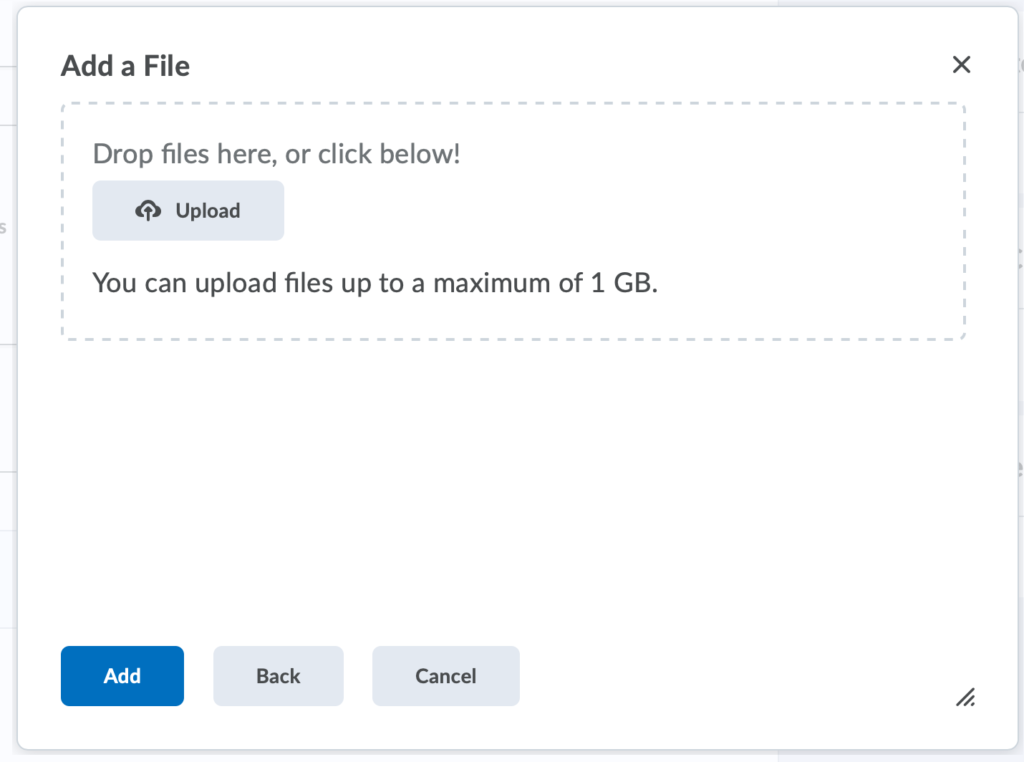
- Upload a file: Click the icon to Add a File
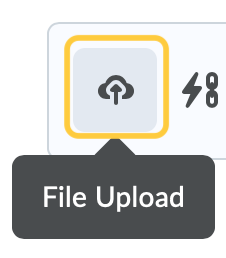 from your computer as an attachment to your Assignment Instructions. Once it is uploaded, click Add.
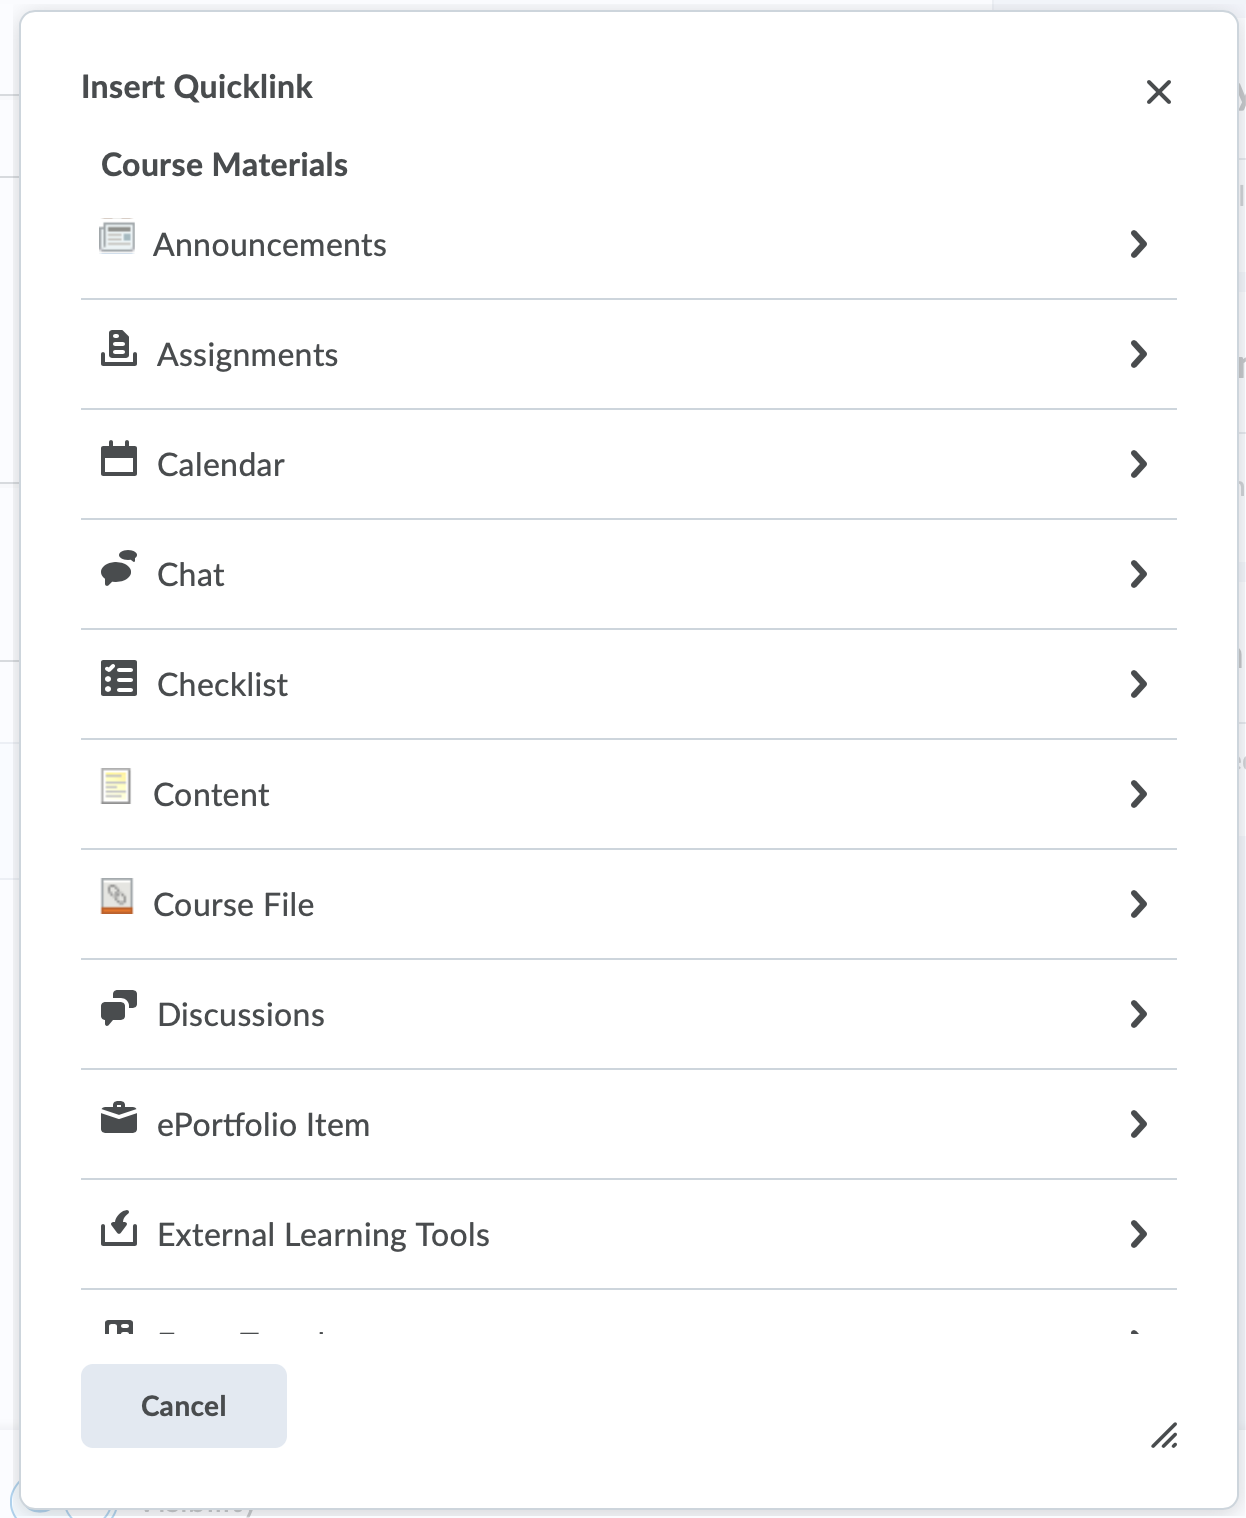
- Insert a Quicklink: Click the Quicklinks icon
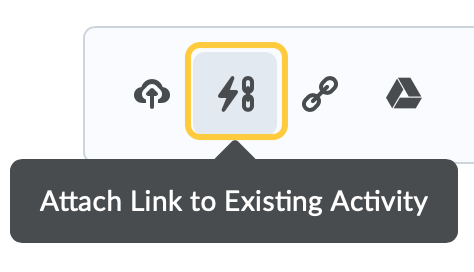 to Insert a quicklink to course activities or content.

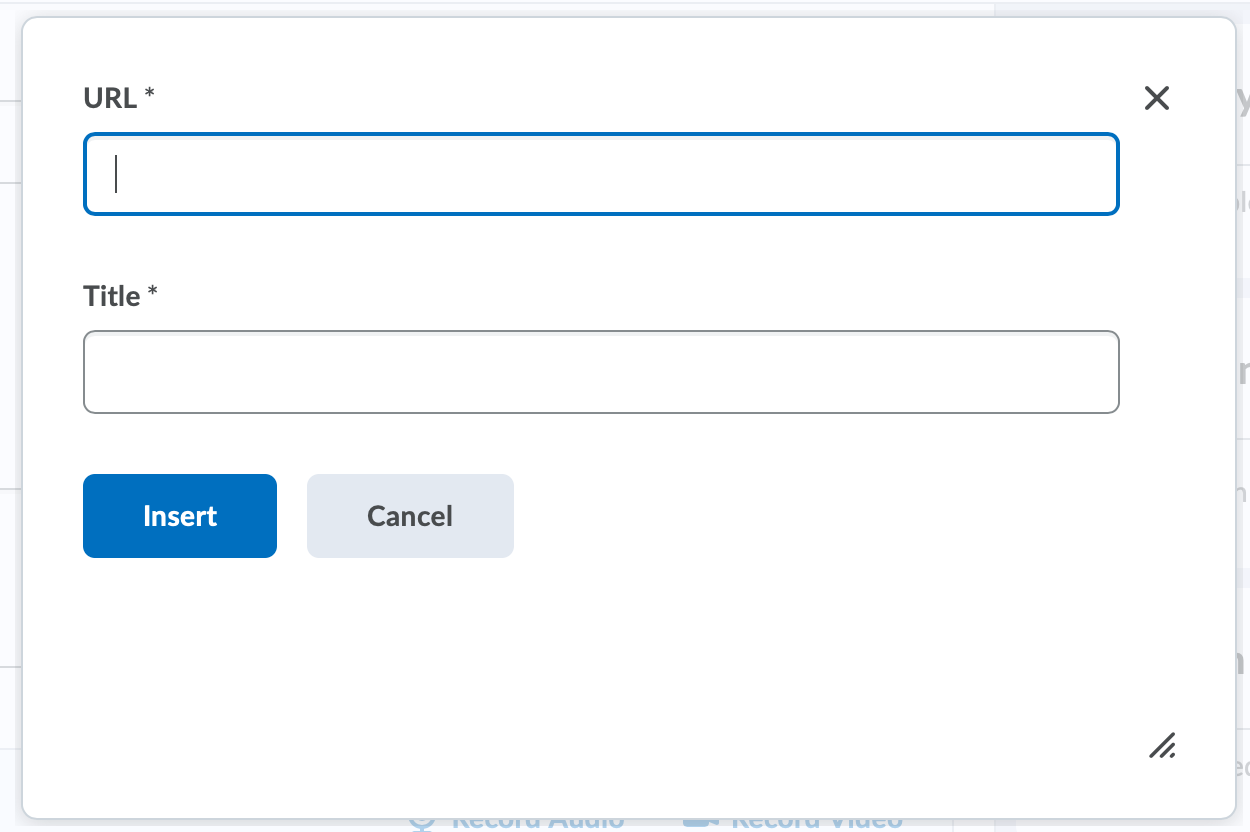
- Link to a website: Click the Weblink icon
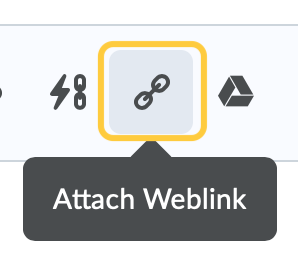 to link to create a link to a website. Enter a URL and Title (this is the link your students will click), then click Insert.

- Attach a Google Drive file: Click the Google Drive icon
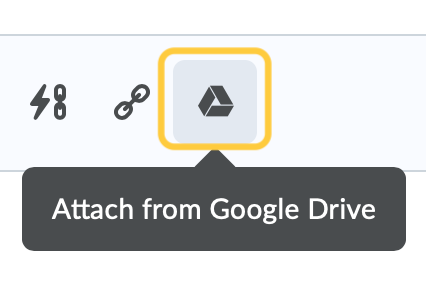 to Continue to Google Drive, then select a document you wish to share with your students.
 - Record Audio or Record Video: Click the links to create audio or videos for your Assignment.

- Upload a file: Click the icon to Add a File
- Optional Visibility: By default, assignments are visible to students upon creation. If you wish to hide the assignment from students completely, click the visibility toggle on the bottom of the assignment creation page. If the eyeball icon displayed, the students can see the assignment. If the eyeball icon has a line through it, the assignment is hidden from students. Note: Follow the steps in the Set Availability and Conditions section below to set start/end dates for the assignment if you wish to control student access by date
- Visible:

- Hidden:

- Visible:
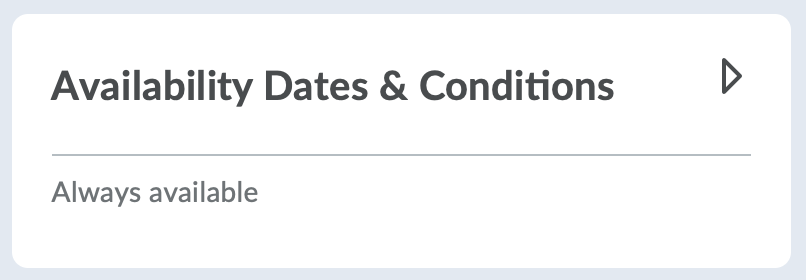
- Select the title on the Availability and Conditions panel to expand these options and set your preferences.
- In the Availability section, do any of the following:
- Set a Start Date: The start date determines when an assignment becomes available to students. If a Start Date is not selected, then the students will be able to access and interact with the assignment without date restrictions.
- Set the Date & Time for the Start Date by clicking anywhere in the Start Date field. Then select a date from the calendar, and enter the time the assignment becomes available. By default, the time will be set as 12:01 AM. Click the Before Start link, below the date and time field, to set the availability preferences for the Start Date.
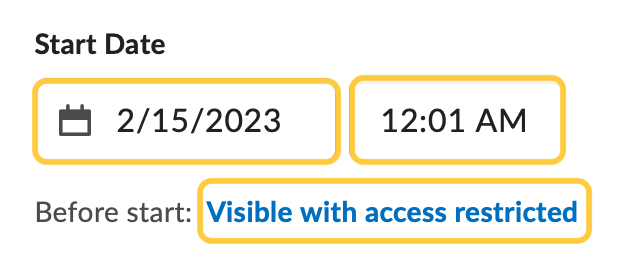
- Set the Availability Start Date Properties – Choose from one of the following:
- Visible with access restricted: The topic/forum will be visible to students before the Start date, but they cannot click/open it.
- (DEFAULT) Visible with submission restricted: The topic/forum will be visible to students before the Start date and they can access it but cannot post new threads or replies. This effectively makes a discussion read-only.
- Hidden: The topic/forum will be hidden from students until the Start date. Calendar events for Availability Starts and Availability Ends will be hidden until the Start date. Notifications will also not be sent until the Start date.
- Recommended: Check the box for Add availability dates to Calendar.
- Click Done.

- Set the Date & Time for the Start Date by clicking anywhere in the Start Date field. Then select a date from the calendar, and enter the time the assignment becomes available. By default, the time will be set as 12:01 AM. Click the Before Start link, below the date and time field, to set the availability preferences for the Start Date.
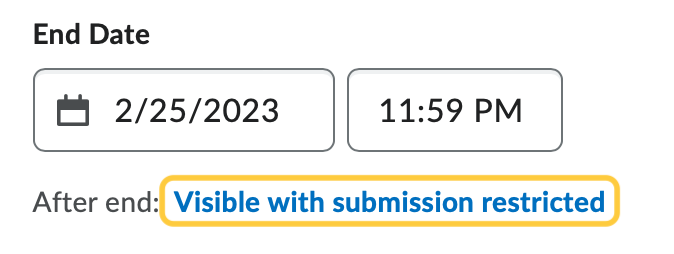
- Set an End Date: The end date determines when an assignment becomes unavailable to students. Note: The End Date affects the TurnItIn settings when visiting the TurnItIn tab (We recommend setting the “End Date” and “Due Date“). If an assignment has no due date but has an end date, students will be notified two days prior to the end date via the Pulse app, and will appear on the TCU Online calendar for students enrolled in the course and on the general course calendar.
- Set the Date & Time for the End Date by clicking anywhere in the End Date field. Then select a date from the calendar, and enter the time the assignment becomes unavailable. By default, the time will be set as 12:01 AM.
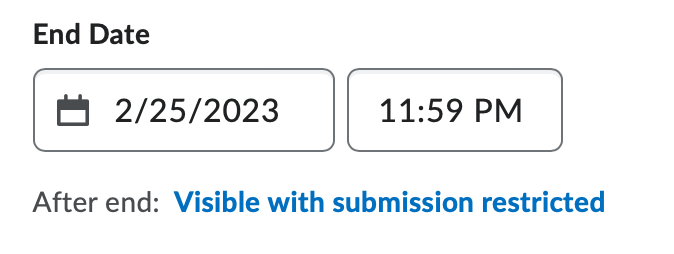
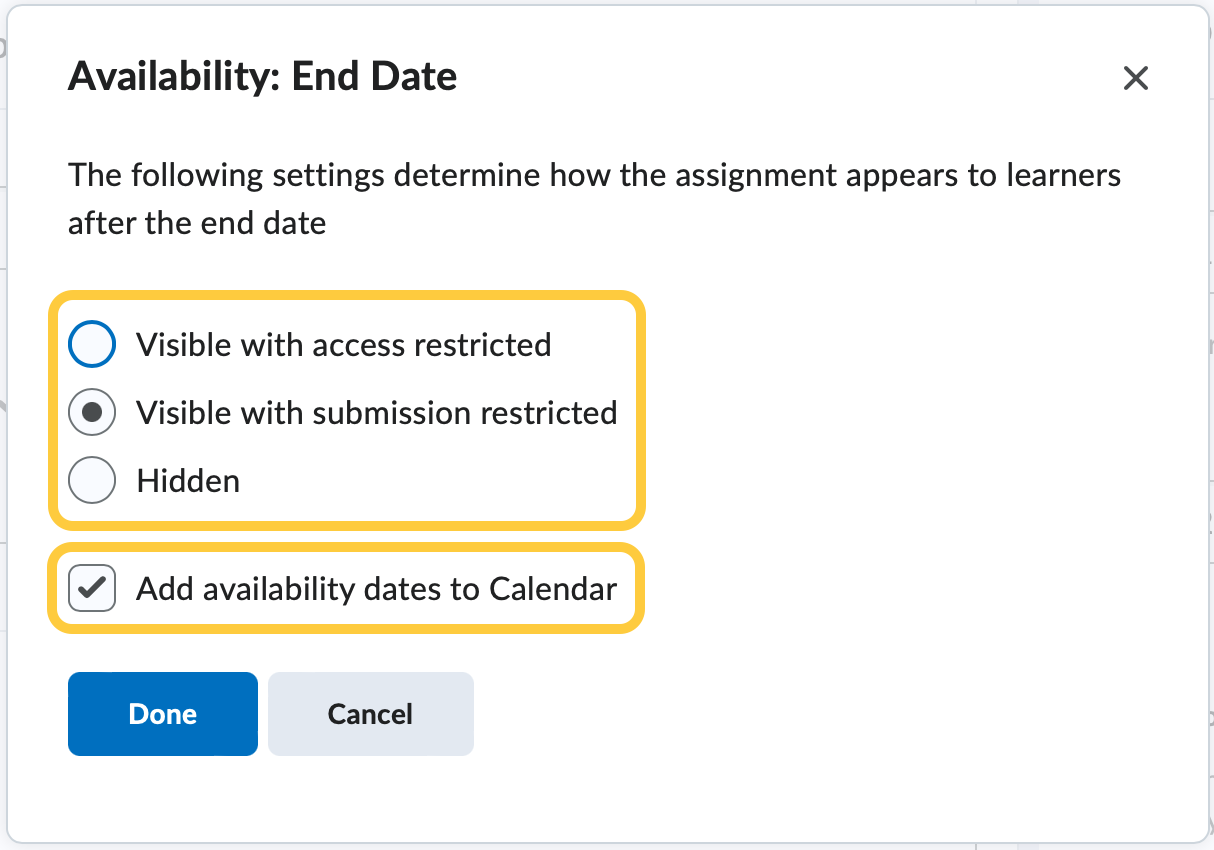
- By default, the availability property Visible with submission restricted is selected. If you wish to select another availability property, click the link to make a new selection in the pop-up window. The availability property options are:
- Visible with access restricted: The topic/forum will be visible to students after the End date, but they cannot click/open it.
- (DEFAULT) Visible with submission restricted : The topic/forum will be visible to students after the End date and they can access it but cannot post new threads or replies. This effectively makes a discussion read-only.
- Hidden: The topic/forum will be hidden from students after the End date. Calendar events for Availability Starts and Availability Ends will be hidden until the Start date.
- Recommended: Check the box for Add availability dates to Calendar.
- Click Done.
- Set the Date & Time for the End Date by clicking anywhere in the End Date field. Then select a date from the calendar, and enter the time the assignment becomes unavailable. By default, the time will be set as 12:01 AM.
- Set a Start Date: The start date determines when an assignment becomes available to students. If a Start Date is not selected, then the students will be able to access and interact with the assignment without date restrictions.
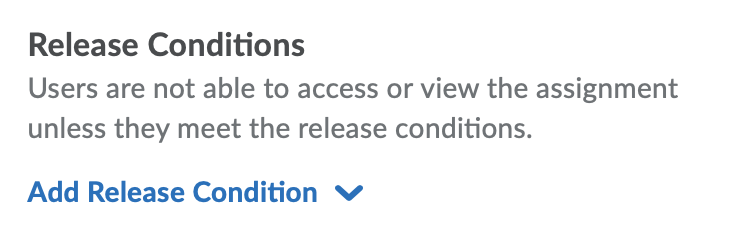
- Optional: Set Release Conditions by clicking Add Release Condition. Learn more about Release Conditions for Assignments.
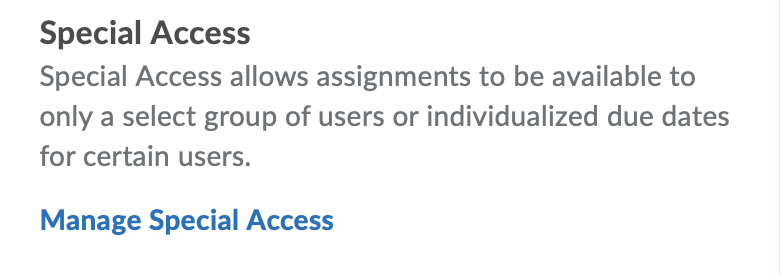
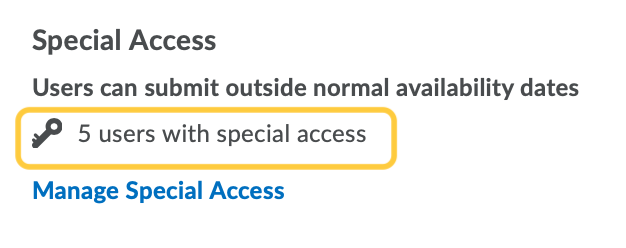
- Important: In order to set different due dates for each section, you will need to setup Special Access. Set Special Access by clicking Manage Special Access.
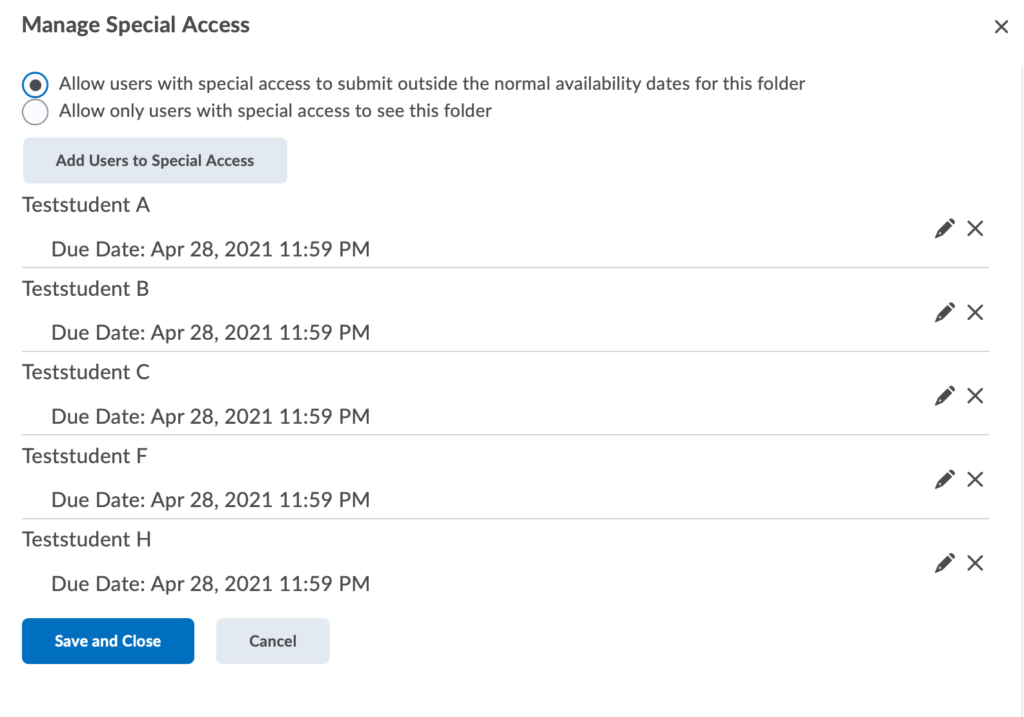
- Select Allow users with special access to submit outside the normal availability dates for this folder then click Add Users to Special Access.

- On the Special Access page, Set Dates: In the Properties area, check the boxes for Has Due Date, Has Start Date, and Has End Date. These dates will set the due date and availability for the students with special access to the assignment. By default, the dates that display are the ones set for the assignment, edit these as needed to set the alternate date for the section you wish to have a different due date.
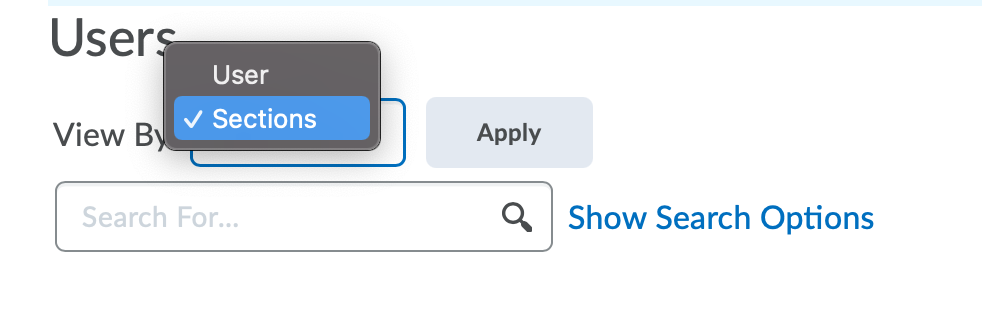
- In the Users area, select the View By dropdown menu and select Sections, then click Apply.
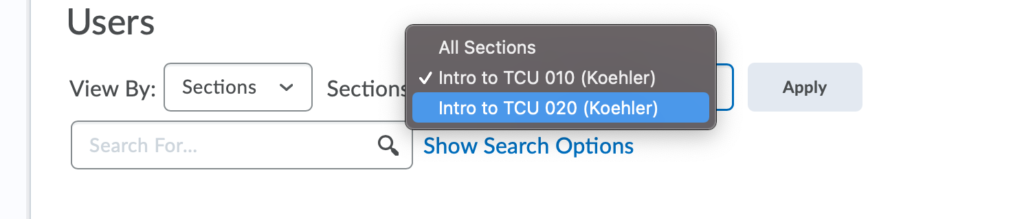
- A new dropdown menu will appear. Click the menu, and select the section for which you wish to apply the new date date. Then click Apply.
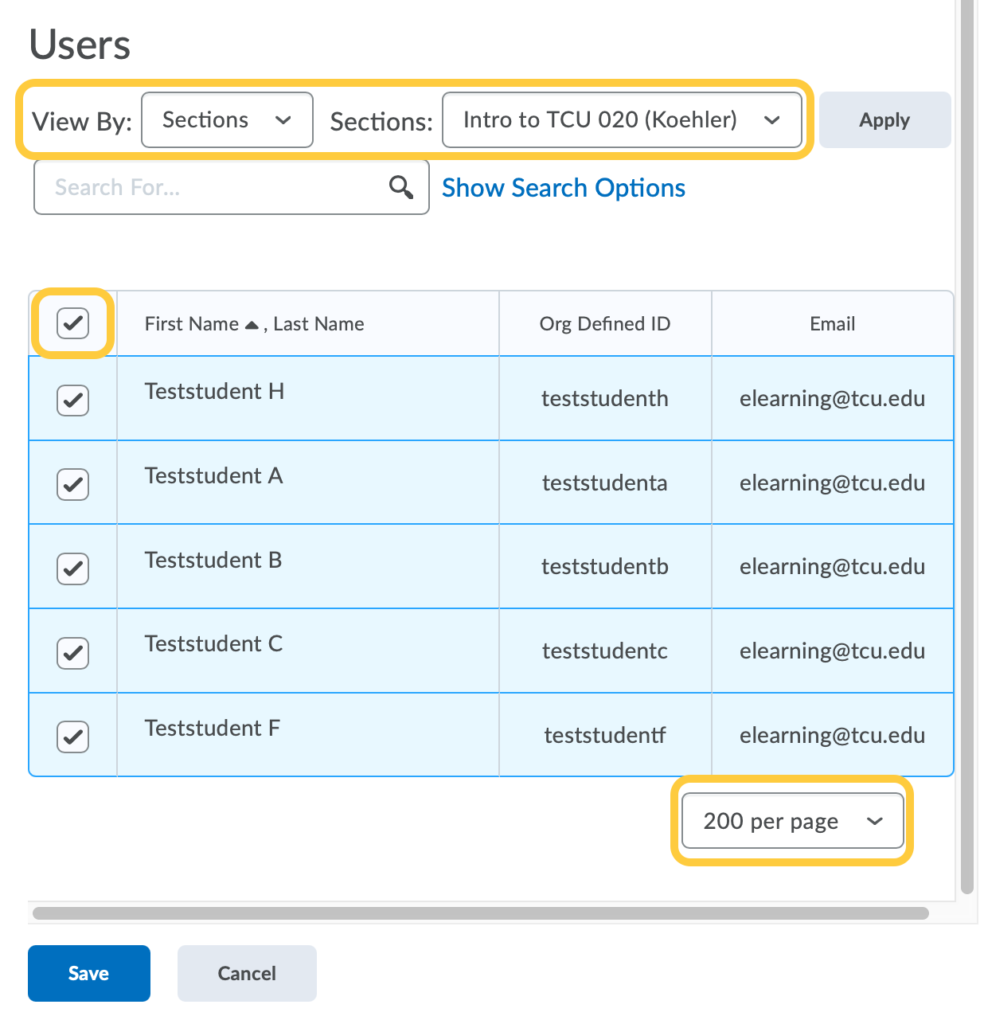
- Check the box at the top of the users table to select all of the students in the list below. Tip: If you have a large class, change the # per page dropdown menu on the bottom right corner of the screen to view a larger quantity of students at a time.
- Click Save.
- On the Manage Special Access page, the list of students you just set special access for will display. Each will display their name, new due dates, and each will have a pencil icon on the far right side of the screen in case you need to edit a specific student’s due date. Click Save and Close.
- You will now be taken back to the Create/Edit Assignment page. Under Special Access, it will now display the number of students who have special access. At any time you can return to Manage Special Access to add new special access for students, or modify their existing special access.
- Select the title on the Submission and Completion panel to expand these options and set your preferences.

- Optional: Assign a Category to organize & group types of assignments together: From the Assignment Category dropdown menu, select the category you wish to organize this assignment into. By default, all assignments will be created in “No Category.”
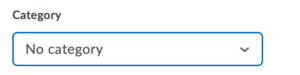
By default, assignments are created with no category.
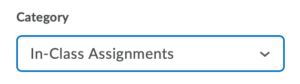
Select the Assignment Category you want to from the list of previously created categories.
If you haven’t created categories and want to do this later you can continue creating your assignment, then follow these steps to Move an Assignment into an Existing Assignment Category at a later time.
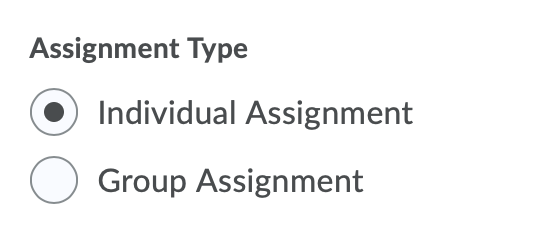
- Select the Assignment Type. Note: Once you have determined if it is a group or individual assignment, it cannot be changed. You will have to create a new assignment.
 Choose one of the following:
- Individual assignment (default) – This is for all students to submit into one assignment.
- Group assignment– Group assignments enables you to have one submission per group, but you first must associate the assignment with a Group Category. Any group member can submit and view files for a group assignment. When grading group assignments, the grade and assignment feedback will automatically go to all members of the group. Learn more about Group Categories.
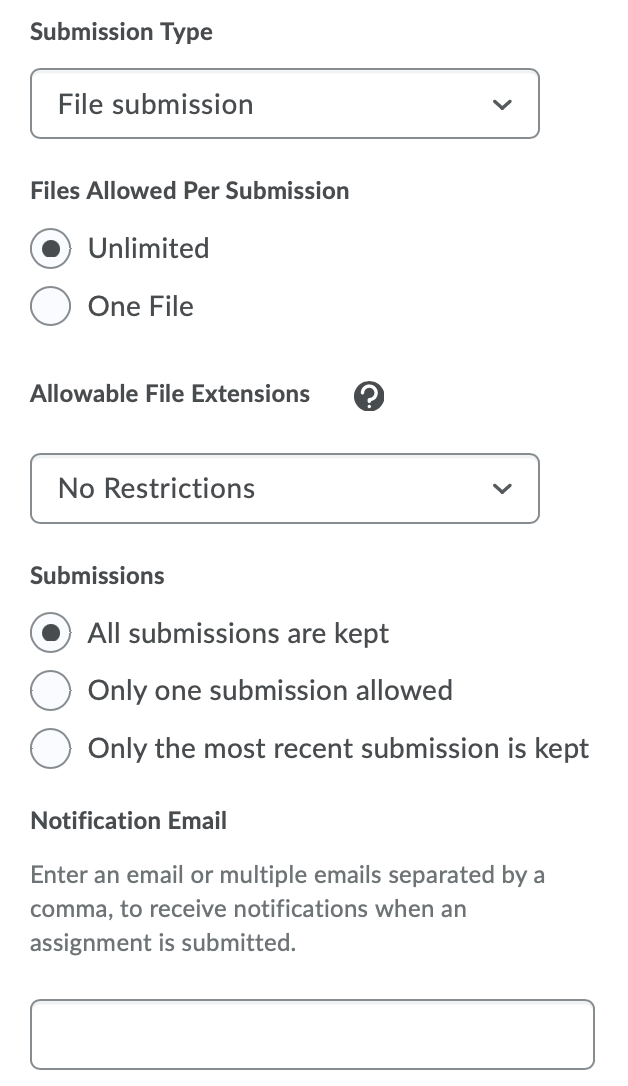
- Select a Submission Type. Note: Once you have determined the type of assignment, it cannot be changed. You will have to create a new assignment.
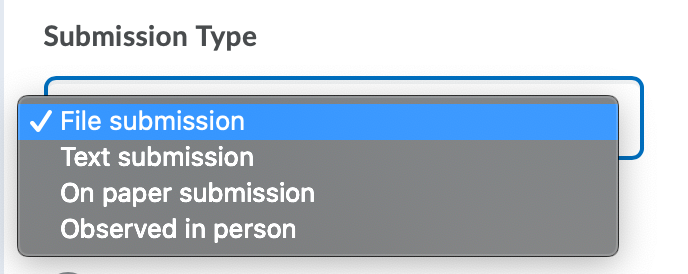
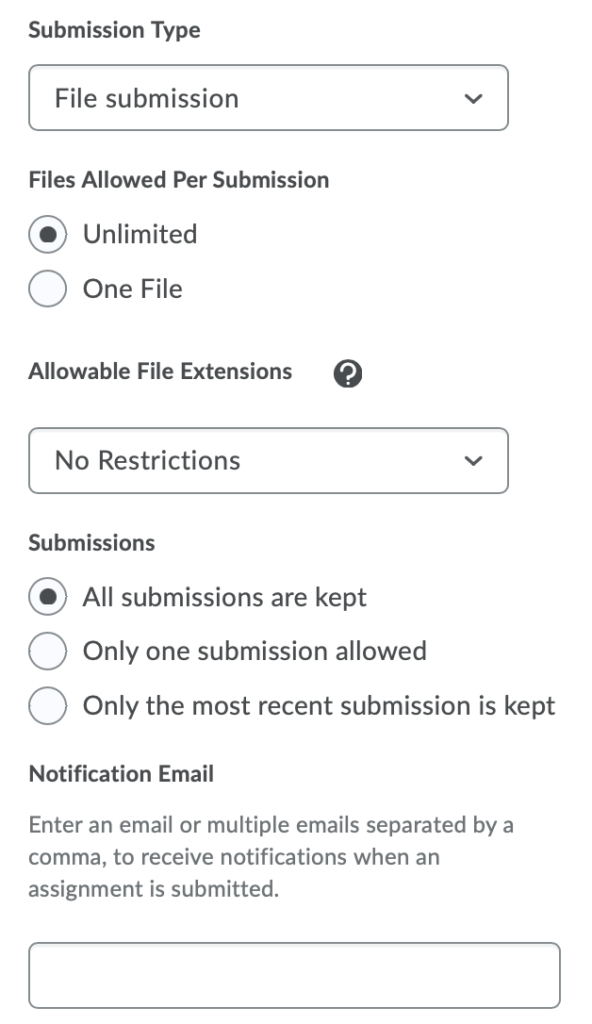
Choose one of the following:- File submission (default) – Students will upload a file. See the list of approved file types for the Assignments tool. Select this option to collect papers or homework online. This is the default setting.
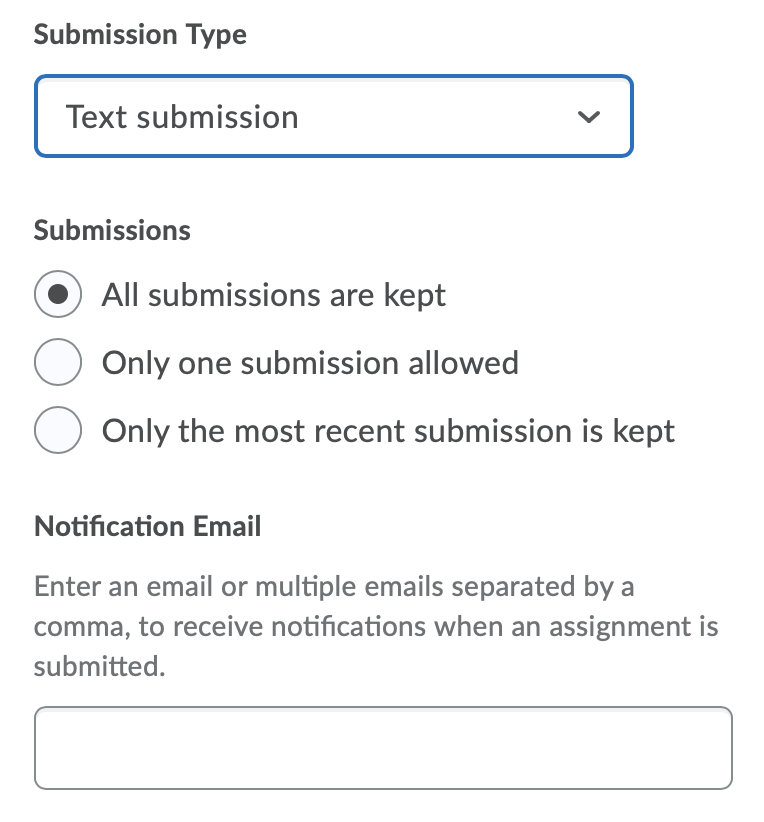
- Text submission – Students will type or paste content into the html editor (text box); students will not be able to upload files. Select this option if you need students to submit a link or another small piece of data (such as a group name or presentation date preference).
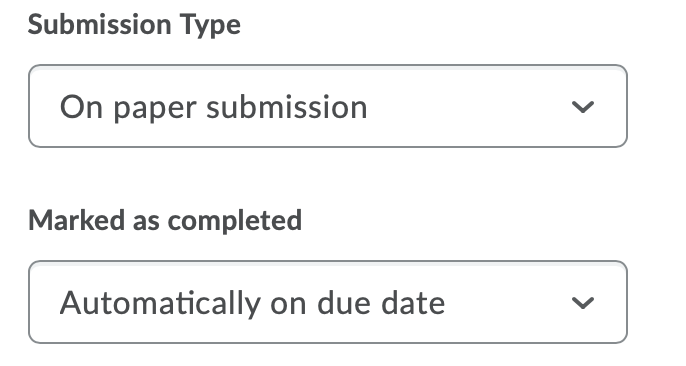
- On paper submission – Students will physically submit their paper to the instructor; students will not be able to upload files. Select this option if you will collect papers in person or if the student work is not able to be uploaded to TCU Online, but you still wish to leave feedback for students in the Assignments tool.TCU Online displays information to students that indicates if this item has been completed. Since there is no physical submission, you will then select how this determination should be made: manually by students (students themselves click a button to make TCU Online show that this item has been completed; this is the default setting), automatically on evaluation (TCU Online will show this item has been completed once you publish a score or feedback for this item), automatically on due date (TCU Online will show this item has been completed on the due date associated with this assignment; you must enter a due date in the restrictions tab for this assignment). Note: Once you have determined the method for marking an item as complete, it cannot be changed. You will have to create a new assignment.
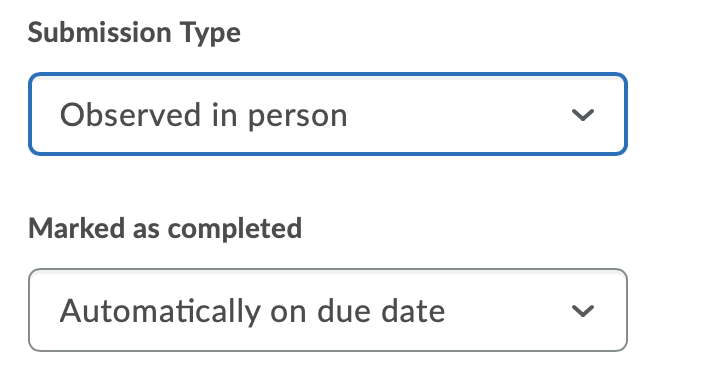
- Observed in person – Students will perform or deliver their work to their instructor; students will not be able to upload files. Select this option if you will evaluate in-class presentations, productions, or works of art and you wish to leave feedback to students in the Assignments tool.TCU Online displays information to students that indicates if this item has been completed. Since there is no physical submission, you will then select how this determination should be made: manually by students (students themselves click a button to make TCU Online show that this item has been completed; this is the default setting), automatically on evaluation (TCU Online will show this item has been completed once you publish a score or feedback for this item), automatically on due date (TCU Online will show this item has been completed on the due date associated with this assignment; you must enter a due date in the restrictions tab for this assignment). Note: Once you have determined the method for marking an item as complete, it cannot be changed. You will have to create a new assignment.
- Set your preferences for Submissions. These vary based on which Submission type you set in step 3.
-
- If you selected File Submission:
- Select your preference for Files Allowed Per Submission: Unlimited or One File.
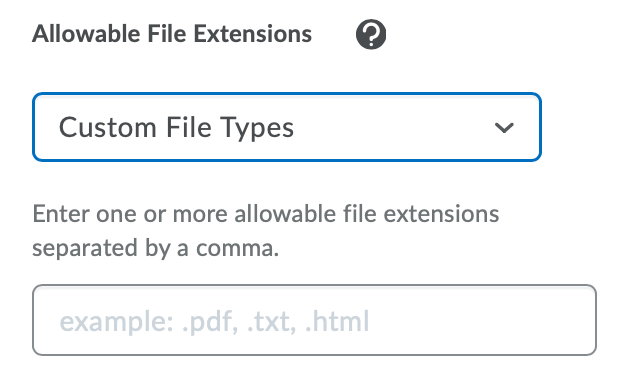
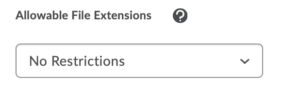
- The Allowable File Extensions field provides options for the types of files that students can submit for the assignment.
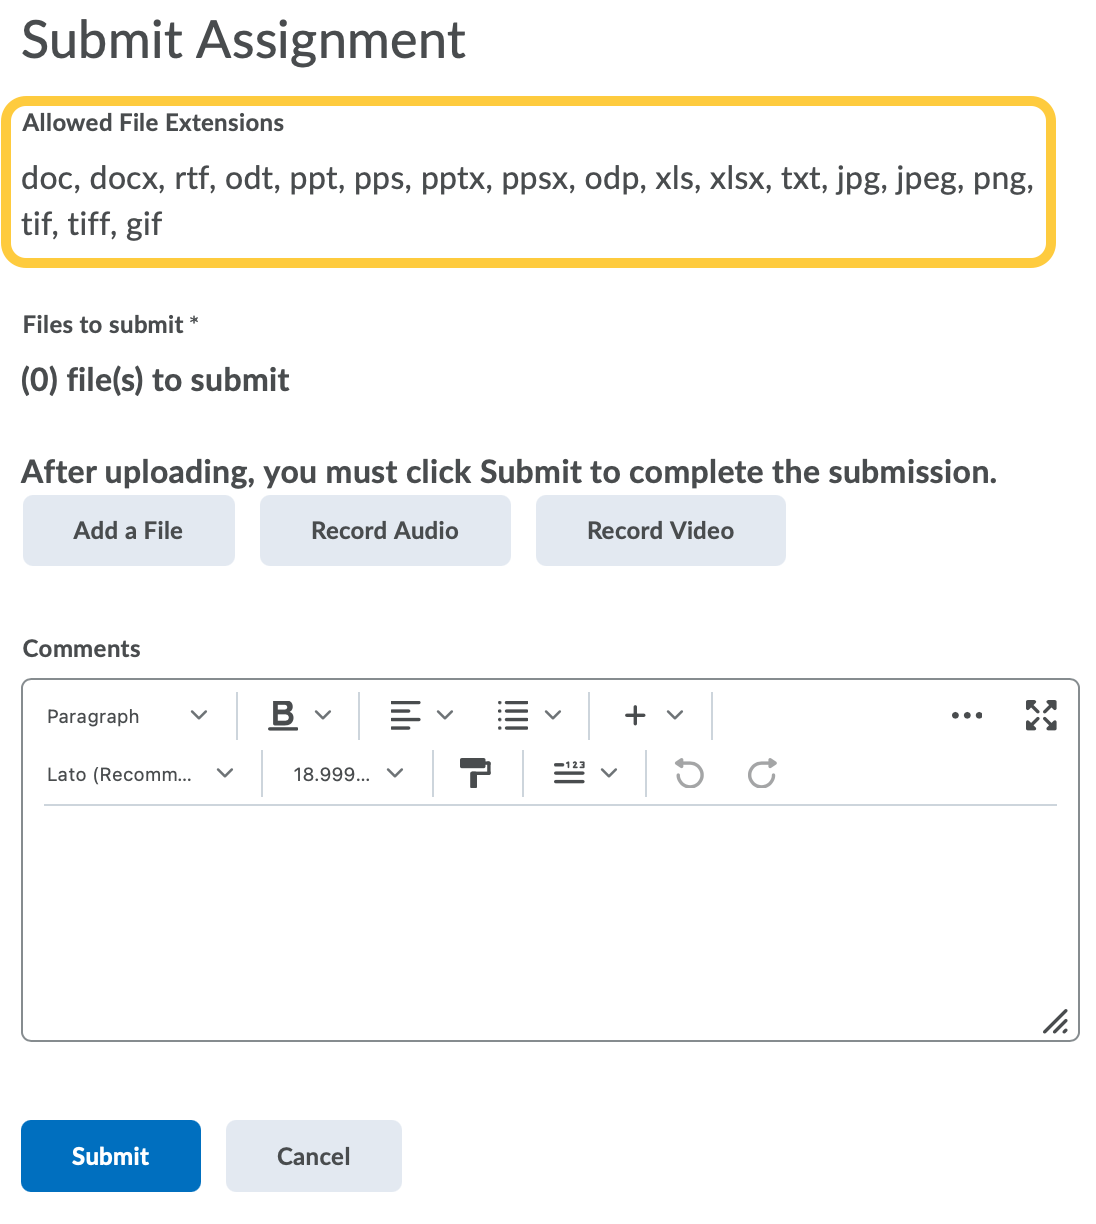
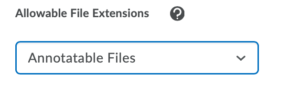
When enabled, students would see a list of allowable file extensions on the assignment submission page.
Student View of Assignment with “Annotatable Files” selected for Allowable File Extensions
Students who upload files that are not allowed will see the following error message:
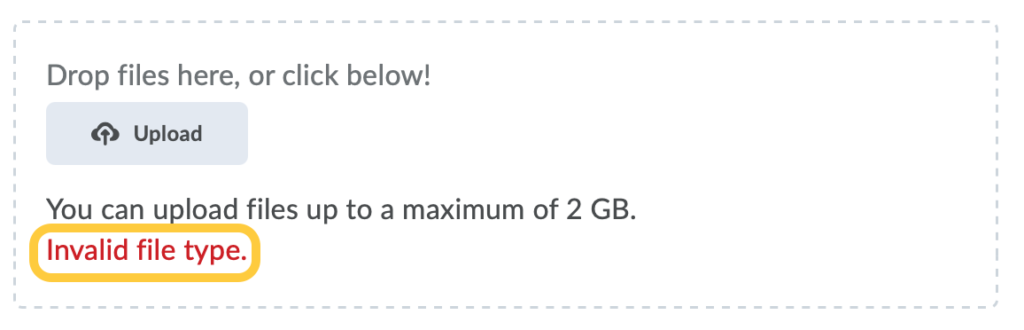
Invalid File Type message displays on the upload window.
Options in the drop down menu include:
- No Restrictions (Default) will allow students to upload any file type to the assignment folder. Files must be on the Acceptable Files Types list.
- .PDF only

- Annotatable files: which include all file types that are supported by the Annotation tool in Assignments. For the complete list of file types, see File types supported by Annotations.
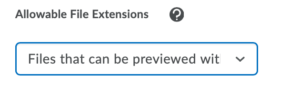
- Files that can be previewed without any conversion: Includes.HTM, .HTML, .MHT, .MHTML, and .BMP
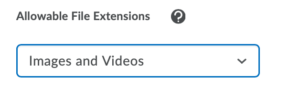
- Images and videos
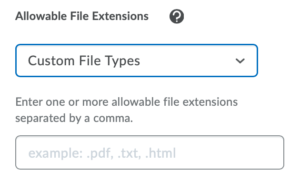
- Custom file types. If an instructor selects Custom File Extensions, they can then enter file extensions that are allowed for file submissions. The custom file types must be on the Acceptable Files Types list.
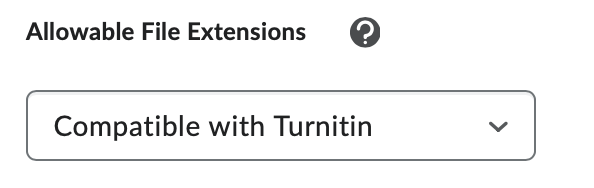
- Compatible with Turnitin: This will restrict submissions to the following supported file types: HTM; HTML; Doc; Docx; HWP; ODT; RTF; WPD; TXT; PS; PDF; pptx; ppt; ppsx; pps.
- No Restrictions (Default) will allow students to upload any file type to the assignment folder. Files must be on the Acceptable Files Types list.
- Select your preference for Submissions: All submissions are kept, Only the most recent submission is kept, or Only one submission allowed.
- Optional Notification Email: To receive an email message when a new submission is uploaded to this assignment, enter your email address, or a comma-separated list of email addresses in the Notification Email field. Enter your email address if you wish to receive an email each time a submission is made to the Assignment by a student.
- If you selected Text submission:
- Select your preference for Submissions: All submissions are kept, Only the most recent submission is kept, or Only one submission allowed.
- Optional Notification Email: To receive an email message when a new submission is uploaded to this assignment, enter your email address, or a comma-separated list of email addresses in the Notification Email field. Enter your email address if you wish to receive an email each time a submission is made to the Assignment by a student.
- If you selected On paper submission:
- Select your preference for Marked as completed: Manually by students, Automatically on evaluation, Automatically on due date.
- Select your preference for Marked as completed: Manually by students, Automatically on evaluation, Automatically on due date.
- If you selected Observed in person:
- Select your preference for Marked as completed: Manually by students, Automatically on evaluation, Automatically on due date.
- Select your preference for Marked as completed: Manually by students, Automatically on evaluation, Automatically on due date.
- If you selected File Submission:
-
- Select the title on the Evaluation and Feedback panel to expand these options and set your preferences.
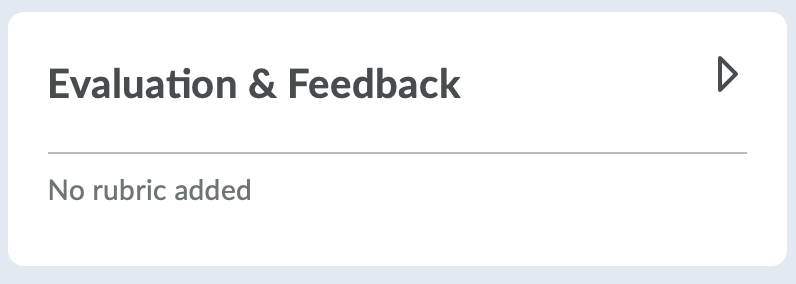
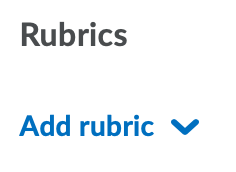
- Optional – Rubrics: To associate a rubric to the assignment, click Add Rubric to either Create New or Add Existing rubrics. For more information, see Associate a Rubric with an Activity.
- Optional – Learning Objectives – Note: TCU does not utilize this tool.
- Optional – Annotation Tool (on by default). If you wish to use the annotation tool, check the box for Make annotation tools available for assessment. Learn more about Using Annotations for Instructor Feedback in the Assignments Tool.
- Optional – ePortfolio: To allow students to add the assignment to their ePortfolio as an artifact, select Allow users to add this assignment to their ePortfolio.
- Optional – Anonymous Marking: Choose whether you want to hide student names during assessment. For more information, please see Anonymous Marking of Assignment Submissions
- Optional – TurnItIn Feedback Studio & GradeMark: Click Manage TurnItIn. For more information, please see Enable Turnitin for an assignment. IMPORTANT for Combined Courses with different due dates:The use of Turnitin combined with the special access features in the Assignments tool is not supported. If you set a due date for a student with special access that is different than the due date set on the Turnitin tab, the Turnitin due date does not change.
- Click Save and Close.
- On the nav bar, click the Activities menu, then select Assignments.