Create a Quiz
- On the navbar, click the Activities menu, then select Quizzes.
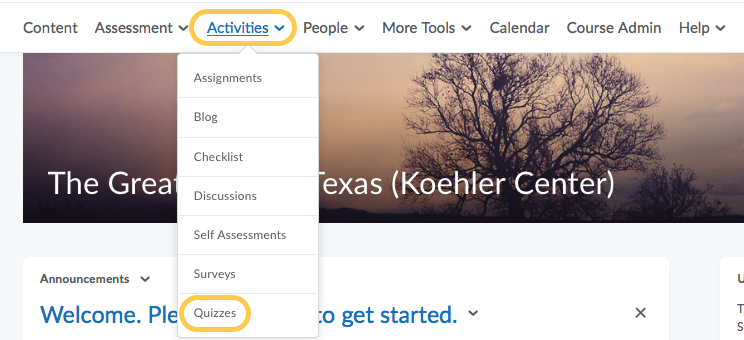
- On the Manage Quizzes tab, click New Quiz.
- Enter a Name for your Quiz. By default, the quiz name will say “Untitled.” Be sure to change this. Note: Naming convention is important. Make sure the quiz name matches what you have in your syllabus.

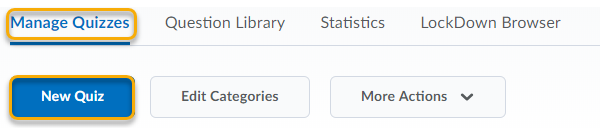
- If your quiz is ungraded, then no changes are needed and you may skip ahead to step 6. Note: When Not in Grade Book is selected, the Grade Out Of fields reflects the total points of the questions.
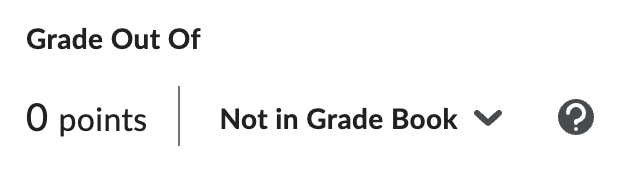
- If your quiz should be associated with a Grade Item in the gradebook, click Not In Gradebook, then select Edit or Link to Existing. Then choose one of the following 2 options. Note: Option 2 is recommended.
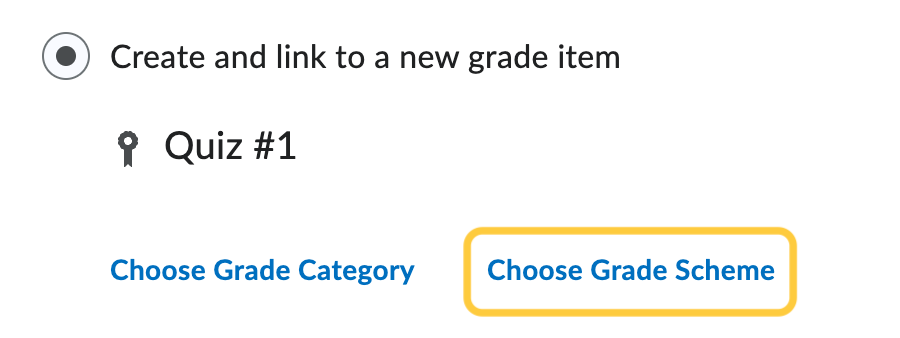
- Option 1: Create and link to a new grade item. (Choose this option if the Grade Item DOES NOT exist yet in the Grades tool.)
- Select Create and link to a new grade item to create a new Grade Item in the Grades tool with the same name as your new quiz.
- If your new Grade Item needs to exist within a Grade Category, click Choose Grade Category and from the dropdown menu select the appropriate category.
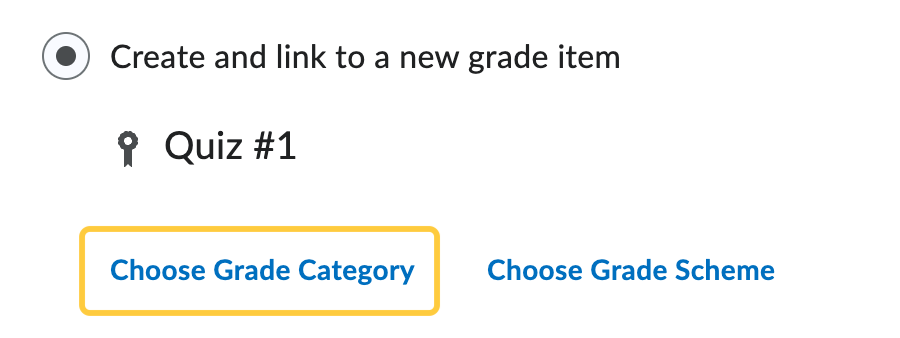
- If your new Grade Item needs an alternative Grading Scheme, click Choose Grade Scheme.
- Click OK.
- (Recommended): Option 2: Link to an existing grade item. (Choose this option if the Grade Item ALREADY exists in the Grades tool.) This will allow you to link this new quiz with an existing grade item as long as it is not associated with an activity.
- Select the dropdown menu to choose the existing grade item you, then click OK.
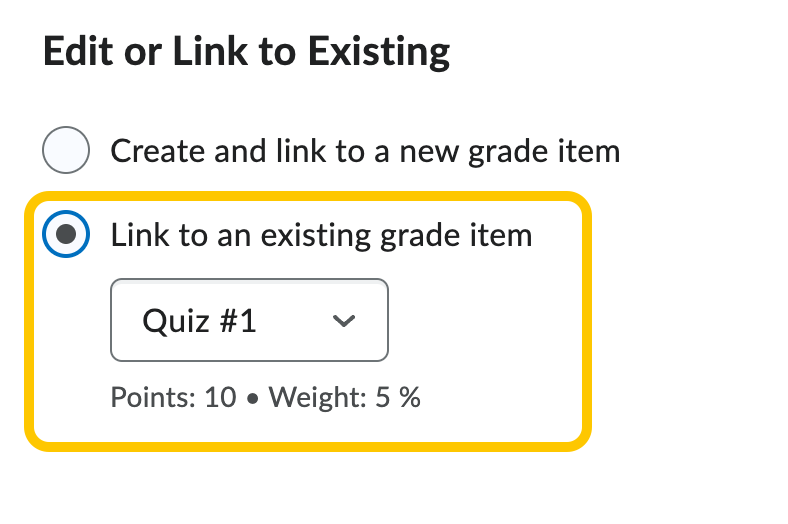
- The Grade Out Of field will automatically update with the score value from the grade item.
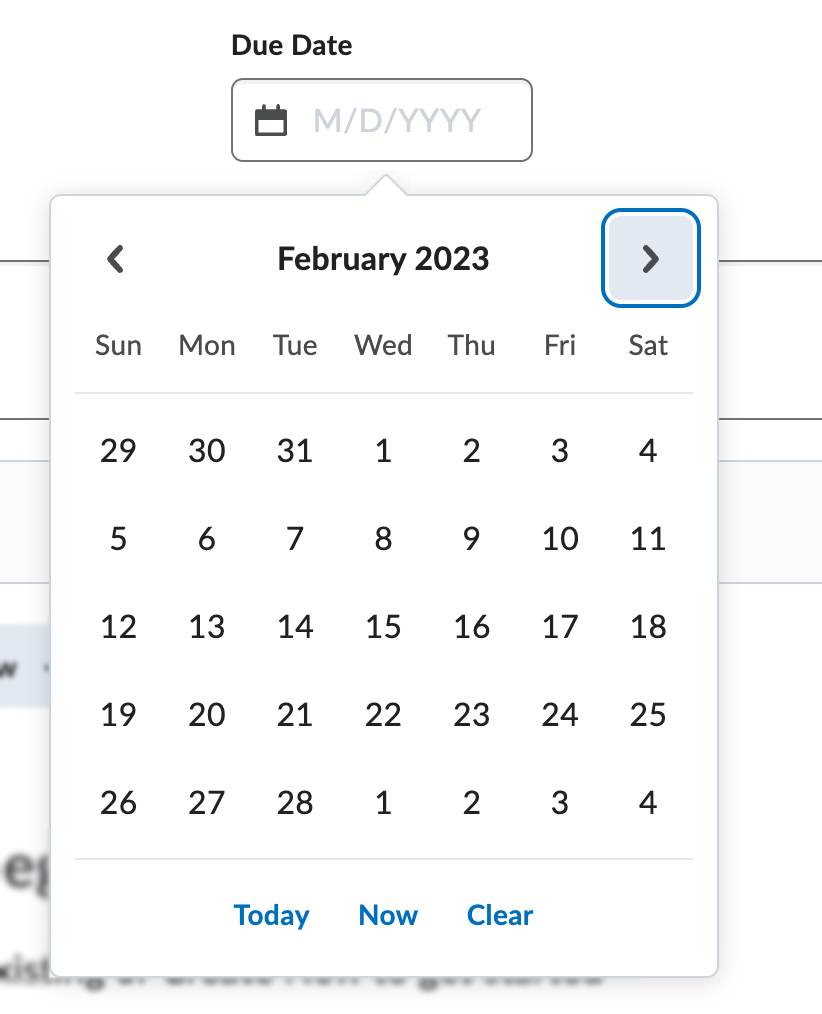
- Click in the Due Date field to add a due date to the quiz. Then select a date from the calendar and enter the time the quiz will be due. By default the time will be 11:59 PM. The due date specifies a time when the quiz is expected to be completed. A quiz is flagged as late if it is submitted after the due date. Options also include setting the due date to Today, Now, or to Clear the settings.
- Optional (Recommended): Add a Description sharing relevant information with students about the quiz. The description is shown before quiz availability. Learn about how to Use the HTML Editor to Format Course Content.

- In the Questions area, do any of the following:
- Click Add Existing to either: Upload a file, Browse Question Library, or Import from Learning Repository.
- Upload a file – Supported formats include Formatted text file (CSV) [Download template csv] or IMS QTI compliant course package (ZIP).
- Browse Question Library – learn more on the Import Questions to your Quiz from the Question Library page. Note: If you import questions from Question Library, your quiz will contain a copy of the questions, not the original questions.
- Import from Learning Repository
- Click Create New to either create a New Question, Section, or Question Pool.
- Note: Questions can be created using the end tool (i.e., Quizzes/ Surveys/ Self-Assessment) or by accessing the Question Library within these tools. Creating a question within a quiz, survey, or self-assessment means that question will only be available to that item; creating questions within the Question Library means that any tool utilizing questions within that org unit has access to them. It is recommended to build questions in the Question Library.
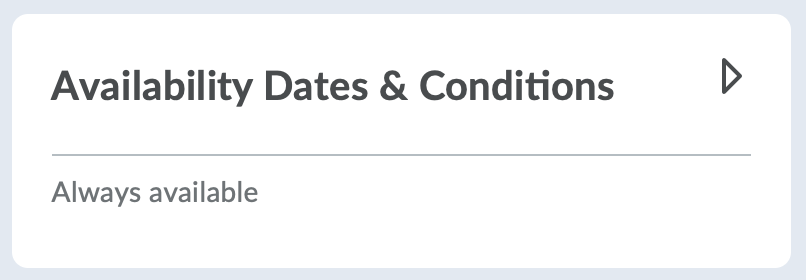
- Select the title on the Availability and Conditions panel to expand these options and set your preferences.
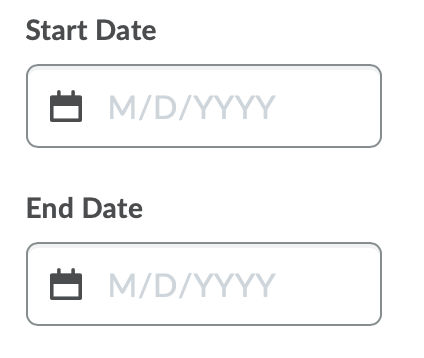
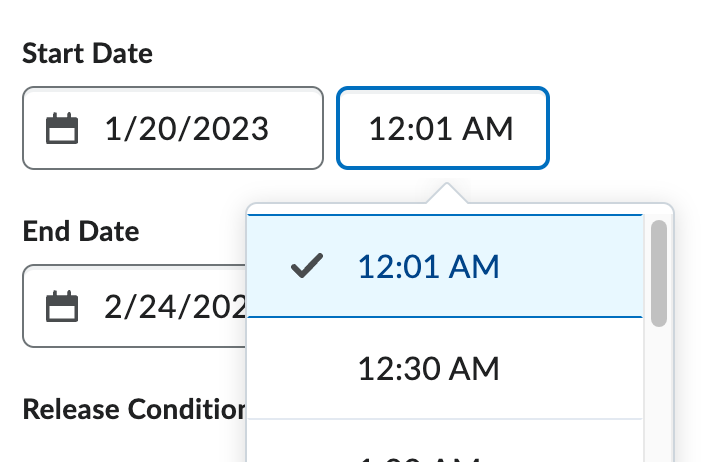
- Start and End Dates. The start date determines when a quiz becomes available to students. The end date determines when a quiz becomes unavailable to students. To set Start and End Dates: Click in the Start or End Date fields to select a date from the calendar. Options also include setting the due date to Today, Now, or to Clear the settings.
Once a date is selected, the time field will appear. By default, the start time will be set as 12:01 AM and the end time will be 11:59 PM. Instructors can override by clicking in the time field and selecting a new time, or typing the time in the field and clicking enter/return on their keyboard.
- Recommended: Check the box to Add Availability Dates to Calendar. This option becomes available once a Start and/or End Date are set.

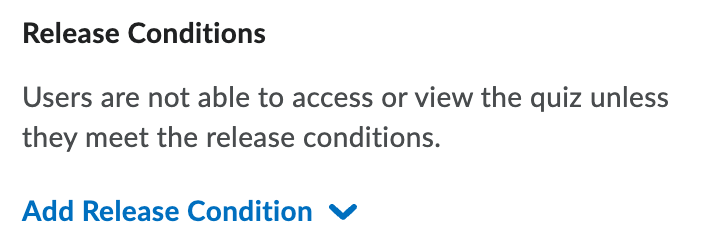
- Optional: Set Release Conditions by clicking Add Release Condition. Learn more about Release Conditions for a Quiz.
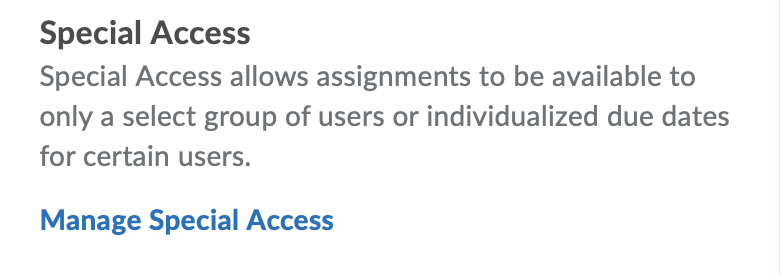
- Optional: Set Special Access by clicking Manage Special Access. Learn more about Special Access for Quizzes.
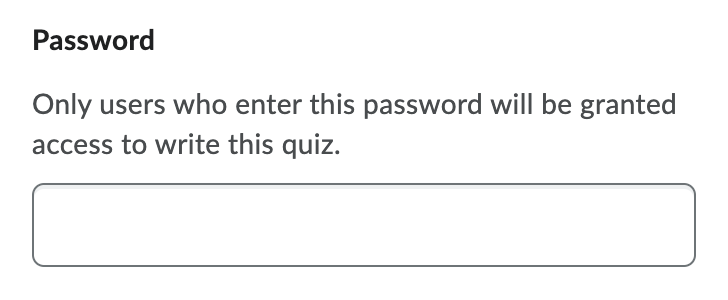
- Optional: Set a Password for the quiz by typing a password in the password field. Only users who enter this password will be granted access to write this quiz. Note: If you are using Respondus Lockdown Browser, you can also require a password when enabling Respondus.
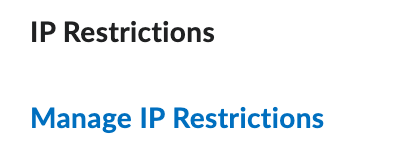
- Optional: IP Restrictions – click Manage IP Restrictions to set an IP Range. Note: The TCU Network does not support IP Ranges.
- Select the title on the Timing & Display panel to expand these options and set your preferences.
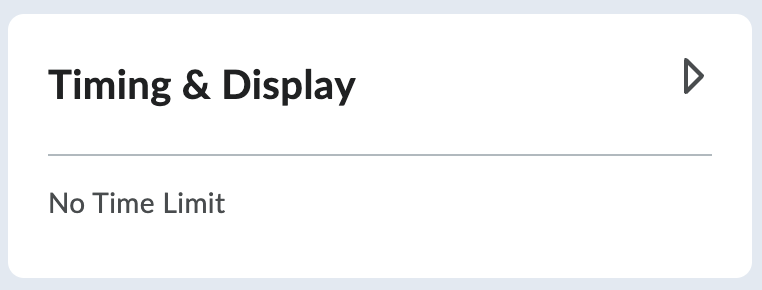
- In the Timing area, click Manage Timing. Options include:
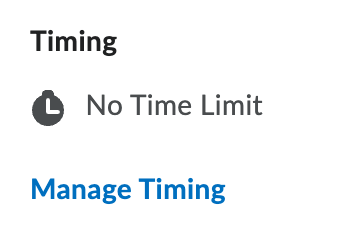
- (Default) No Time Limit – this option is great for reducing test anxiety for students

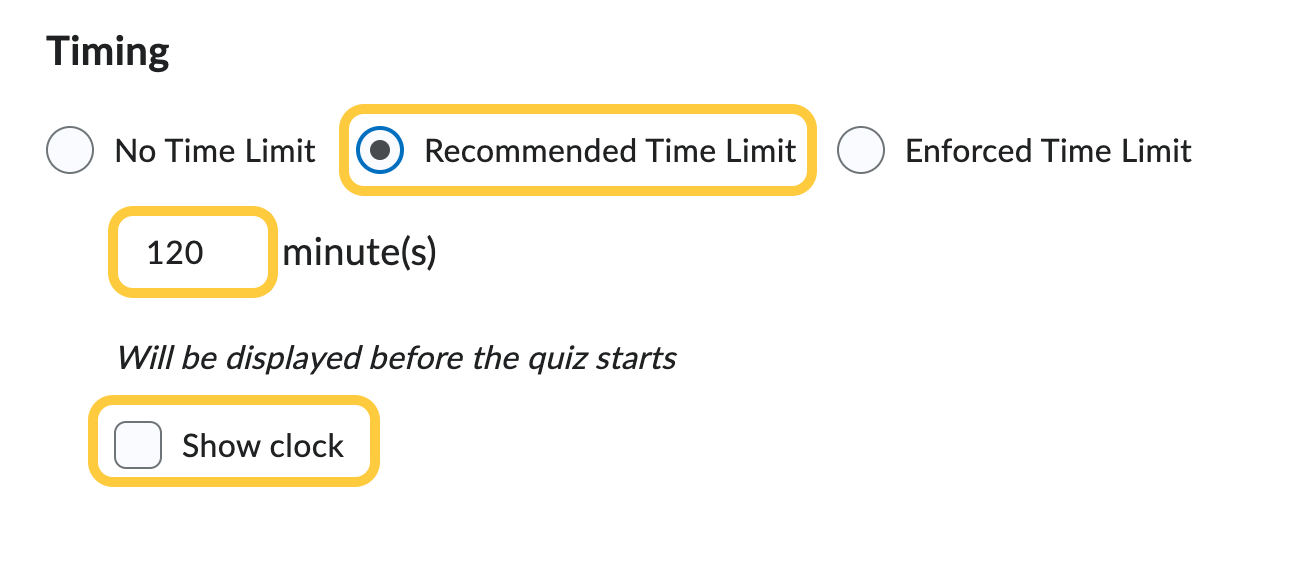
- Recommended Time Limit – With this option, instructors can set the recommended time in minutes students should expect to take for the quiz, and an option to show a clock.
- Enforced Time Limit – If you are using an Enforced Time Limit, you are required to set a Grace Period and choose an Exceeded Time Limit Behavior.
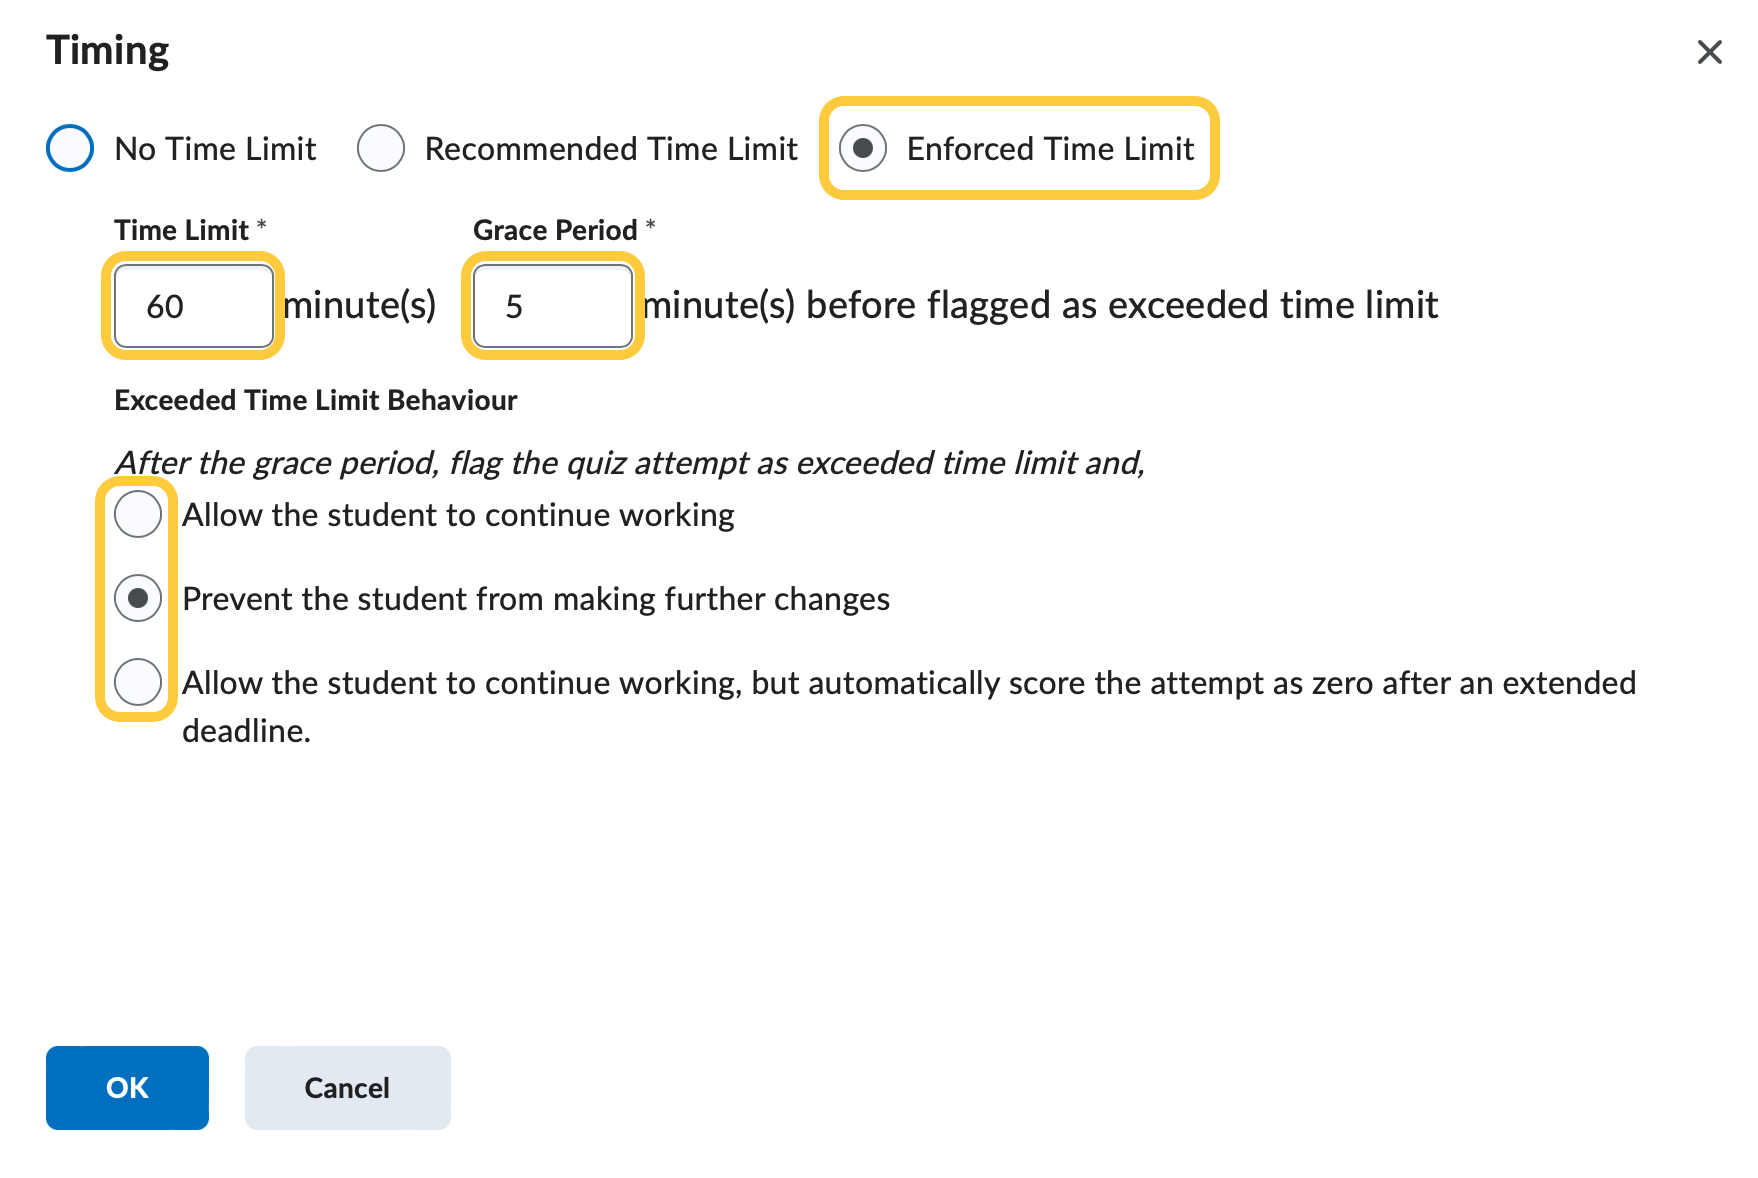
- Grace Period – The grace period is an additional amount of time students may be granted to work on a quiz that is not shown on the timer. Instructors can set the grace period for a quiz to 0 minutes, in place of the default grace period setting of 5 minutes. Despite it being possible to set a grace period of 0, it is not recommended. Setting a grace period can support student accessibility requirements and other situations, such as slow internet connections when completing quizzes.Entering a 0 minute grace period flags the quiz attempt as exceeded immediately when the quiz time limit is reached by the learner. Quiz attempt logs display when the student attempt exceeds the regular time limit, grace period time limit or any extended time limit. Grace period of 0 minutes can be set for quizzes with special access restrictions as well. Despite it being possible to set a grace period of 0, it is not recommended. Setting a grace period can support student accessibility requirements and other situations, such as slow internet connections when completing quizzes.
- Exceeded Time Limit Behavior – If the student has not submitted the quiz after the Enforced Time Limit and the Grace Period have expired, the quiz attempt will be flagged as “exceeding the time limit.” There are three options for determining the behavior of the quiz at this point
- Allow the student to continue working: The student may keep working as long as needed, with no restriction on completion.
- (Most commonly used) Prevent the student from making further changes: The student is no longer able to make any changes to their answers, and they must submit the quiz.
- Allow the student to continue working, but automatically score the attempt as zero after an extended deadline: Choosing this option opens an Extended Deadline time selection, with a minimum time of one minute after the grace period ends. Once the time limit, the grace period, and the extended deadline limit have all been exceeded, the quiz will automatically be assigned a grade of zero upon submission.
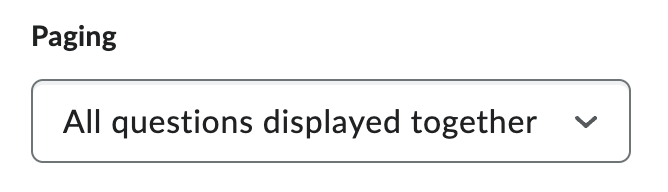
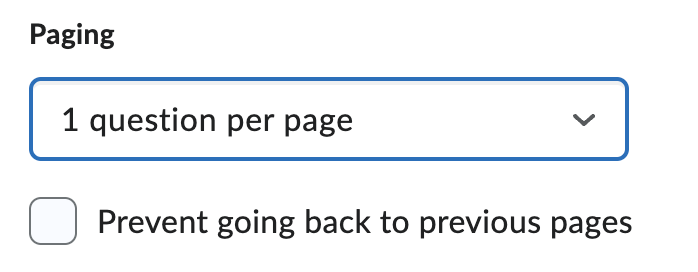
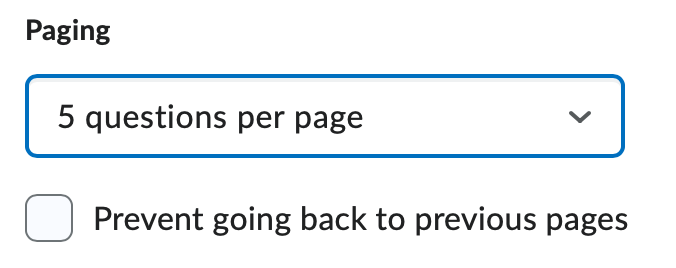
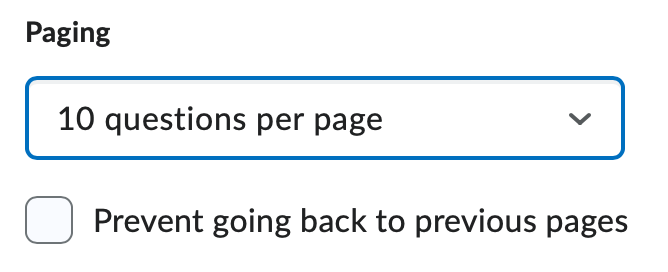
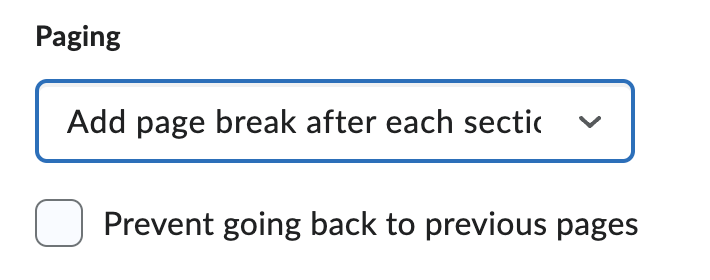
- In the Paging area, choose any of the following:
- All questions displayed together – (default) This will display all questions in one list.
- 1 question per page – This will display one question at a time. If selected, a new checkbox option appears below to Prevent going back to previous pages.
- 5 questions per page – This will display five question at a time. If selected, a new checkbox option appears below to Prevent going back to previous pages.
- 10 questions per page – This will display ten question at a time. If selected, a new checkbox option appears below to Prevent going back to previous pages.
- Add page break after each section – If selected, a new checkbox option appears below to Prevent going back to previous pages.
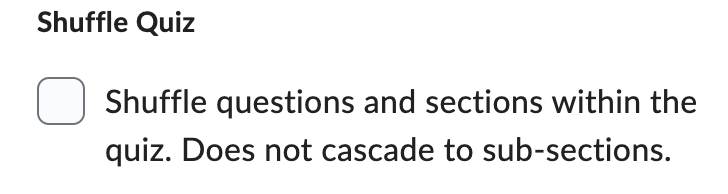
- Optional: Shuffle Quiz – Check the box to Shuffle questions and sections within the quiz. Does not cascade to sub-sections.
- Optional: Set Display preferences:
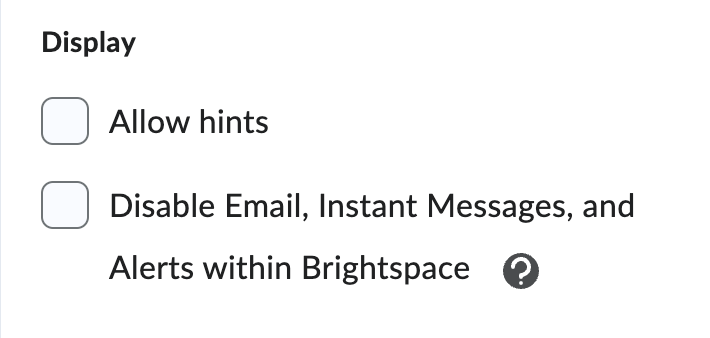
- Allow hints – If hints were entered when creating the questions, these would display if this option is selected.
- Disable Email, Instant Messages, and Alerts within Brightspace – If you turn on this option, learners cannot access the Brightspace Email, Instant Messages, or their alerts if they have a quiz attempt in progress.
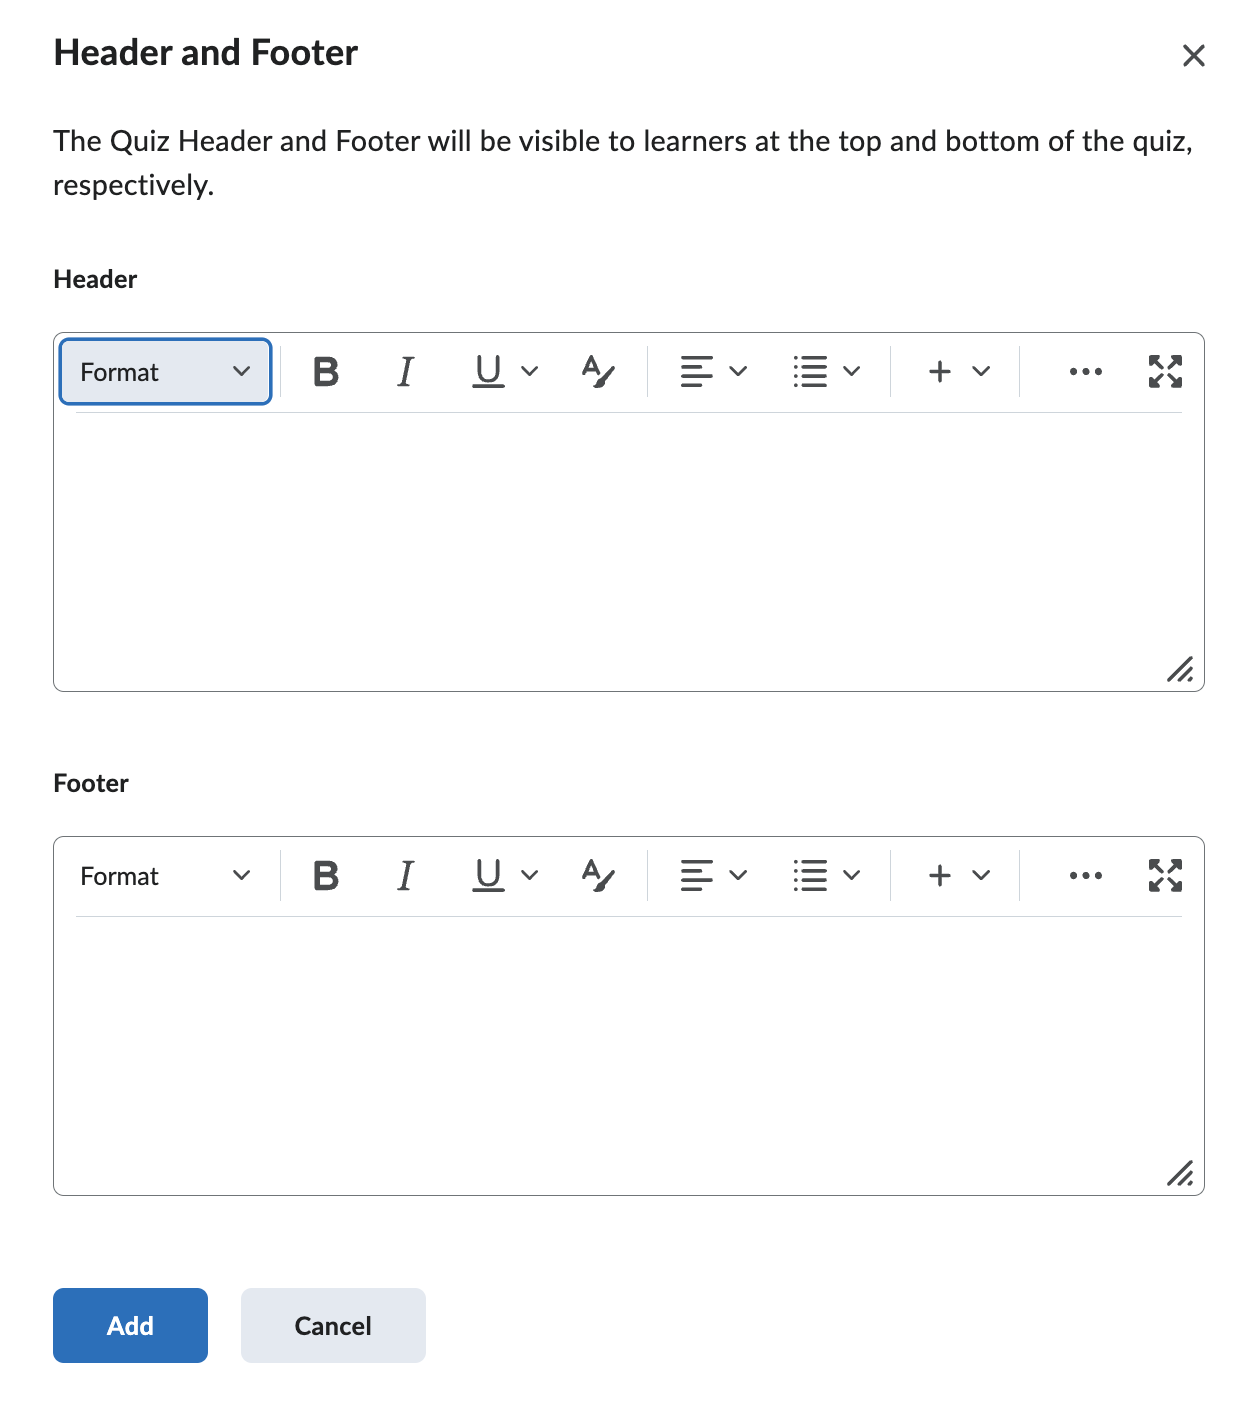
- Optional: Header and Footer – Click Manage Header and Footer if you would like to add content that will display to the students at the top and bottom of the quiz.
- Select the title on the Attempts & Completion panel to expand these options and set your preferences.
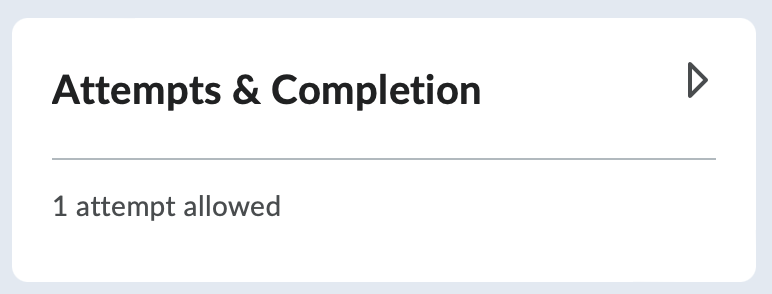
- In the Attempts area, students have 1 attempt allowed for the quiz by default. Click Manage Attempts to make changes.
- Set the Attempts allowed to either Unlimited or 1-10 attempts.
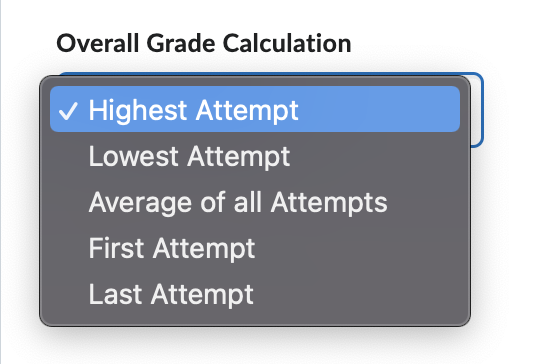
- If the number of attempts allowed is greater than 1, Instructors must determine how the final grade is calculated. From the Overall Grade Calculation drop-down menu, select one of the following options:
- Highest attempt – Only the attempt with the highest grade is used as the final grade.
- Lowest attempt – Only the attempt with the lowest grade is used as the final grade.
- Average of all attempts – The average of the grades on all attempts is calculated and used as the final grade.
- First attempt – Only the grade on the first attempt is used as the final grade.
- Last attempt – Only the grade on the last attempt is used as the final grade.
- (Optional) If the number of attempts allowed is greater than 1, an optional feature under Retake Incorrect Questions Only allows you to check the box for On new attempts, only allow answers for previously incorrect questions.

- When this setting is selected, students who attempt a quiz more than once can only answer questions that were incorrect on the previous attempt. If you are using Auto-publishing, Written Response questions will be marked as 0 and included in future attempts until they are graded manually.
- (Optional) If the number of attempts allowed is greater than 1, an optional feature allows you to set Attempt Conditions.

- Click + Attempt Conditions and set a minimum and/or maximum percentage value between 0 to 100 that must be achieved by the student on the previous attempt in order to qualify for another attempt.
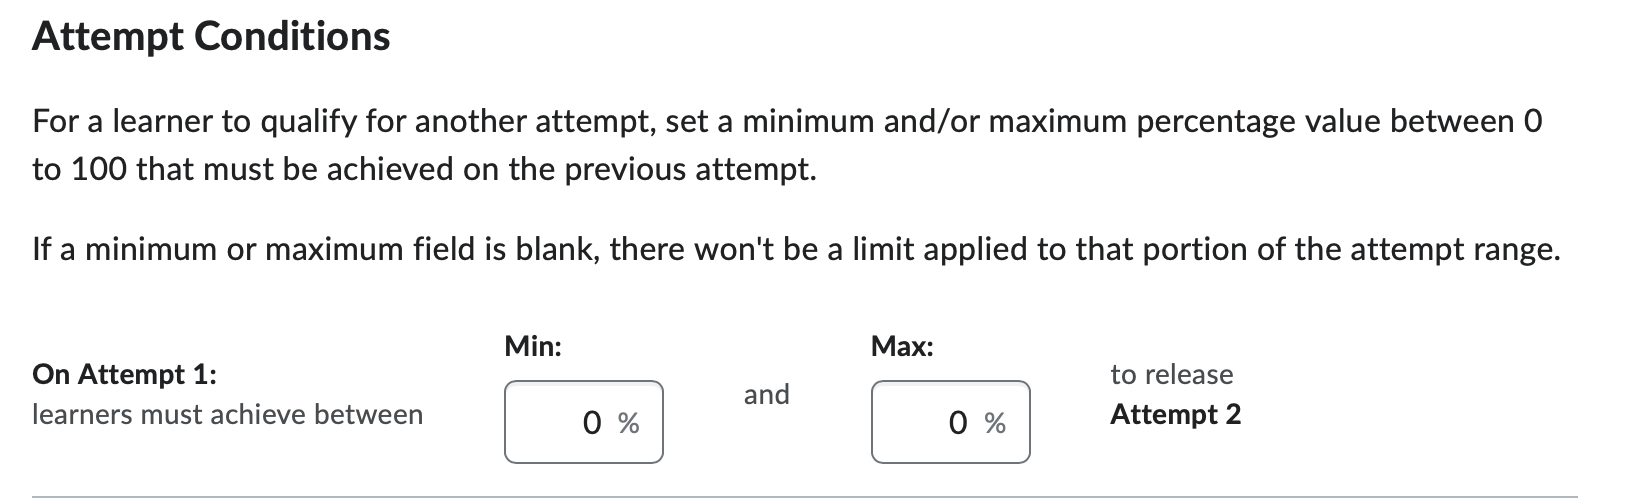
- Note: If you enter a minimum score, then students must achieve that set minimum score to receive the subsequent attempt. For example, if you only want learners who receive greater than 50% to receive a subsequent attempt, you can enter that value in the Min % field.
- If you enter a maximum score, then students can achieve up to that limit to receive subsequent attempts, but not greater than that limit. For example, if you only want learners who receive below 80% on the quiz to receive an additional attempt, you can enter that value in the Max % field.
- If a minimum or maximum field is blank, there won’t be a limit applied to that portion of the attempt range.
- Click OK.
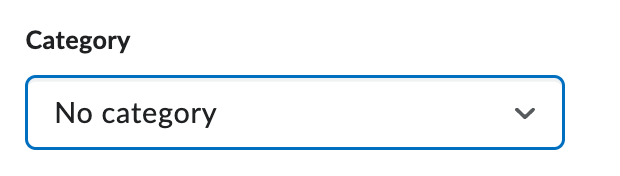
- Optional: Assign a Category to organize and group types of quizzes together. From the Quiz Category dropdown menu, select the category you wish to organize this quiz into. By default, all quizzes will be created in “No Category.”
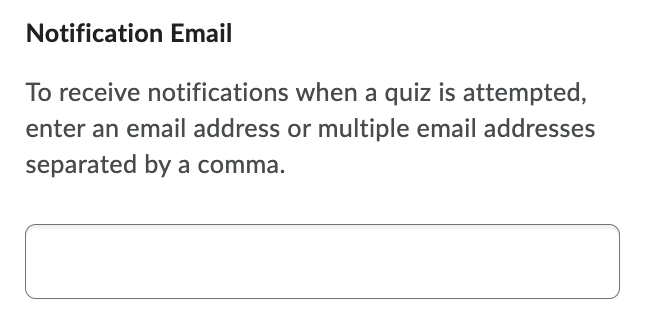
- Optional: To receive notifications when a quiz is attempted, enter an email address or multiple email addresses separated by a comma in the Notification Email field. Tip: Double-check the spelling and formatting of the email address.
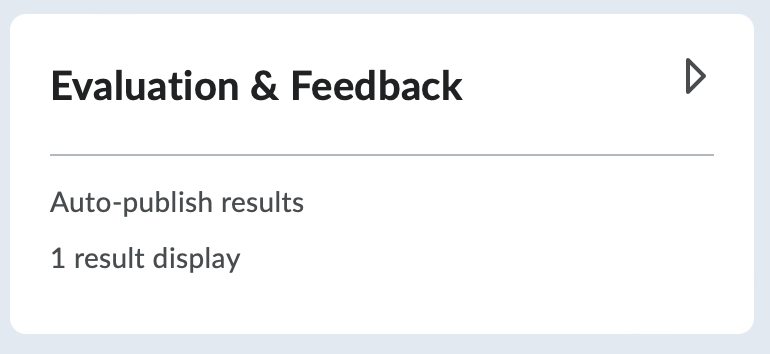
- Select the title on the Evaluation & Feedback panel to expand these options and set your preferences.
- Optional: Check the box for Auto-publish attempt results immediately upon completion. With this feature turned on, the auto-evaluated attempt results will be published and appear to students.IMPORTANT Note: If questions cannot be evaluated by the system (e.g. written response questions), those questions will be automatically scored with a zero until manual evaluation.

- Optional: Check the box for Synchronize to grade book on publish. With this feature turned on, the student’s grade will be automatically published to the grade book once it has been evaluated.This requires the quiz to be connected to the grade book.

- Under When published, display to learners, do any of the following:
- Check the box for attempt grade. (Checked by default)
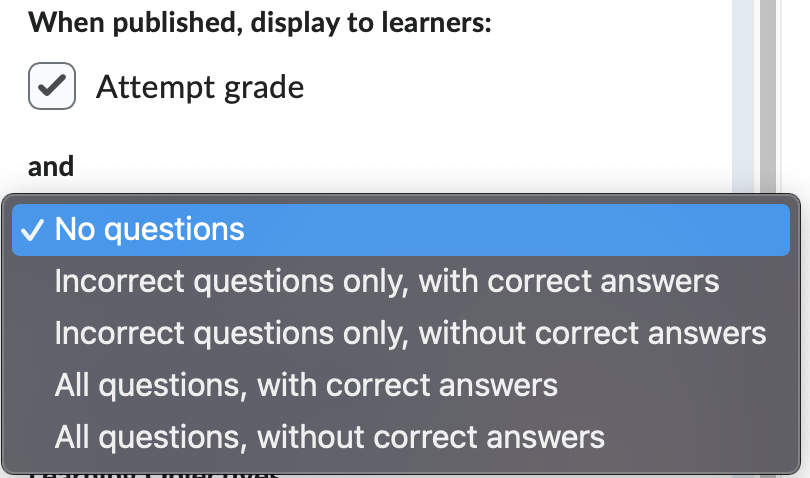
- Select your preference for if questions are displayed. Options include:
- (default) No Questions
- Incorrect questions only, with correct answers
- Incorrect questions only, without correct answers
- All questions, with correct answers
- All questions without correct answers.
- Optional: Click Customize Quiz Results Displays. Quiz results display determines how students can view their published quiz attempt results, both immediately following submission, or later when reviewing their attempt.
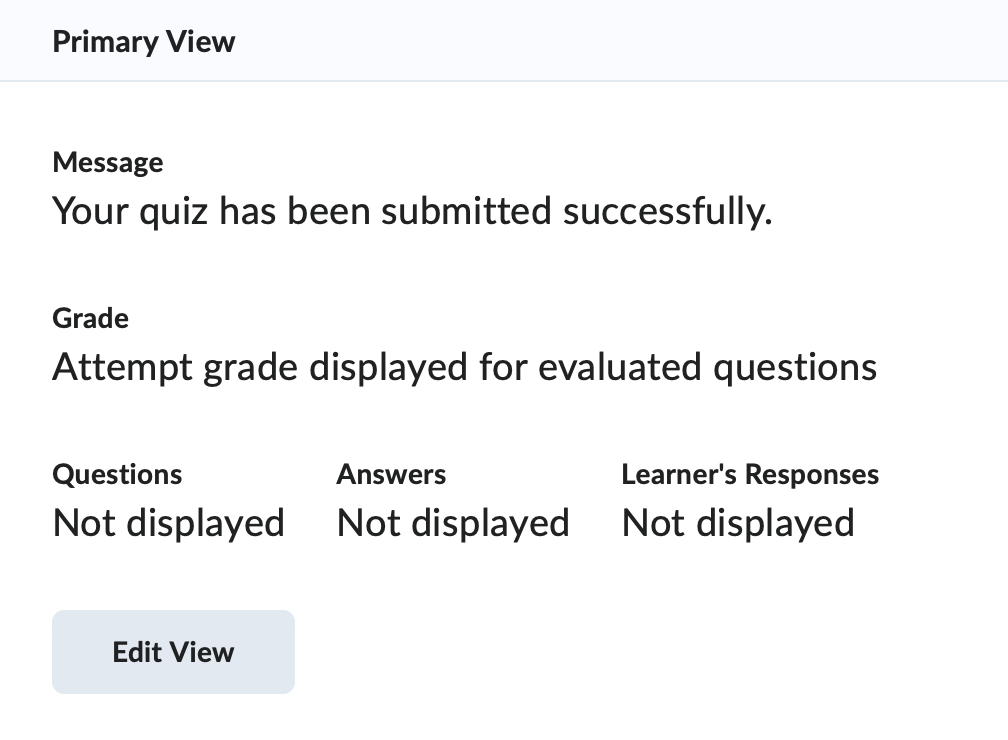
The Primary View is shown to students as the default, and Additional Views will override the Primary View based on the set parameters.
- In the Primary View area of the page, review the Message, Grade, and Question preferences that students will see. Click Edit View to modify the Primary View.
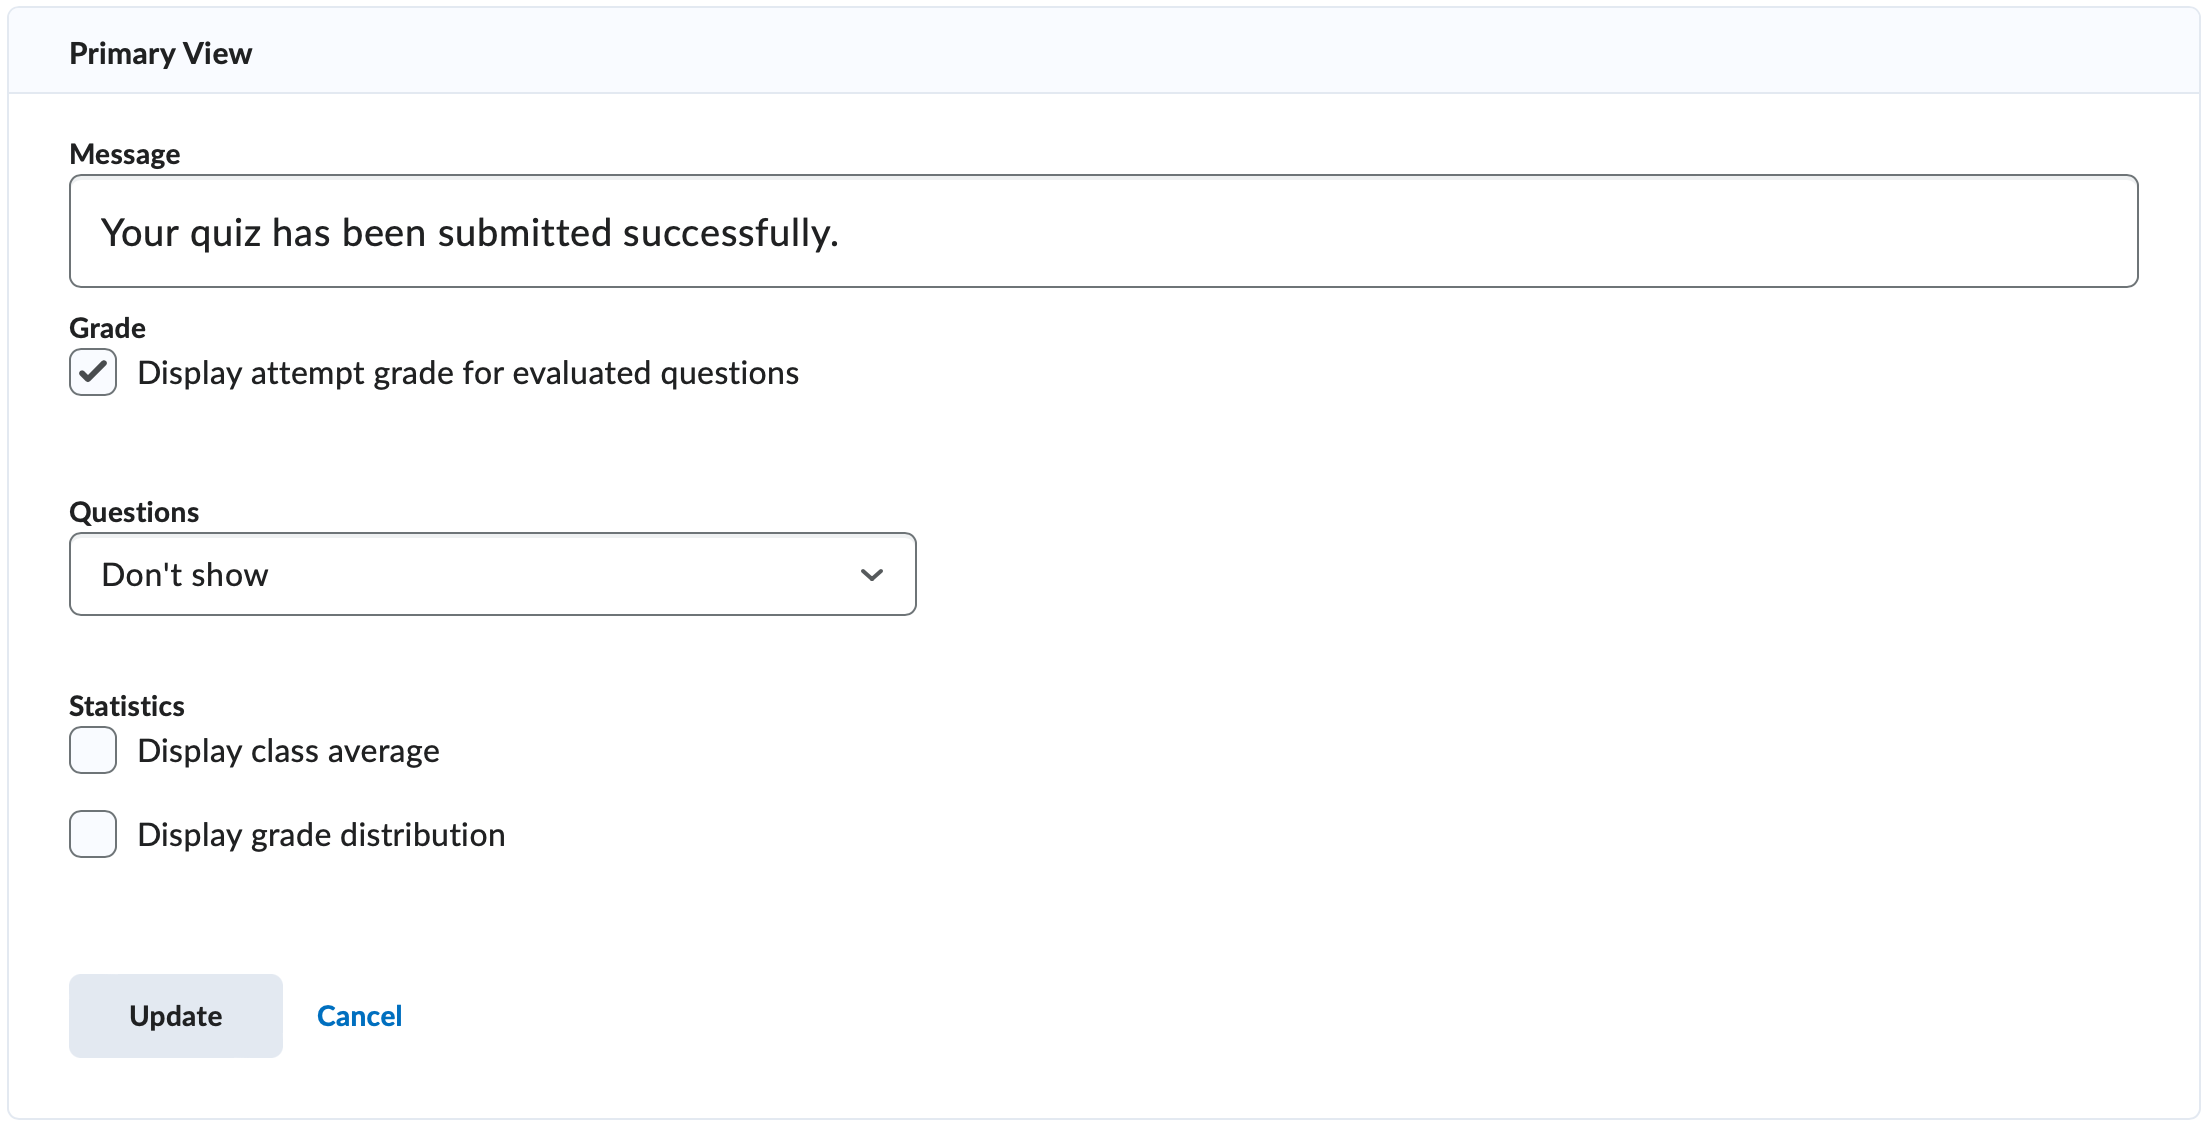
- Optional: Make updates to the Message, Grade, Questions, and Statistics, then click Update.
- Optional: Click Additional View.

- Set your preferences for the additional view:

- In the Display Date fields, select the date and time you wish the students to be able to view the quiz.
- Optional (not recommended): check the box for A limited amount of time (in minutes) after submission.
- In the Message field, type the message you wish to display when students select the Quiz submission view.
- Optional: Check the box for Grade: Display attempt grade for evaluated questions
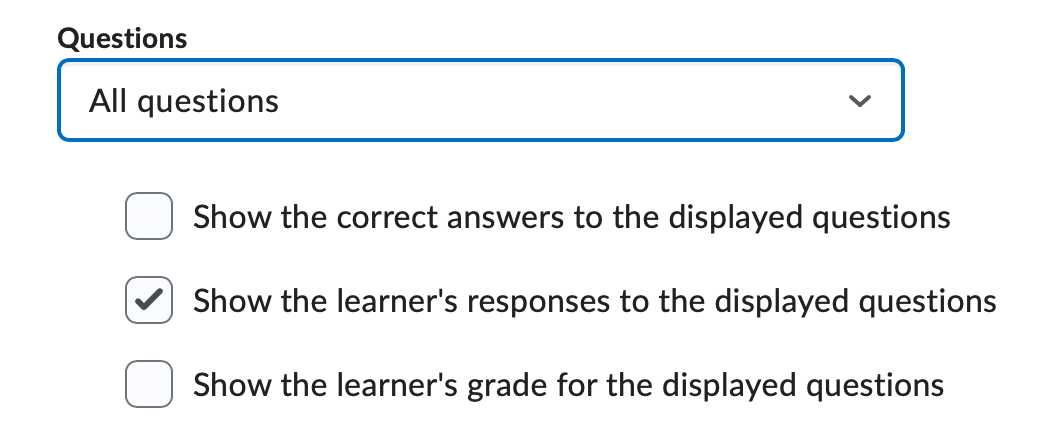
- Select your preference for how the Questions display. Choose either:
- Don’t Show (default)

- All Questions – When selected, additional options become available for: Show the correct answers to the displayed questions, Show the learner’s responses to the displayed questions, and Show the learner’s grade for the displayed questions.
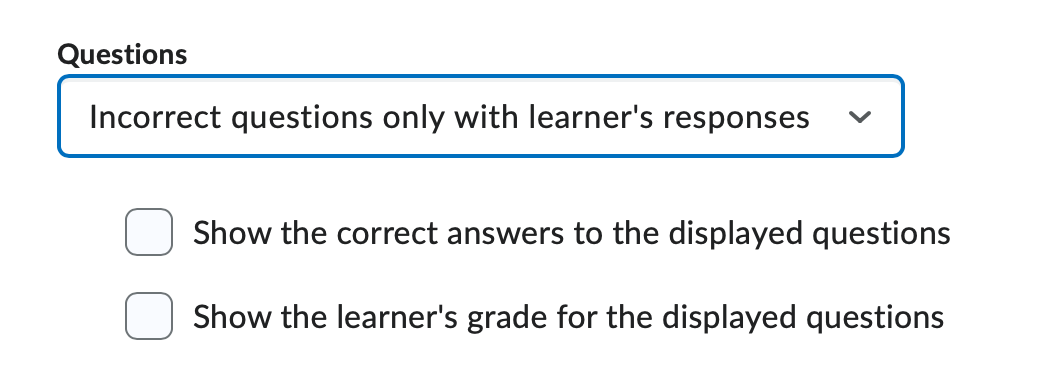
- Incorrect questions only with learner’s responses – When selected, additional options become available for: Show the correct answers to the displayed questions and Show the learner’s grade for the displayed questions.
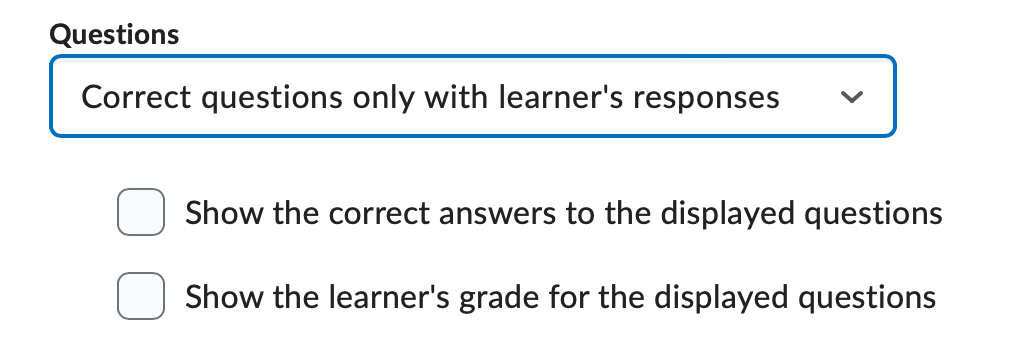
- Correct questions only with learner’s responses – When selected, additional options become available for: Show the correct answers to the displayed questions and Show the learner’s grade for the displayed questions.
- Optional: Under Statistics, check the box for Show class average and/or Display grade distribution.
- Click Create.
- Learning Objectives – TCU does not use the Learning Objectives tool in TCU Online.
- Optional: Visibility: By default, quizzes are hidden from students upon creation. If the eyeball icon has a line through it, the quiz is hidden from students. If you wish to make the quiz visible to students, click the visibility toggle on the bottom of the quiz creation page. If the eyeball icon displayed, the students can see the quiz. Note: Follow the steps in the Set Availability and Conditions section below to set start/end dates for the assignment if you wish to control student access by date
- Visible

- Hidden

- Click Save and Close.