Assign Scores to Students from the Assess Topic Page
You can assess students from inside a discussion topic while reading posts or from the Assess Topic dialog box. When assessing students from the Assess Topic dialog box, you can see topic scores for all students and view all of a student’s posts together on one screen.
Assessable topics display an Includes assessment icon ![]() beside the topic name on the Discussions List page. If you select the A moderator must approve individual posts before they display in the topic setting, you must approve posts in the topic before you can assess them. For more information, see Moderate Discussion Posts and Threads.
beside the topic name on the Discussions List page. If you select the A moderator must approve individual posts before they display in the topic setting, you must approve posts in the topic before you can assess them. For more information, see Moderate Discussion Posts and Threads.
To assess individual posts, you must edit the topic to enable the Allow assessment of individual posts check box in the Assessments tab. For more information about this setting, see Configure a Discussion Topic for Assessment.
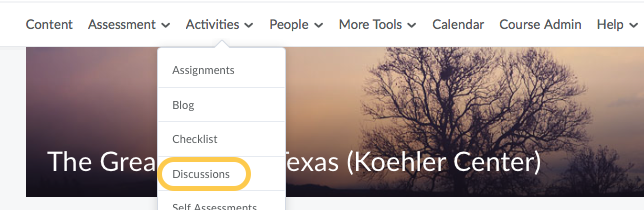
- On the nav bar, click the Activities menu, then select Discussions.
- From the context menu of the topic you want to assess, click Assess Topic.

- Do one of the following:
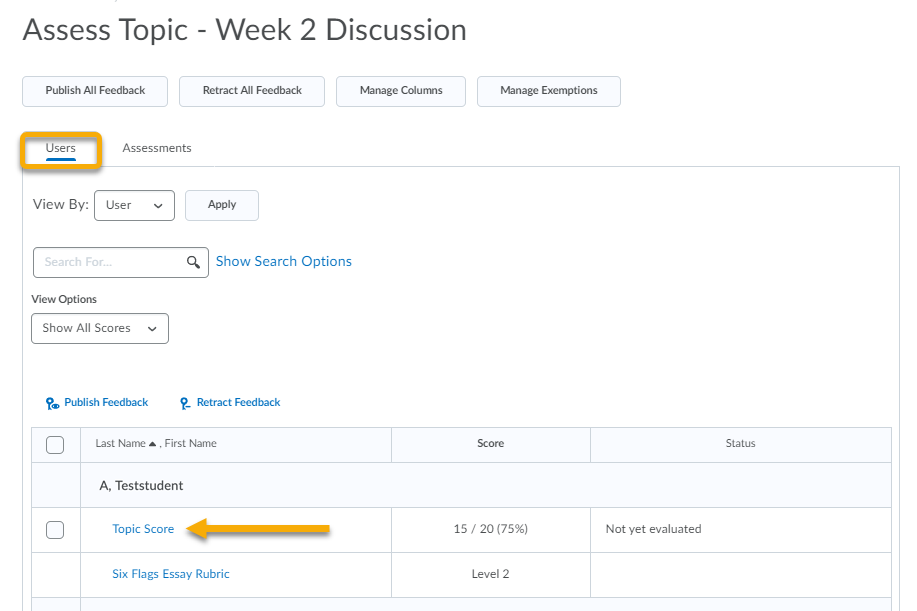
- In the Users tab (default), click Topic Score for the name of the user you want to assess.
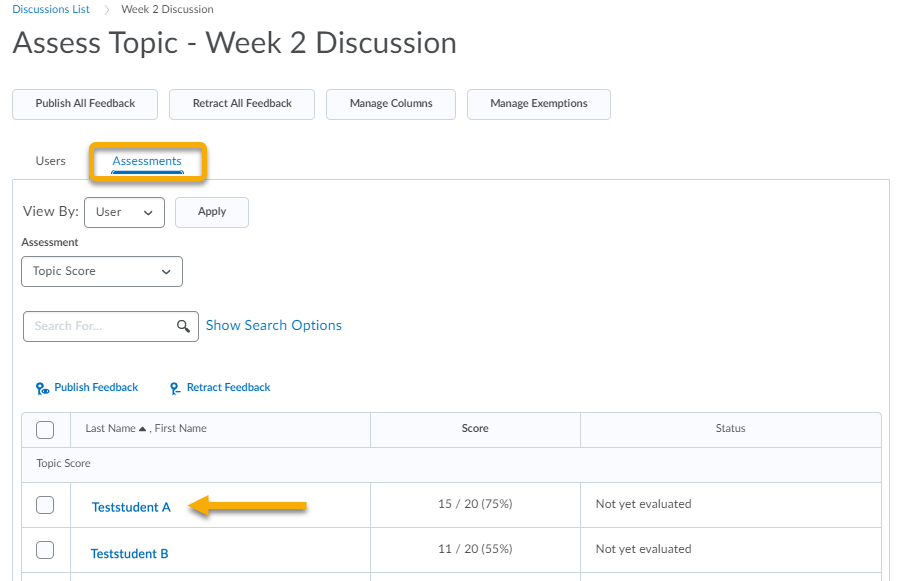
- In the Assessments tab, click the name of the user you want to assess.
- In the Users tab (default), click Topic Score for the name of the user you want to assess.
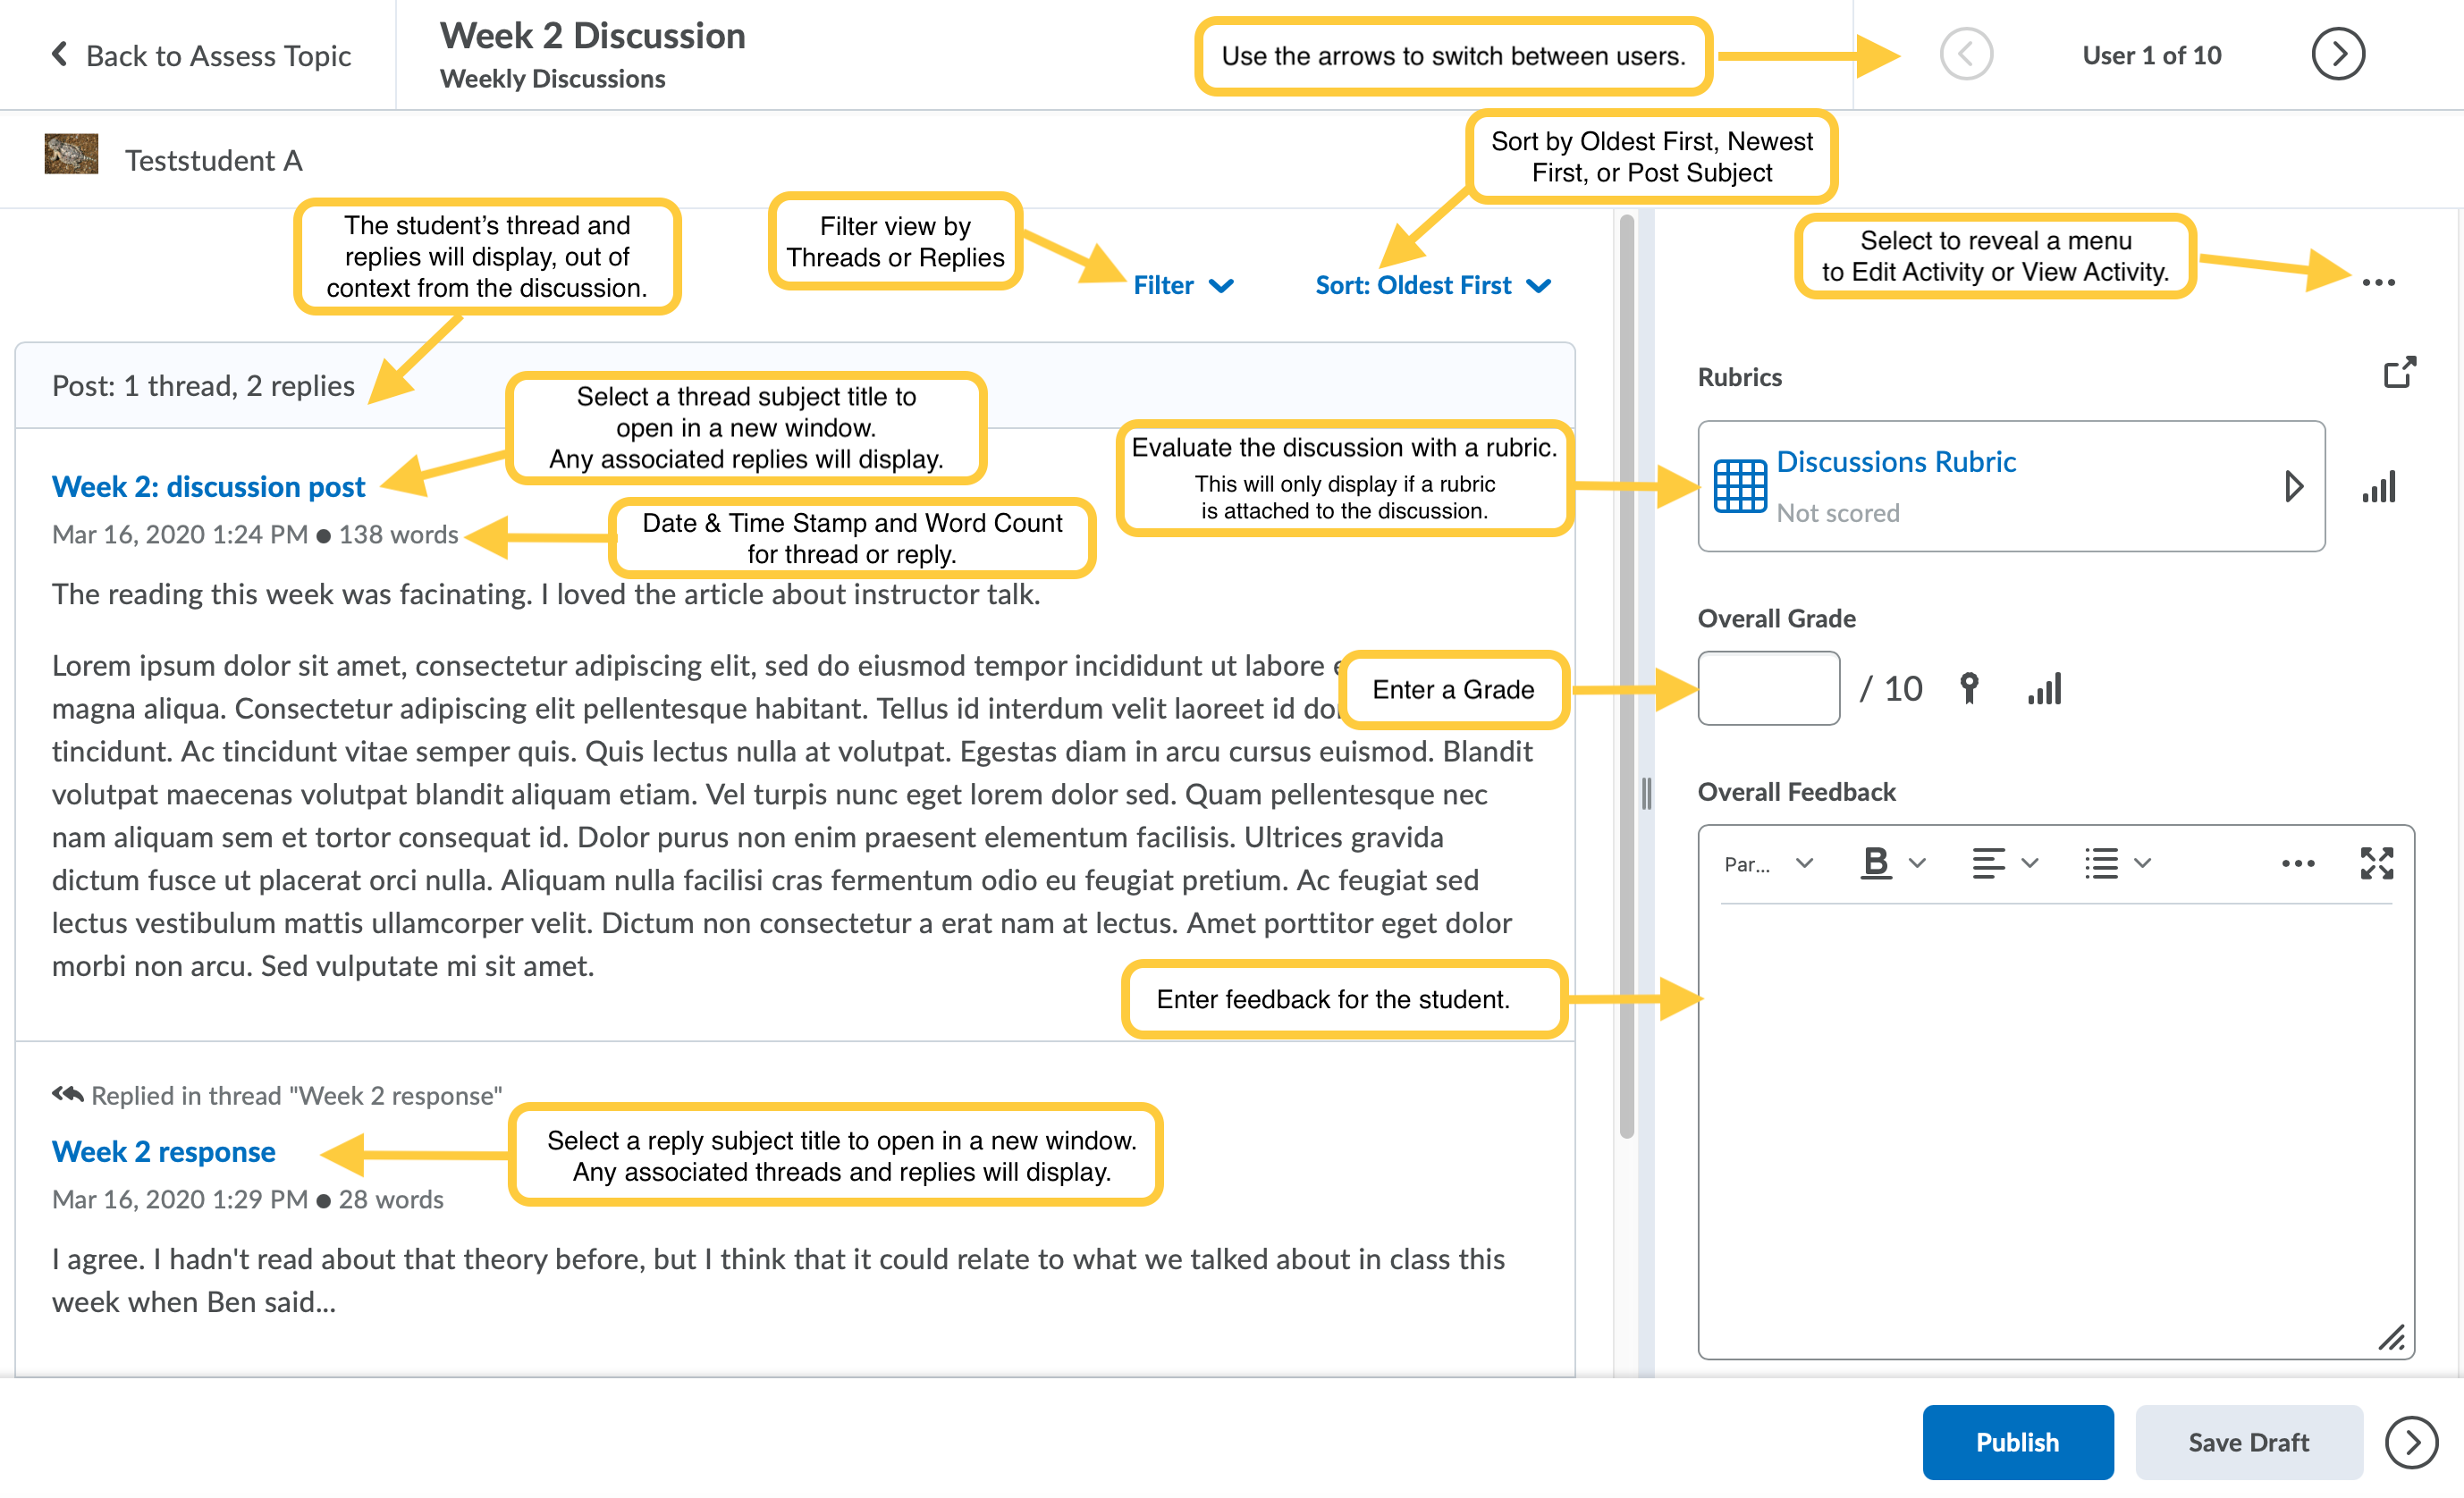
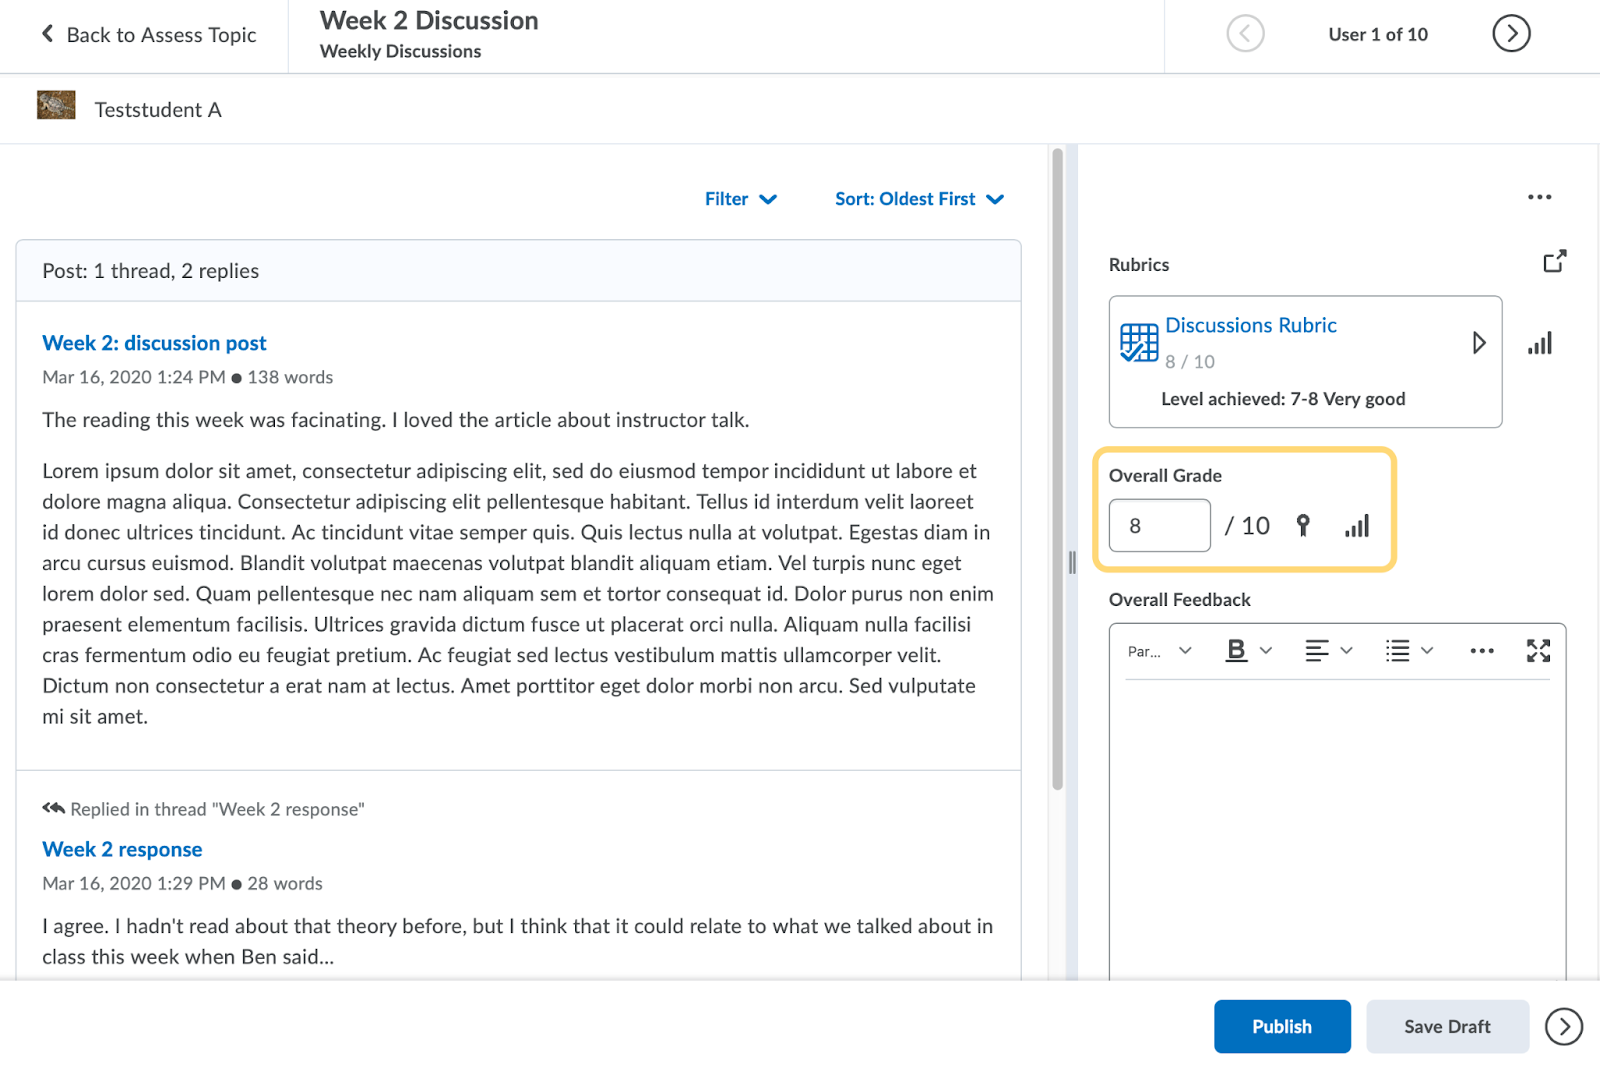
- The discussion evaluation page for the student will display. The student’s threads, replies and posts will display on the left side of the page with evaluation and feedback fields on the right. Note: The evaluation pane divider can be dragged to suit a user’s preferences and screen size.
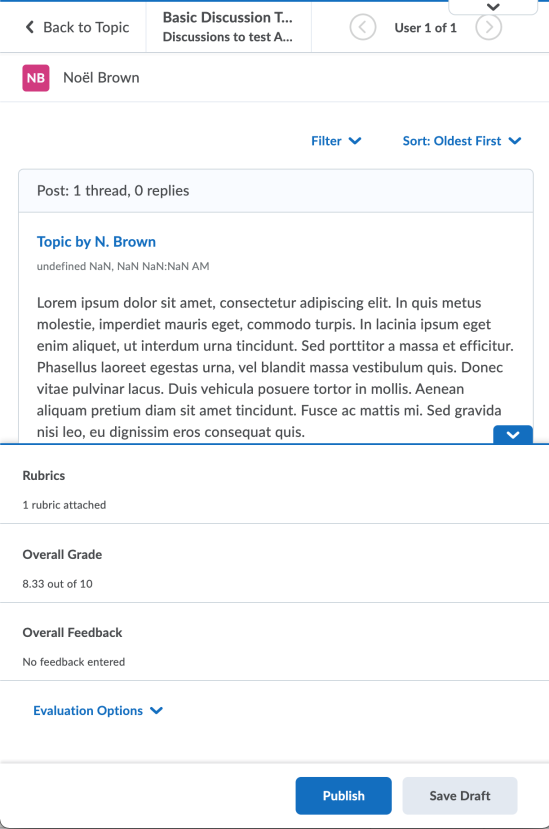
Note: On a mobile device, the evaluation tools are hidden in a drawer at the bottom of the screen. Tap the drawer to display the tools.
- Select the options below to learn about the evaluation options for the submission.
View the Student’s Discussion Threads and Replies
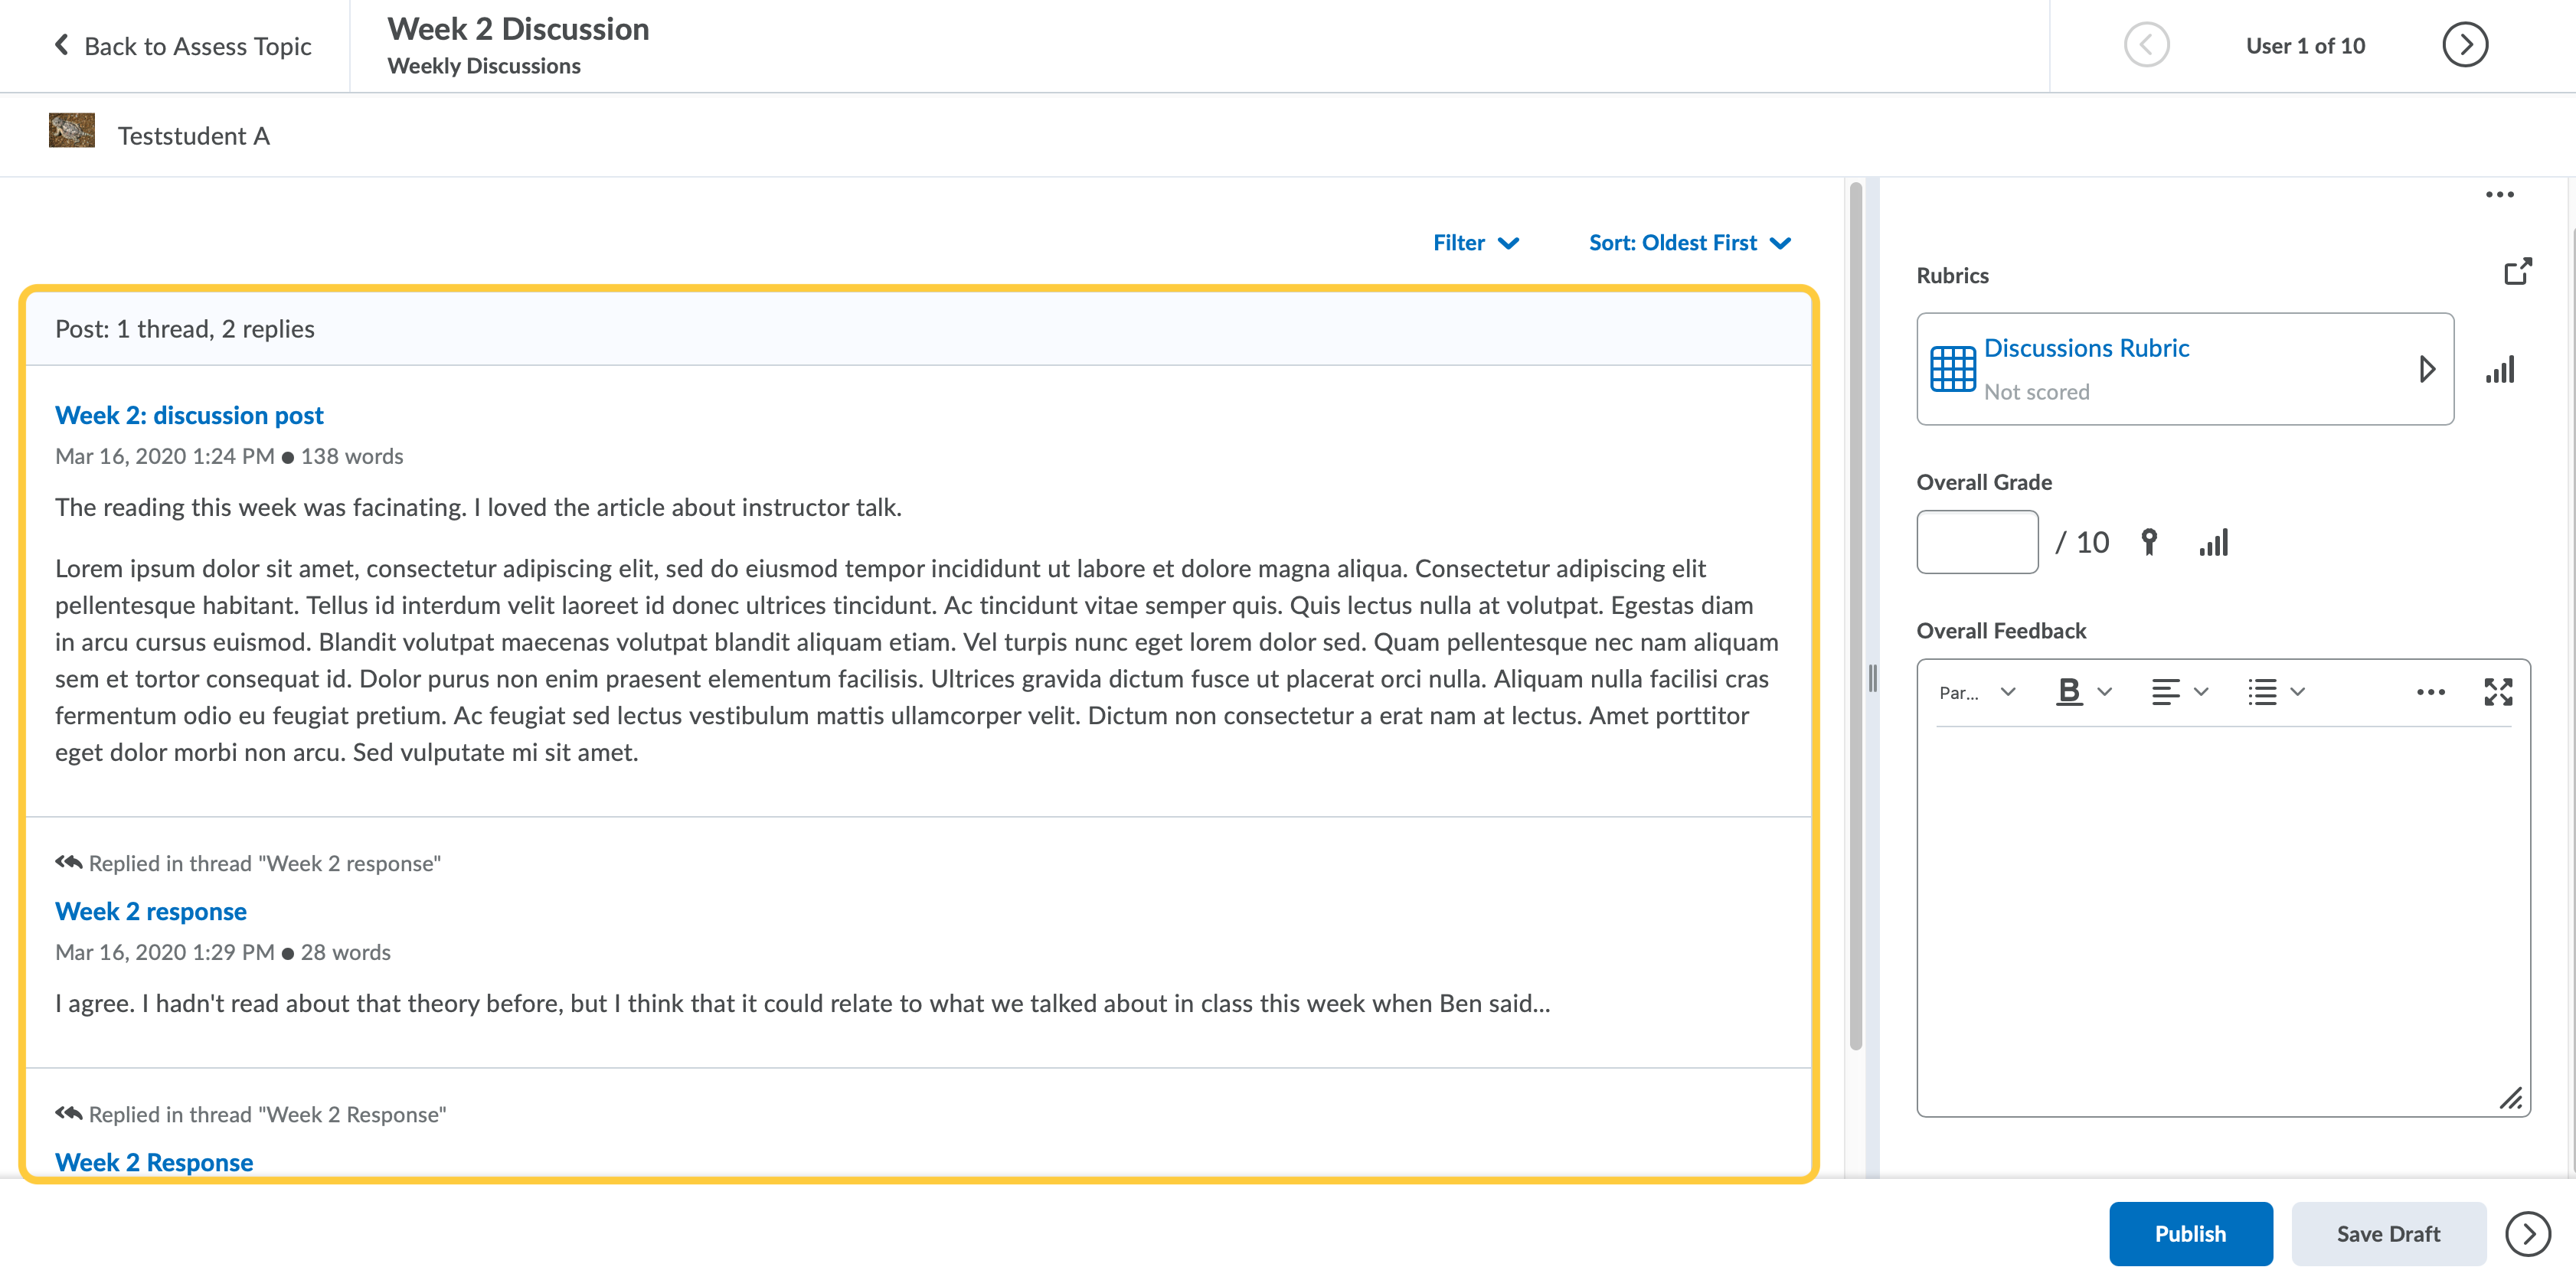
- To view the student’s discussion threads and replies to the discussion topic, simply view them on the left side of the discussion evaluation page. Each thread and reply will be date and time stamped, and include the number of words (All words in a discussion post are counted and include filler words such as “the,” “if,” and “to.” )
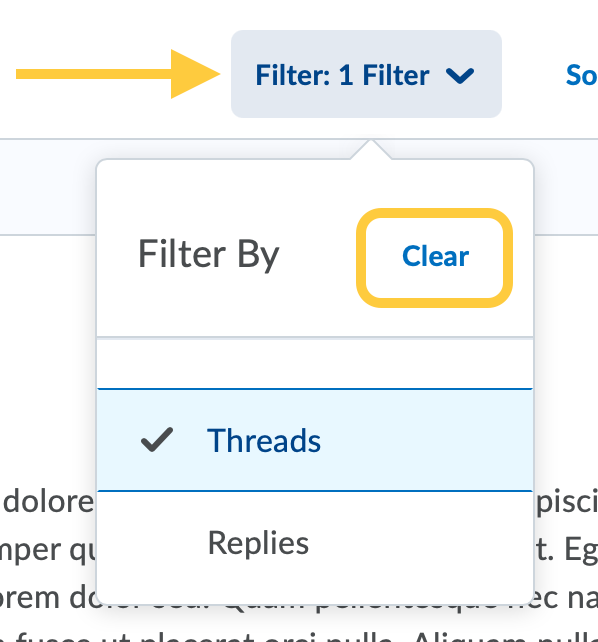
- Optional: Filter the view by clicking the Filter menu, then select either Threads or Replies.
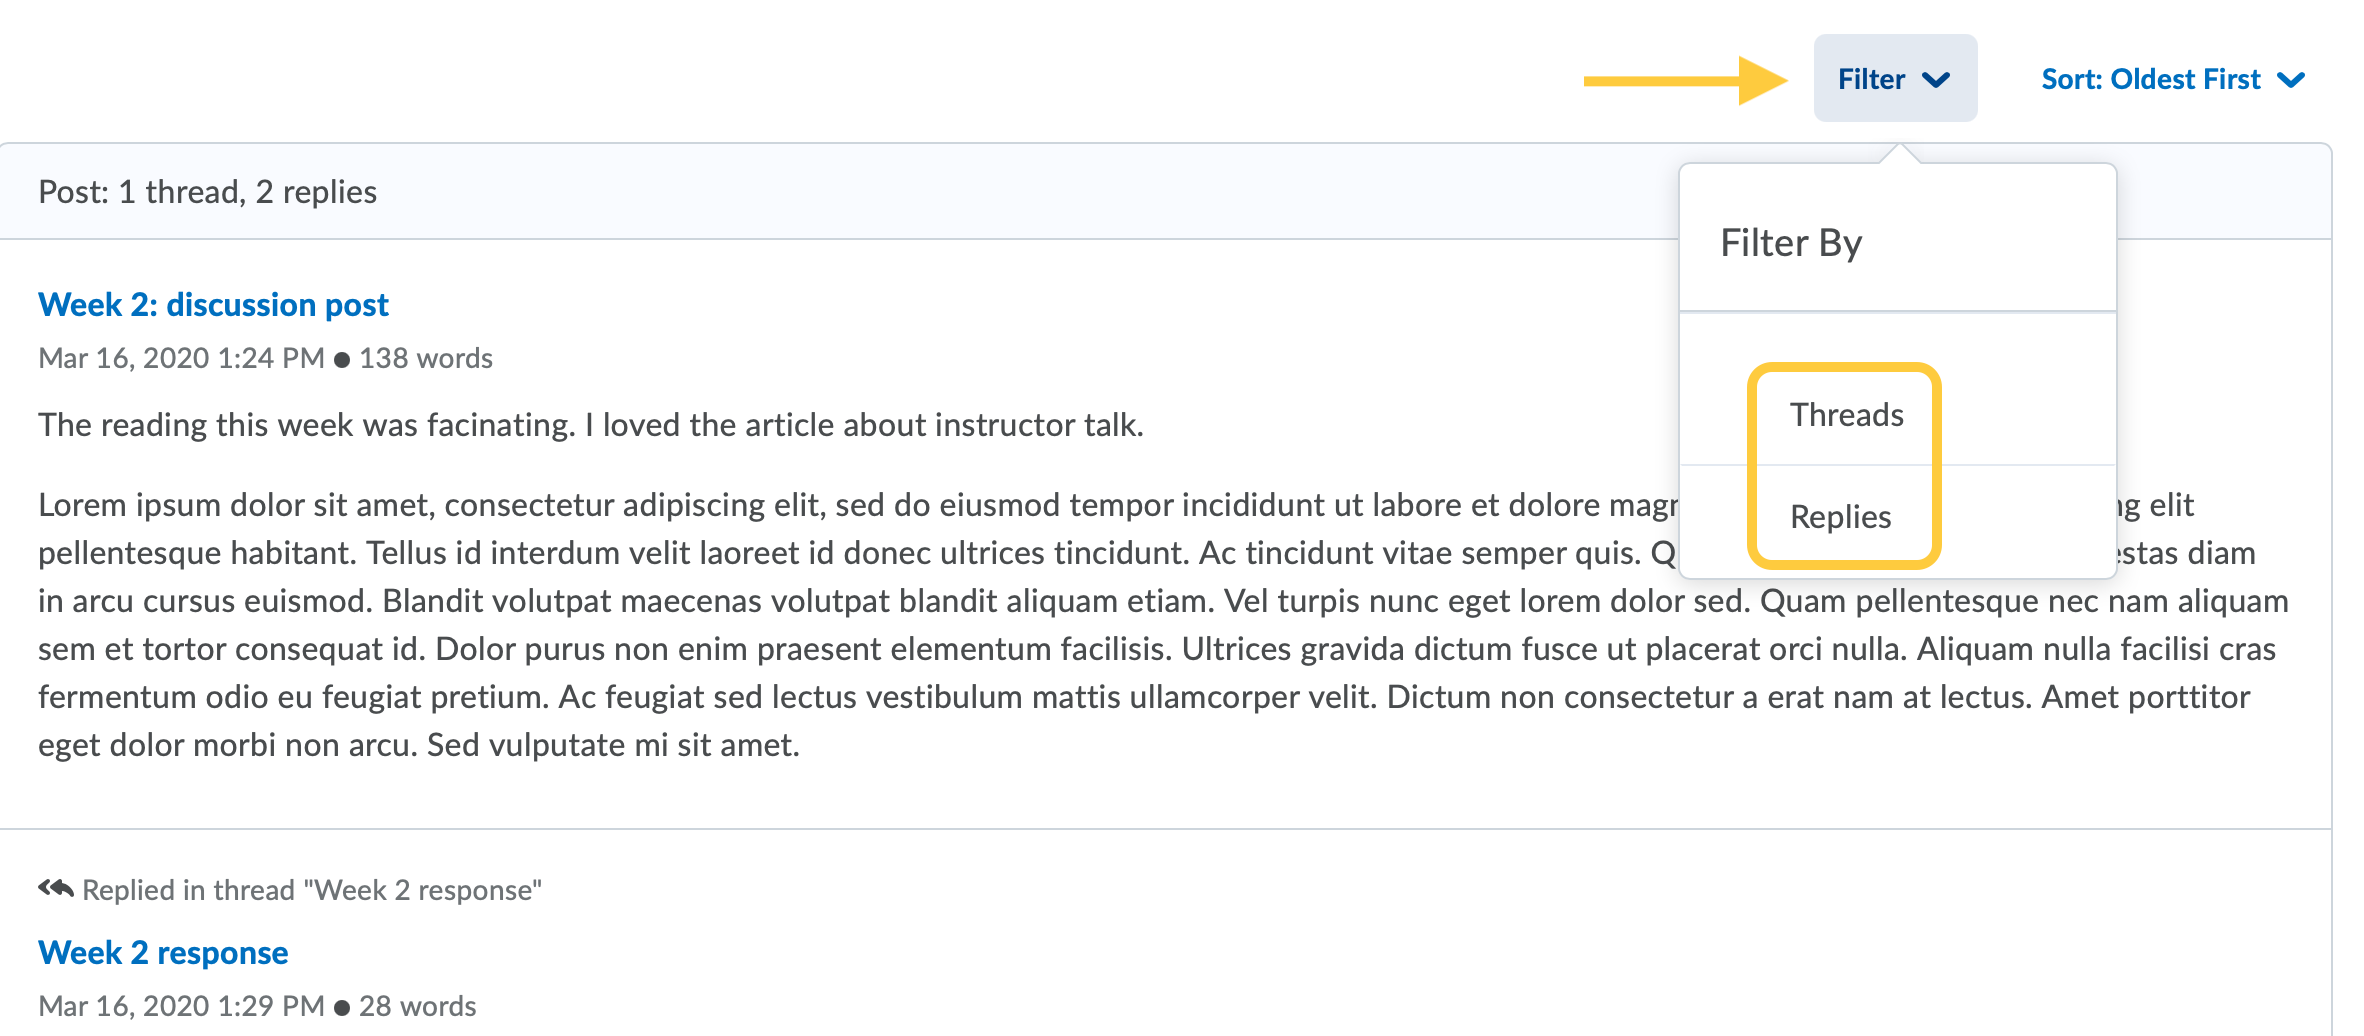
To clear the selected Filter, click the Filter menu, then select Clear.
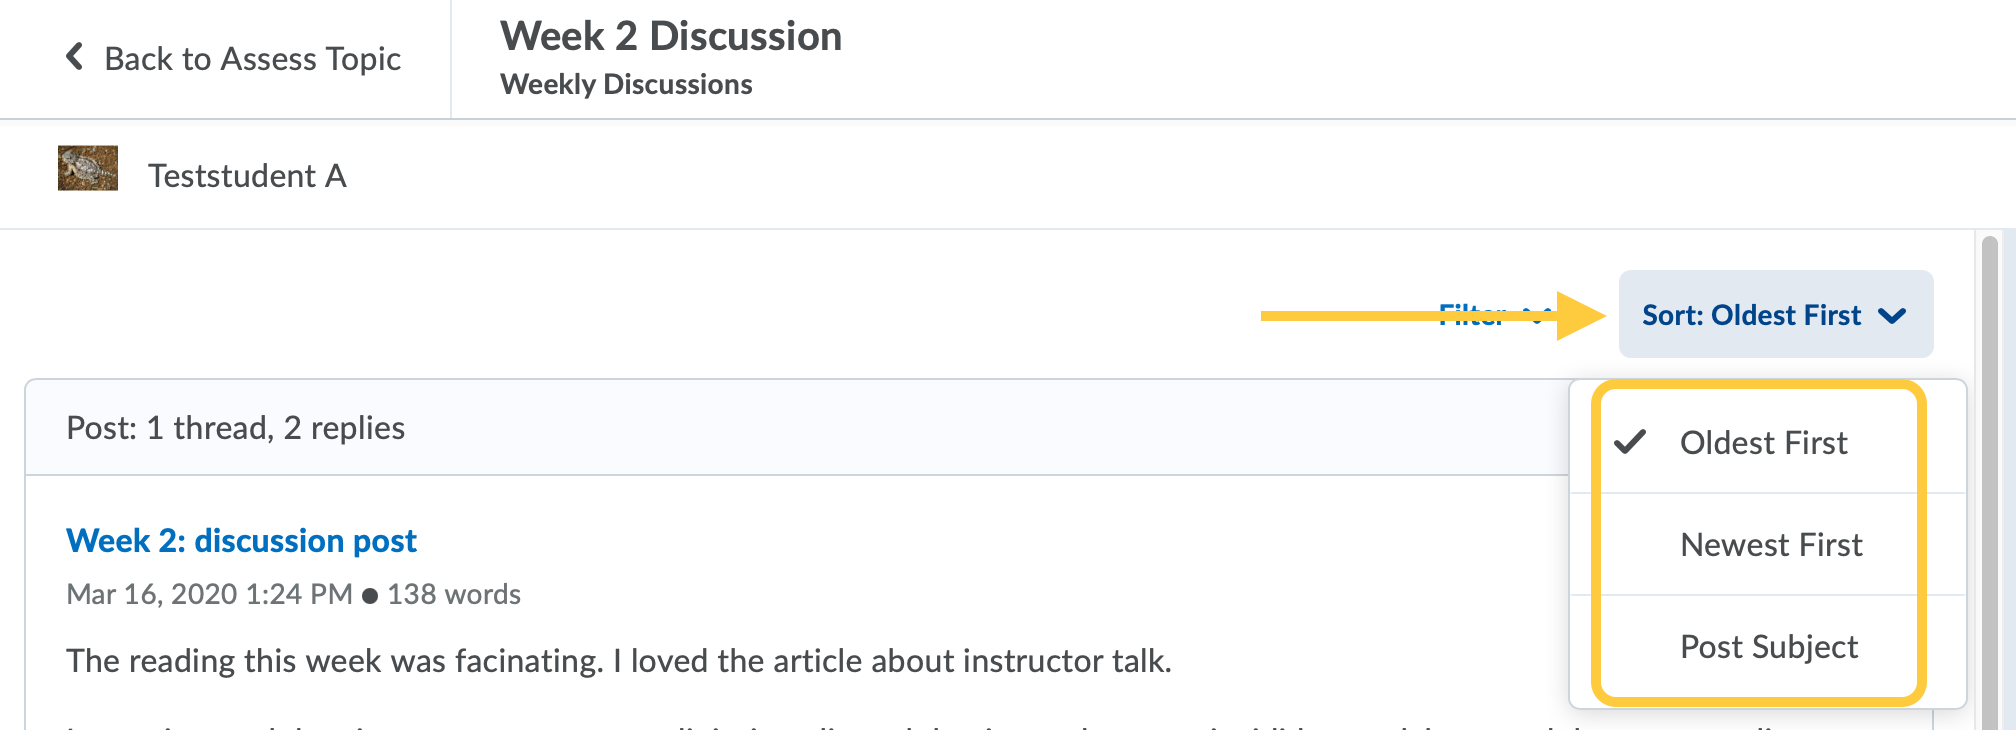
- Optional: Change the order student posts display: Click the Sort By menu, then select either: Oldest First (default), News First, or Post Subject.
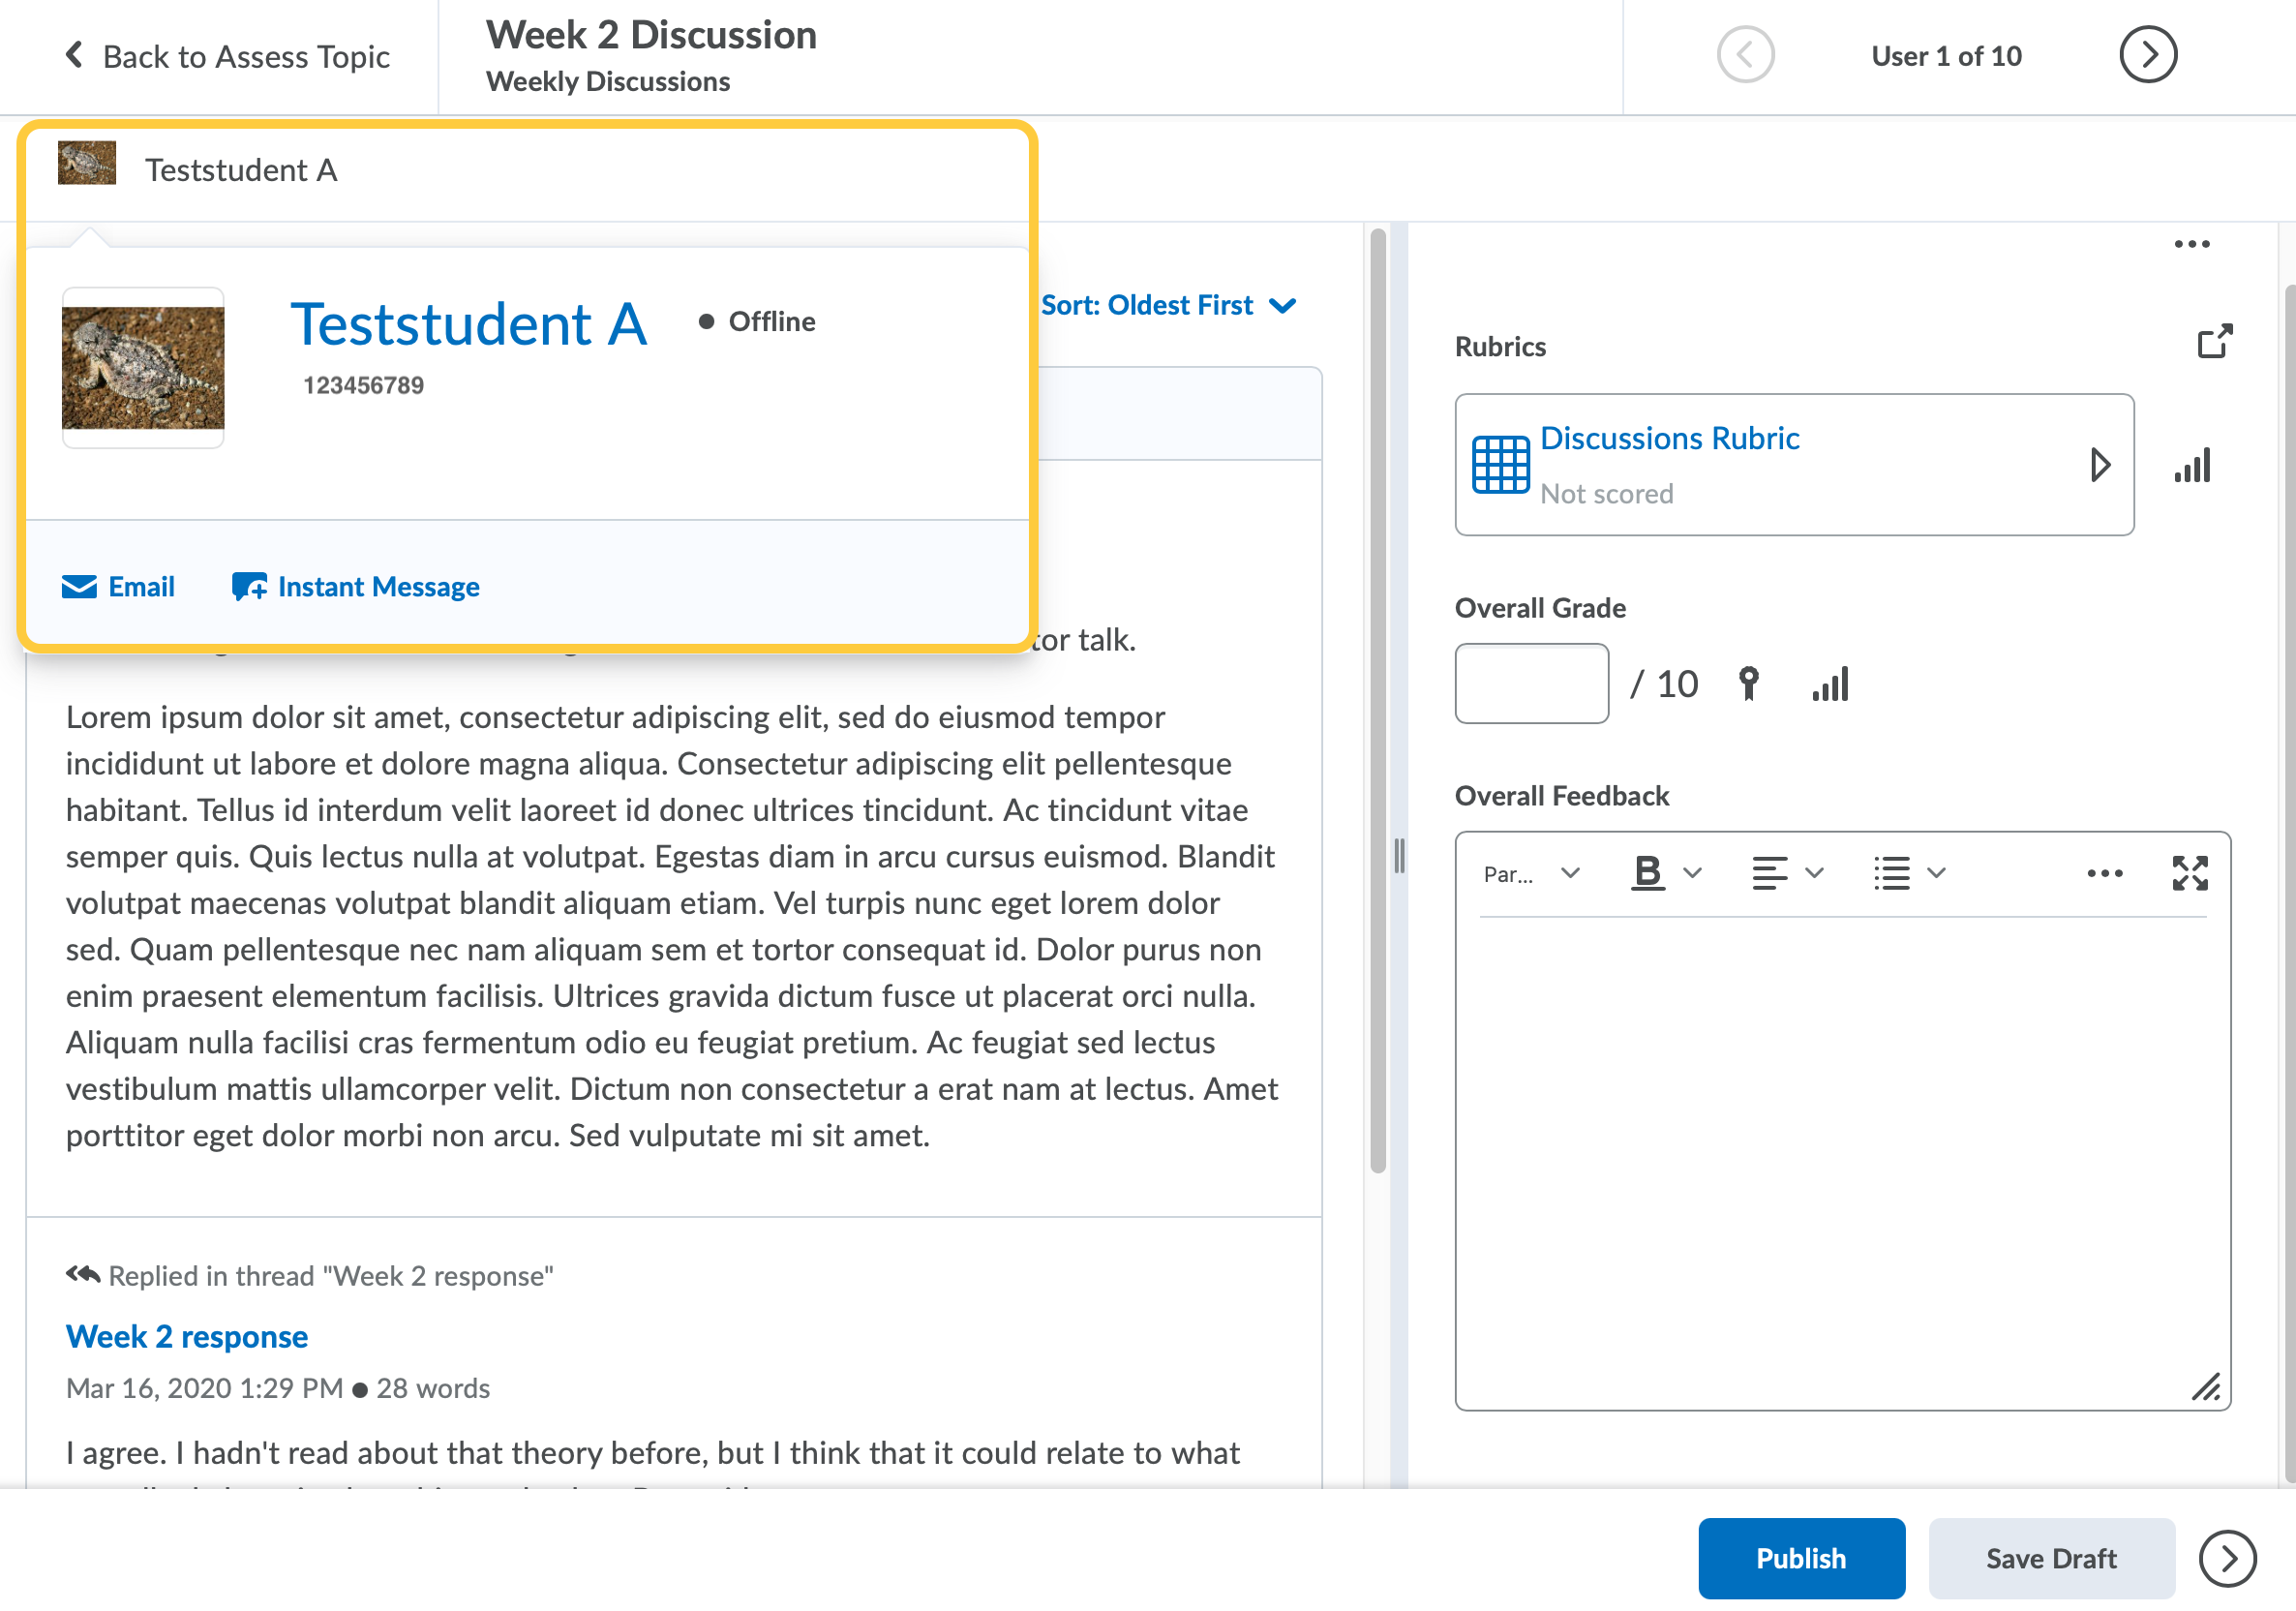
View Student's Profile Card
When hovering your mouse over a student’s profile picture on the discussion evaluation page, the student’s user profile card appears. The card displays the student’s name, role in the course, TCU ID number, online/offline status as well as links to email, instant message, and user profile. Clicking any of the links opens a new window.
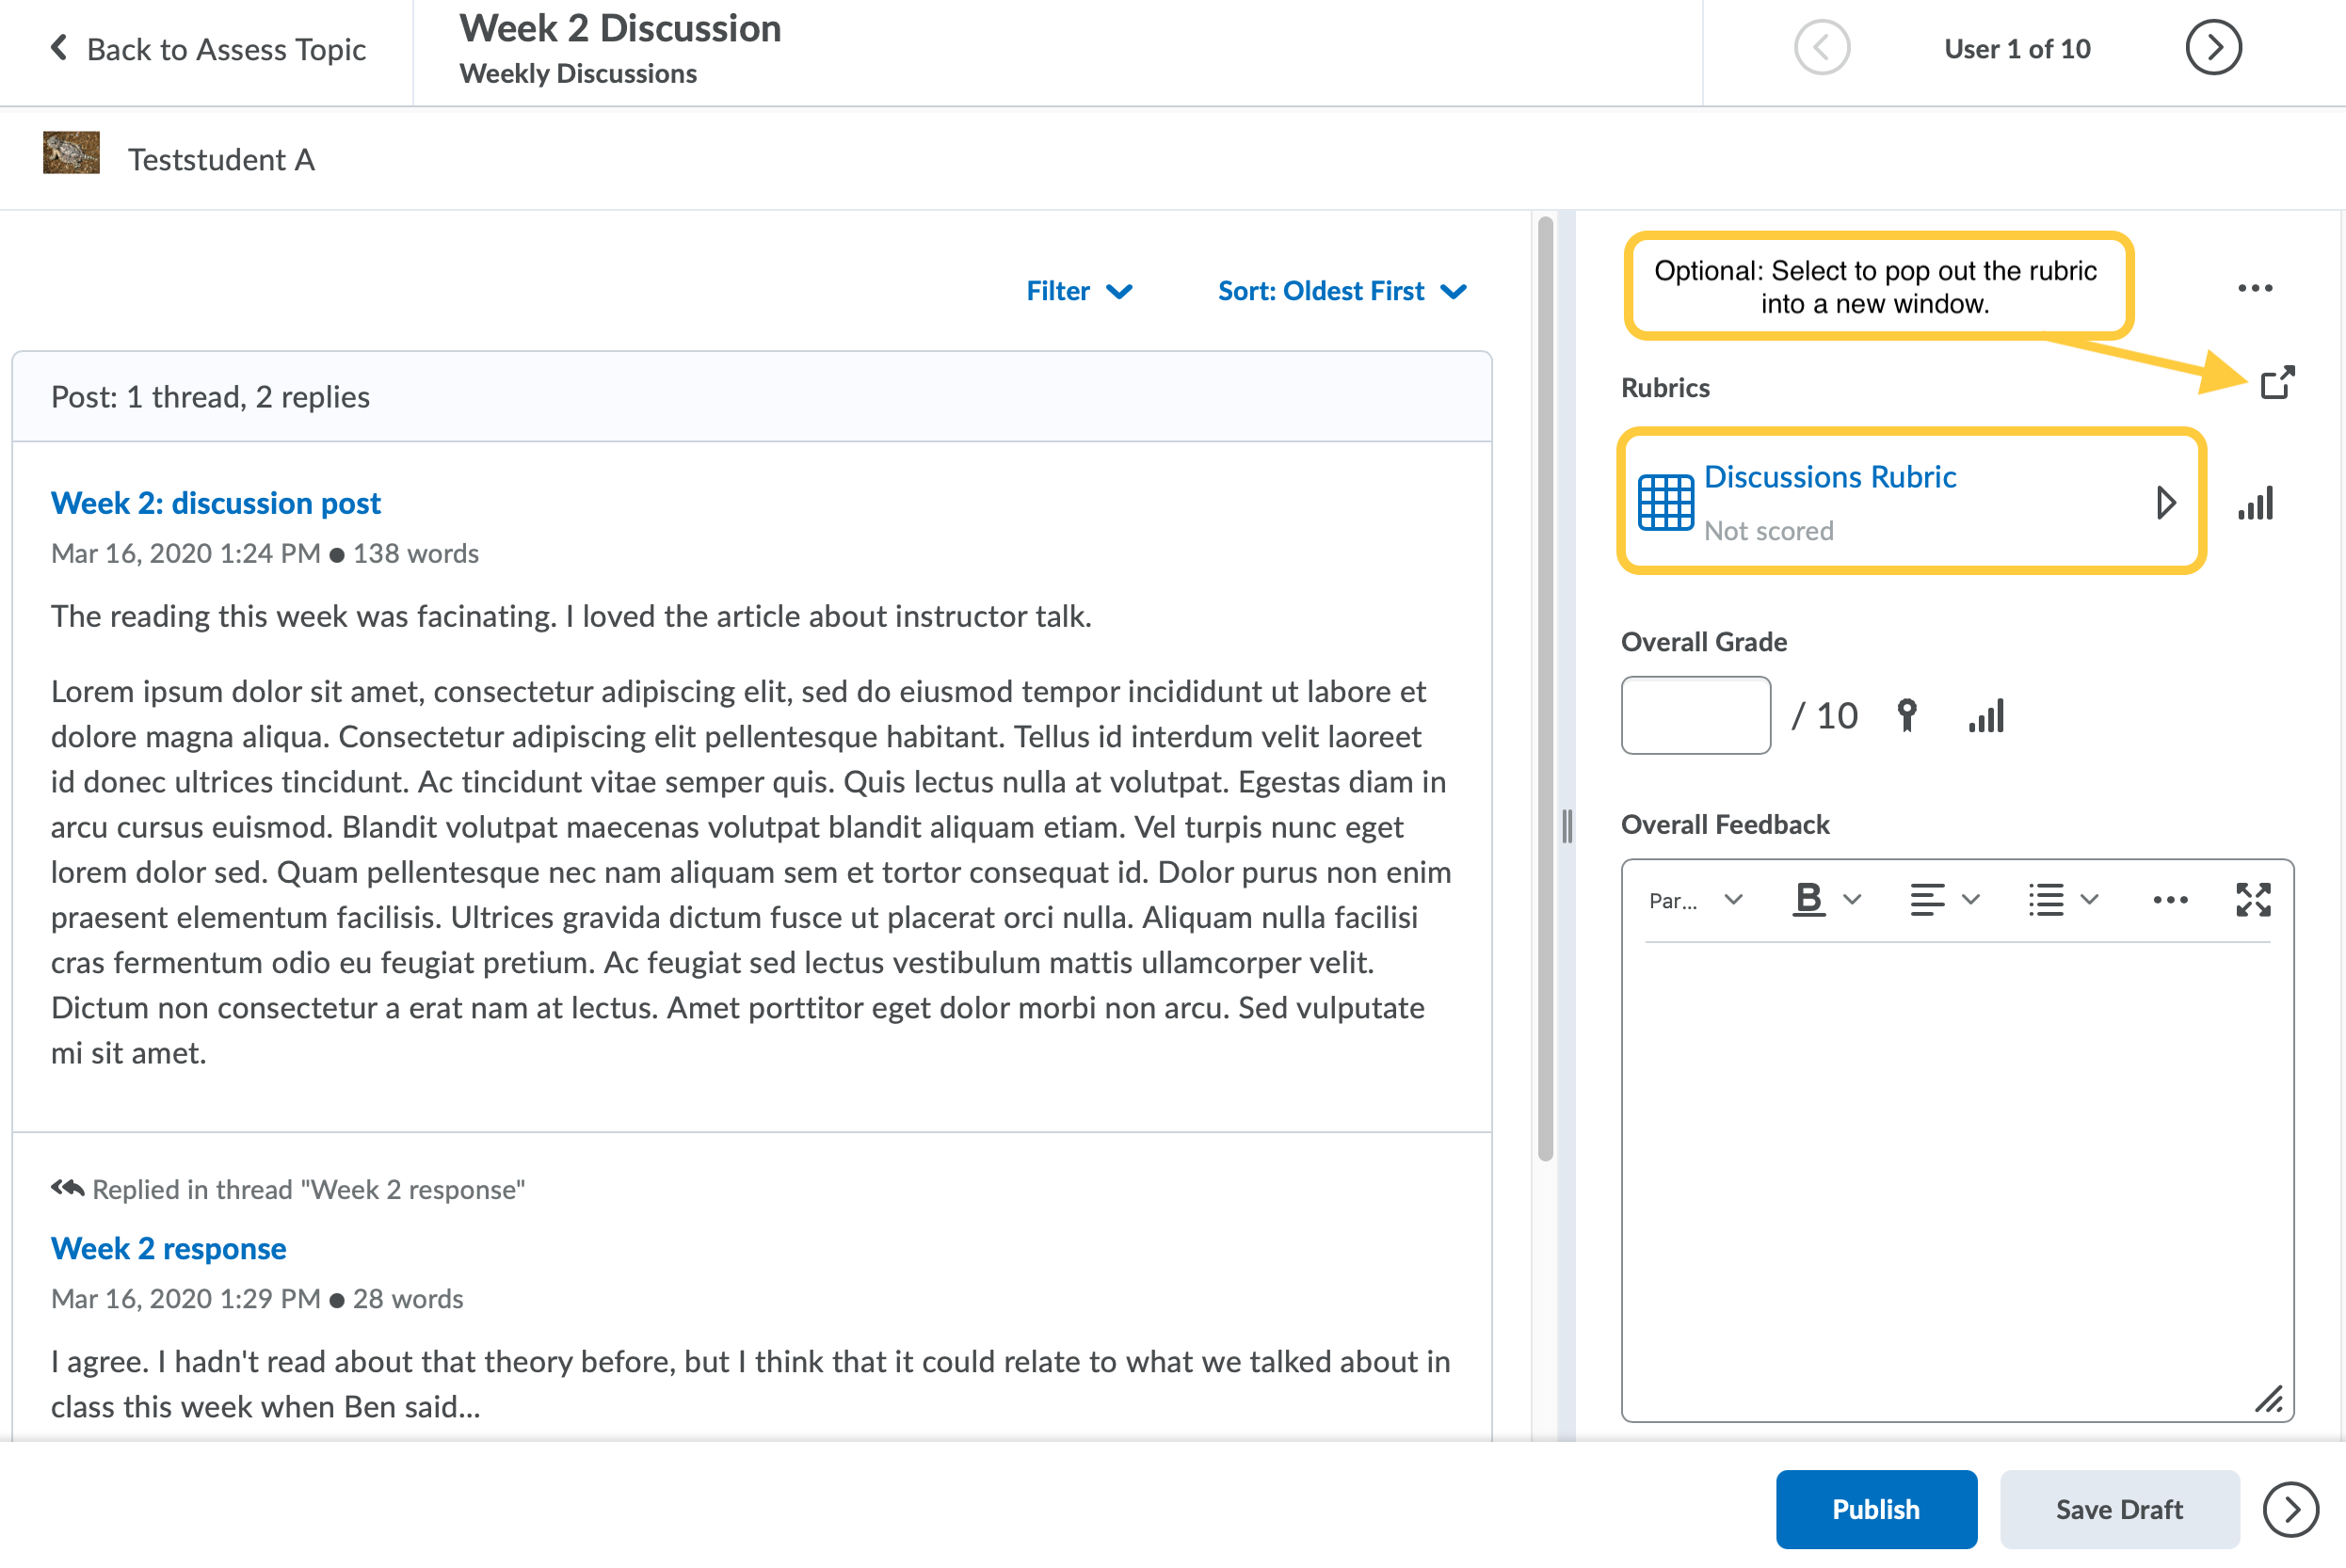
Evaluate the Discussion Topic with an Attached Rubric
A rubric must be created in TCU Online and attached to your discussion topic in order to evaluate the student’s responses with the rubric.
Click the Rubric title to expand it to allow for inline evaluation. Optional: Click the pop out icon above the rubric to view and evaluate the rubric in a new window.
If multiple rubrics are attached:
-
- Select each rubric to evaluate.
- If the discussion does NOT setup to assess individual posts, a dropdown menu will display allowing you to select which rubric should be used for grading. Select your preference. The score will auto-populate into the Overall Grade field.

Learn more about Evaluating a Discussion Post with a Rubric.
Enter a Grade
If Allow assessment of individual posts is not enabled:
Add a grade for the student’s overall participation in the whole discussion topic, by entering a numeric value in the Overall Grade field. If you evaluated the discussion with a rubric, a grade will be auto-populated based on the rubric.
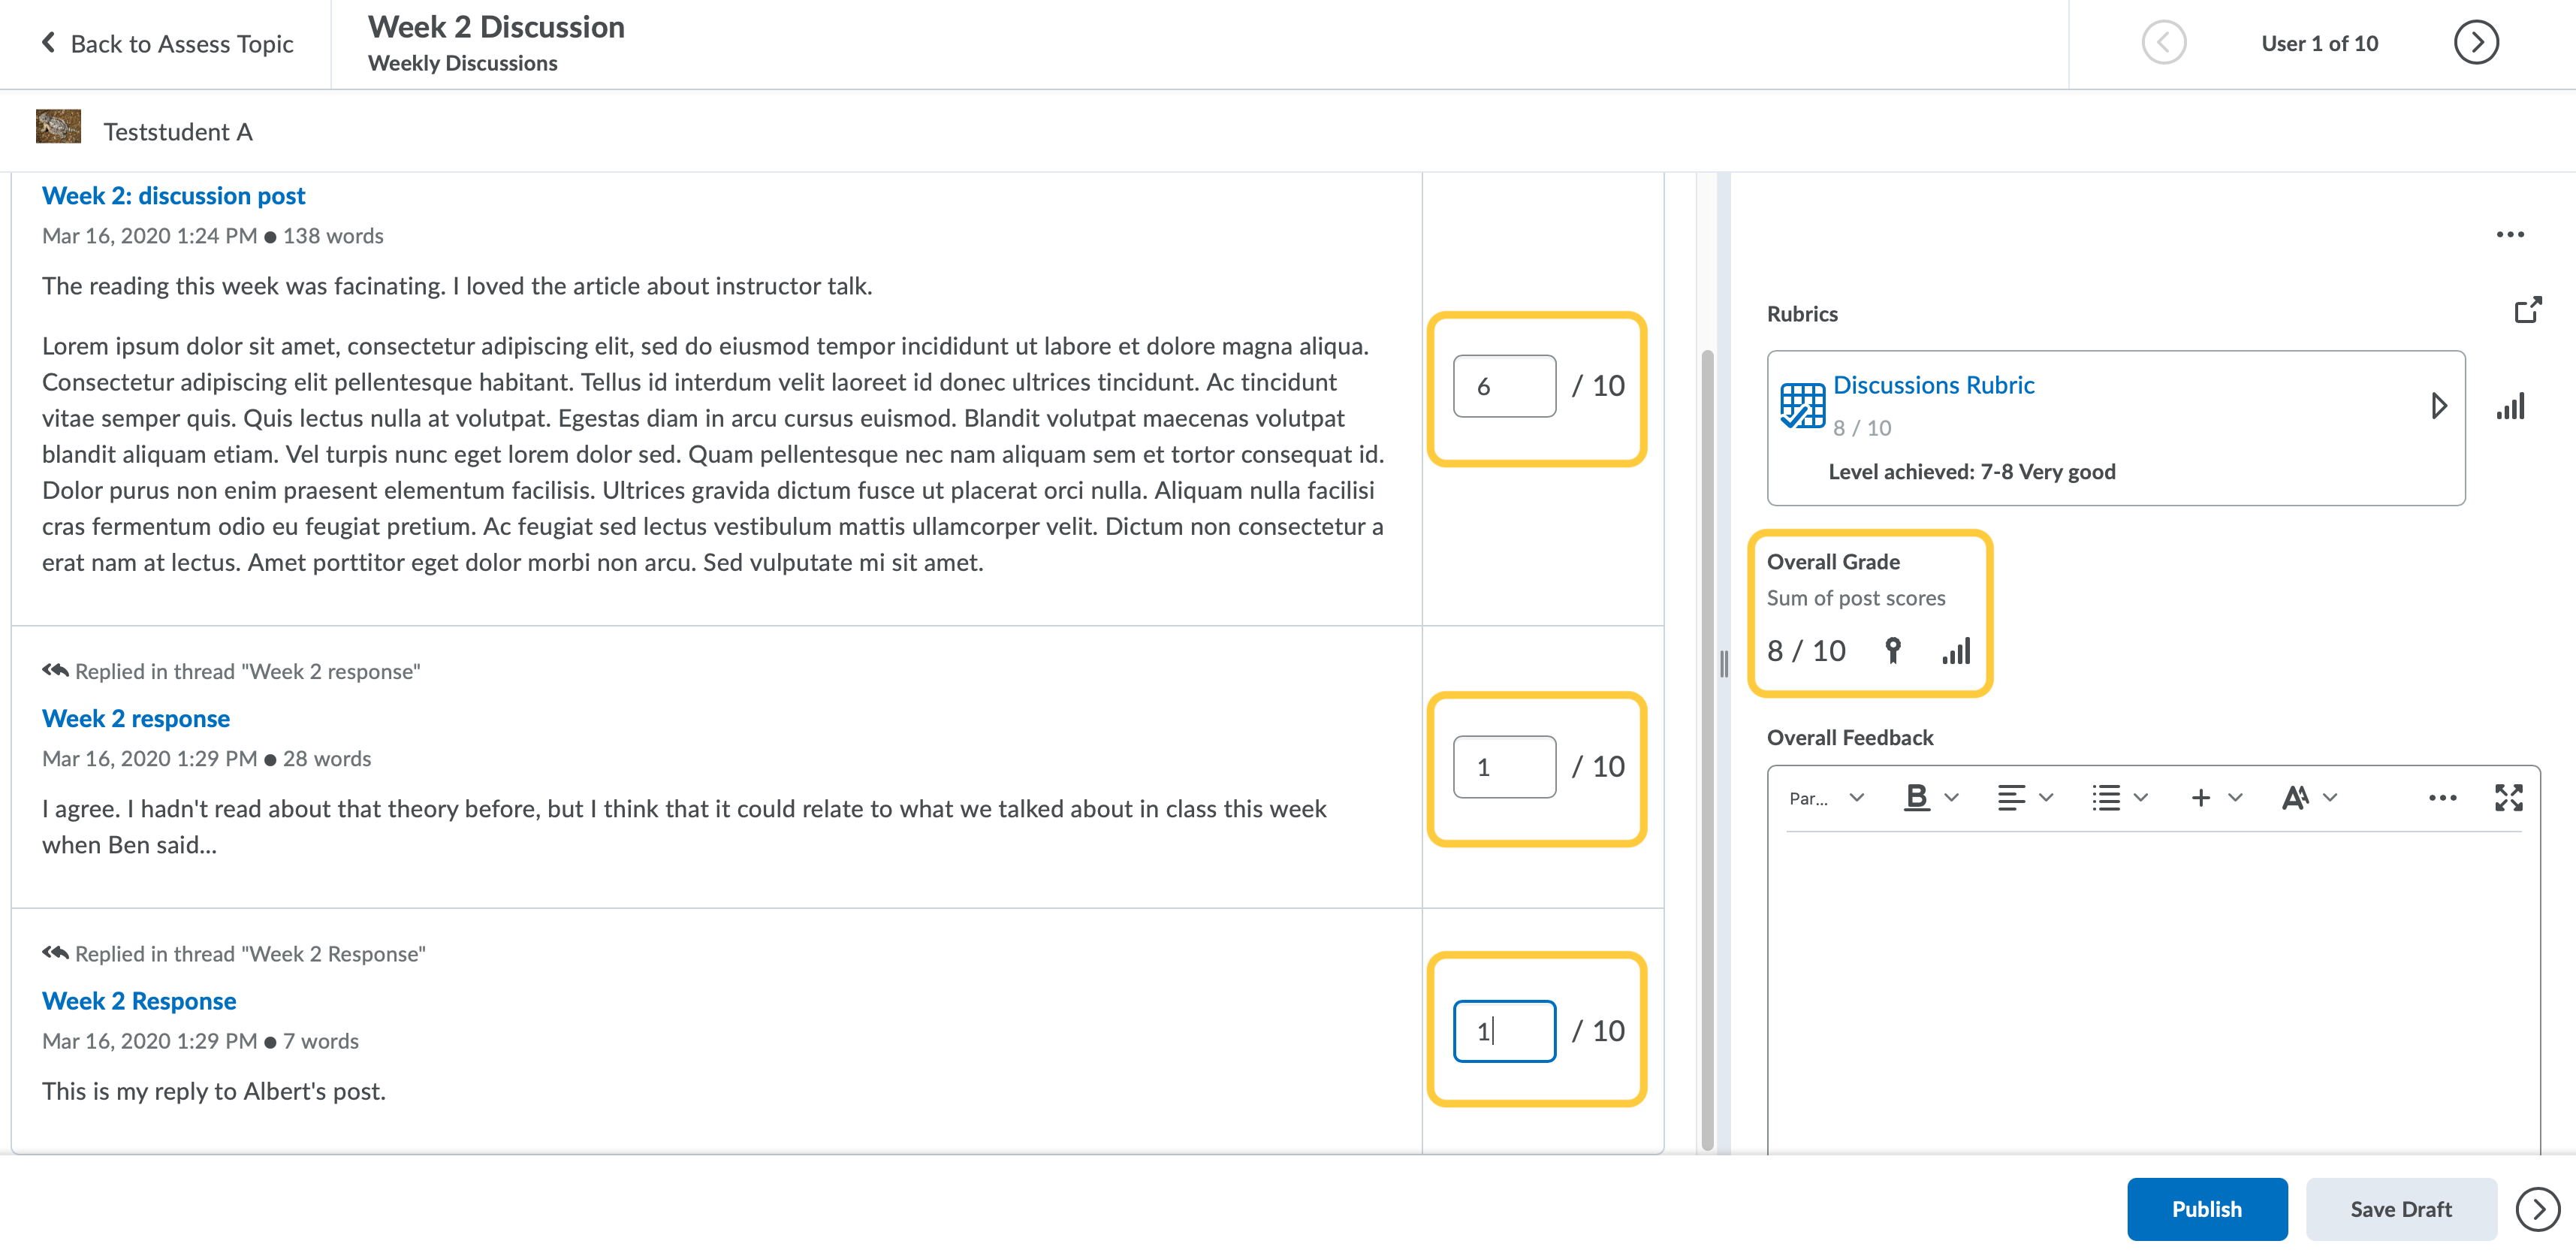
If Allow assessment of individual posts is enabled:
Enter a value in the Score field beside each post you want to assess. Depending on the calculator method selected upon configuration of assessment of individual posts, the overall score will auto-populate with the calculated grade. In the example below, the sum post scores populated the Overall Grade field.
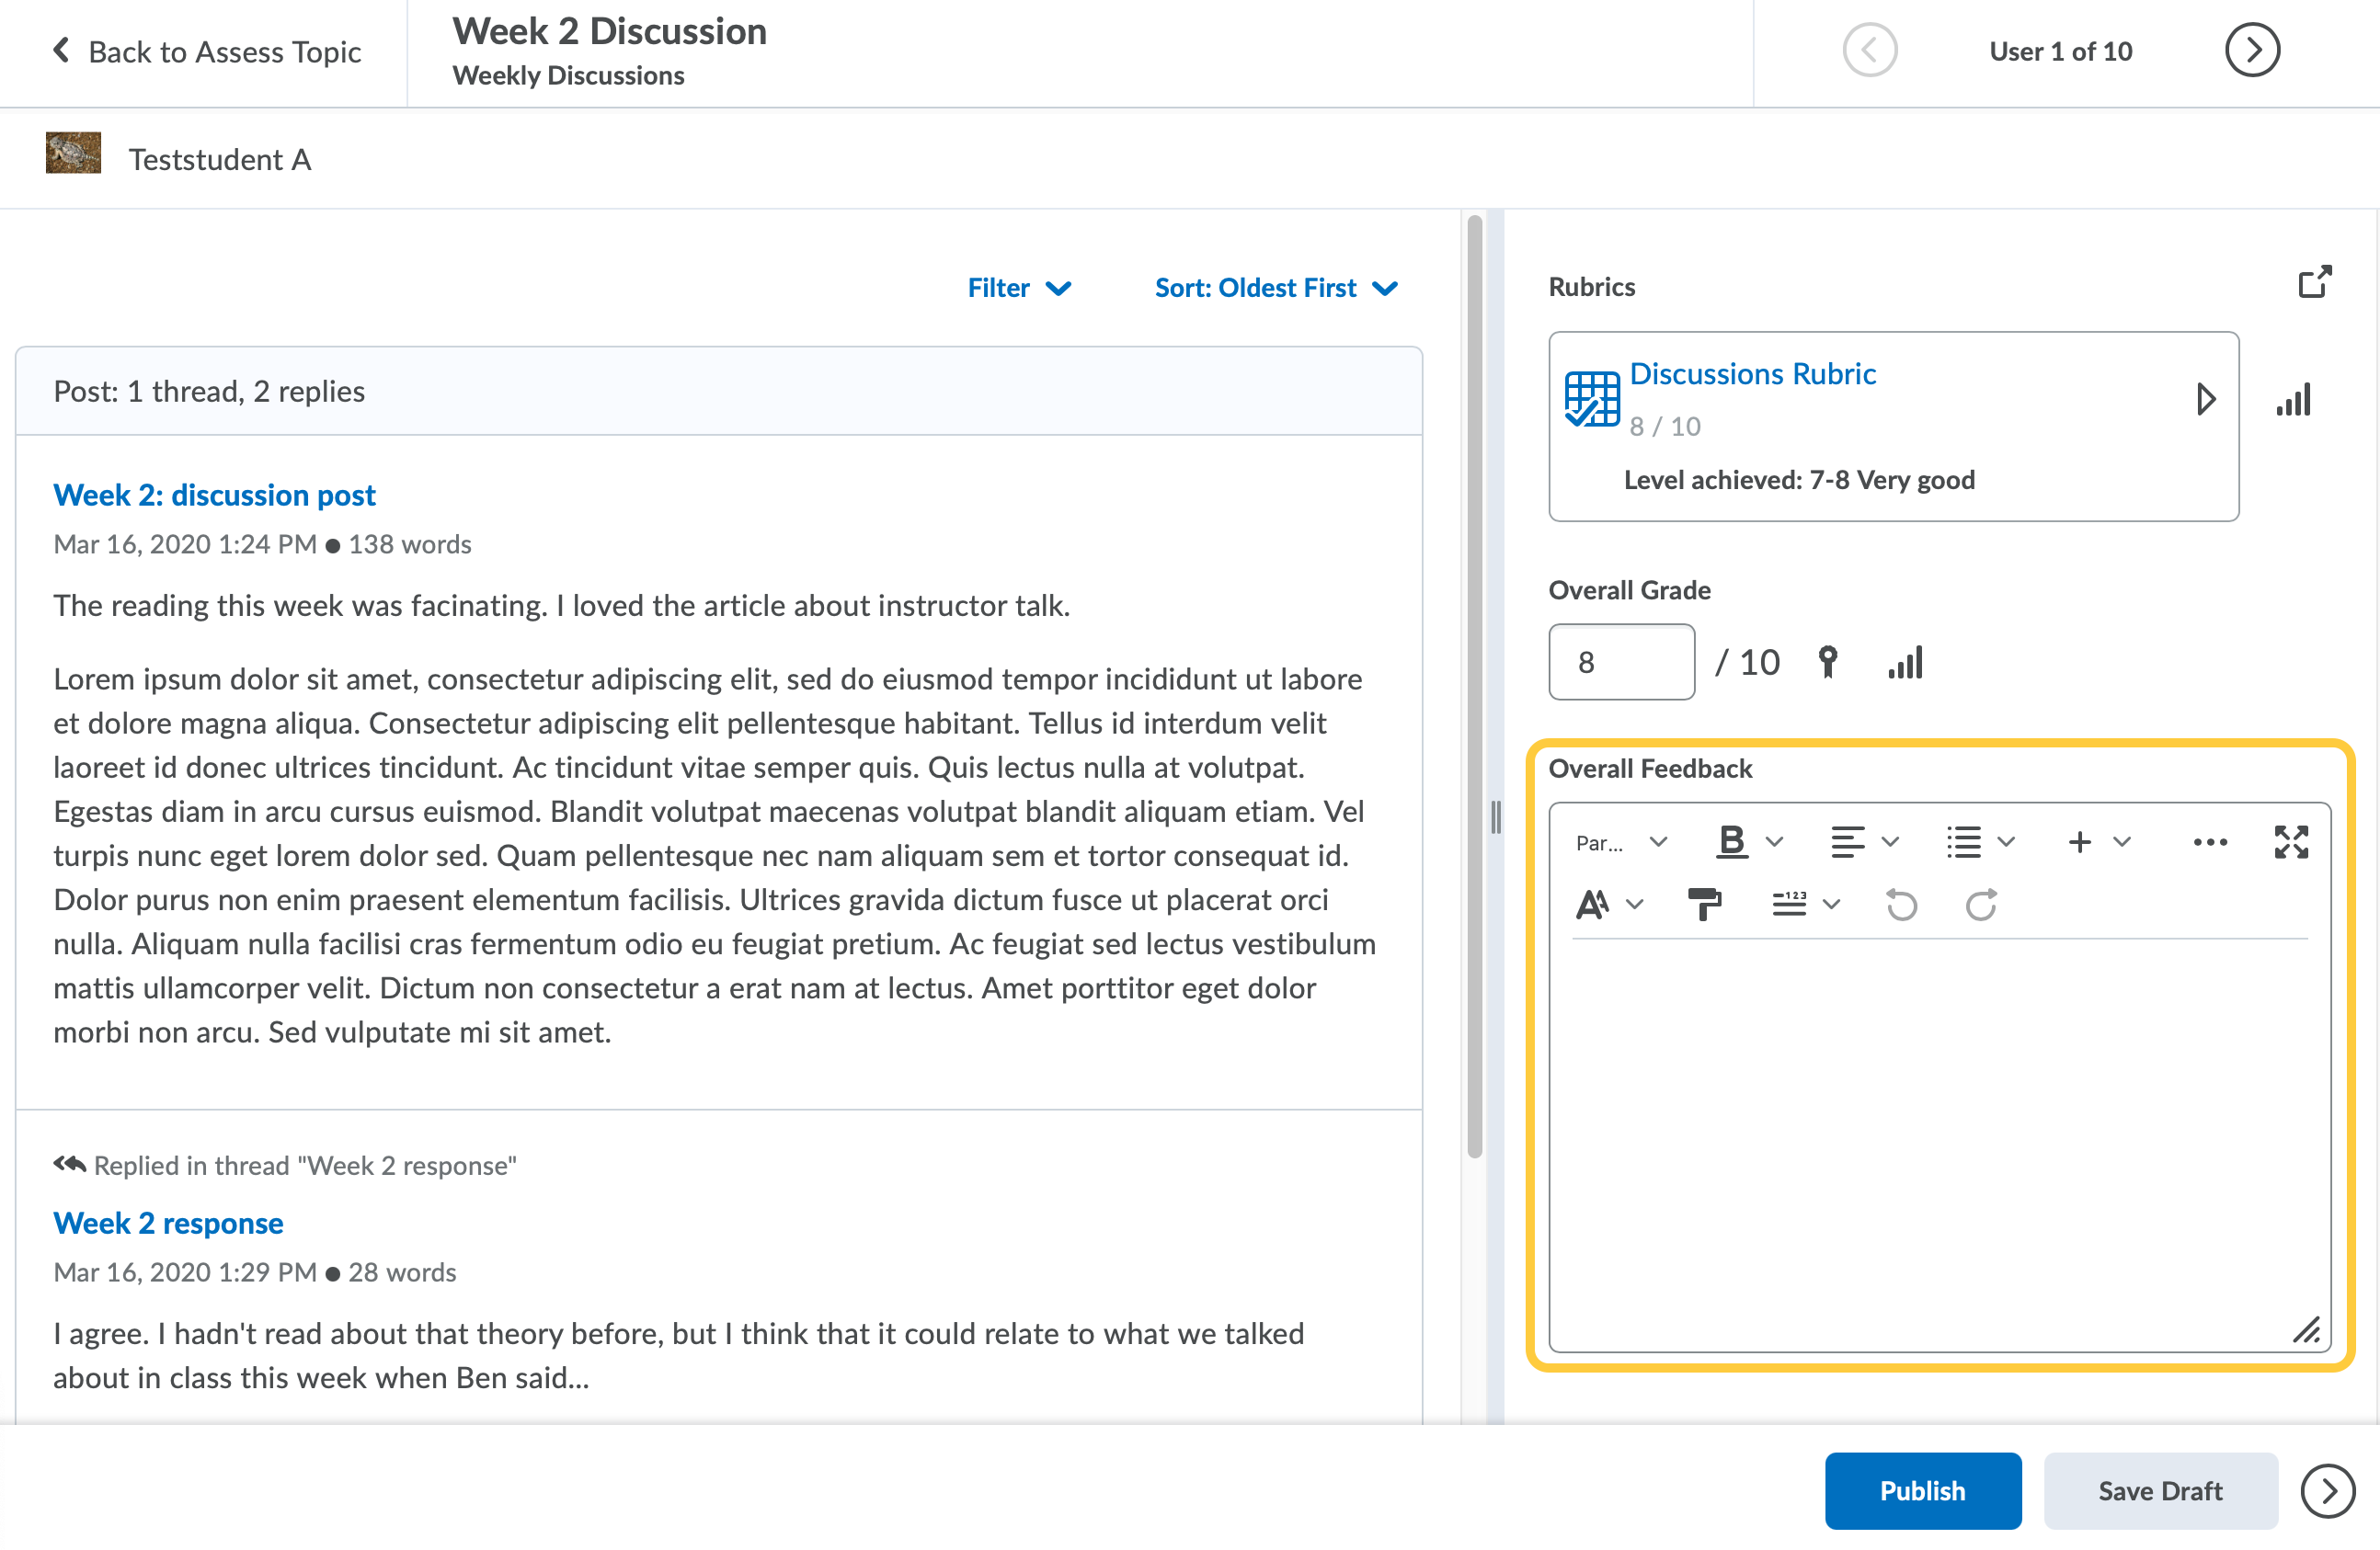
Add Feedback
- Optional: Type in the text box to add Overall Feedback to the student about their submission. Use the HTML editor to format text, add links, images, and embed multimedia. Learn more about how to Format HTML Course Content. This feedback will display both in the Grades tool and in the Discussions tool for the student.
Edit or Preview Discussion Topic Instructions
Instructors can edit the discussion topic (for all students) or preview the discussion topic instructions from the evaluation page.
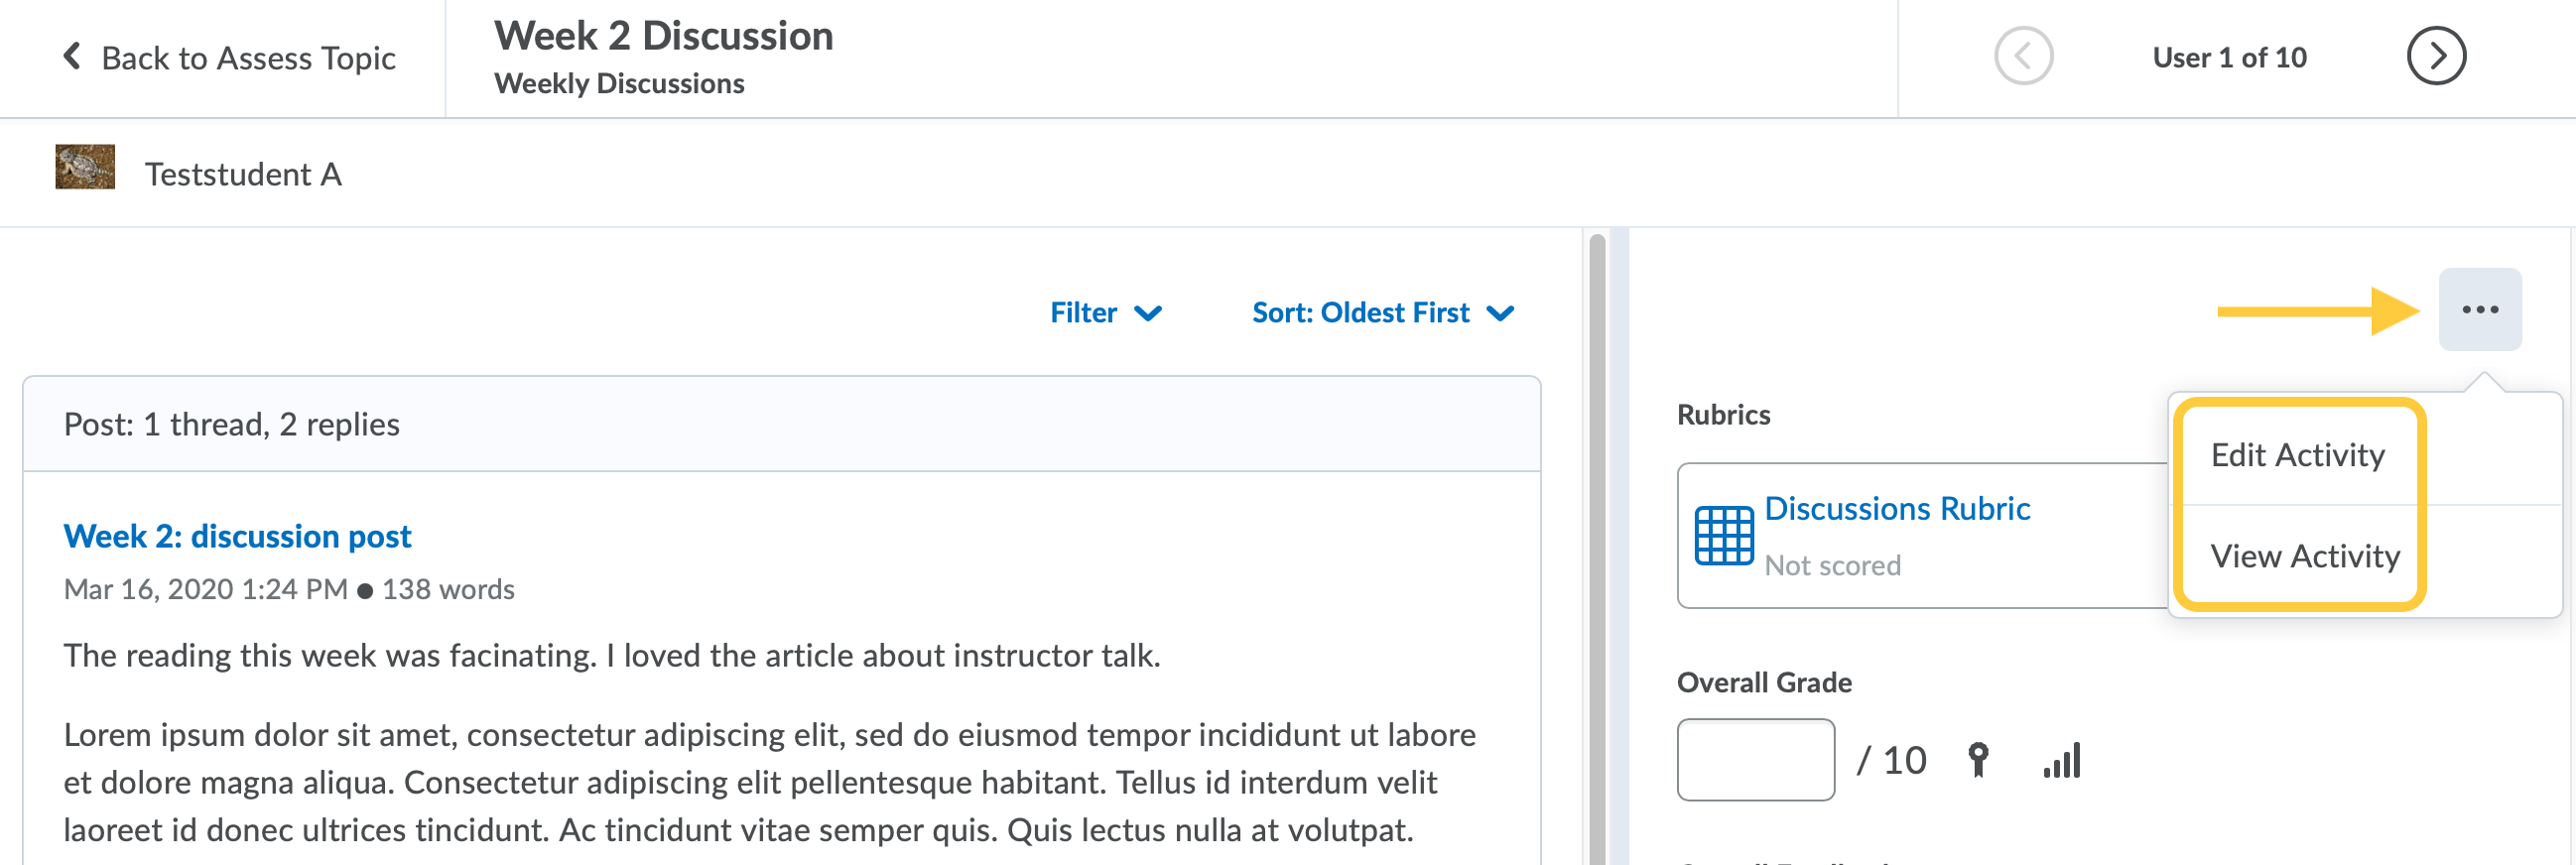
Edit the Activity
To Edit the Activity (for all students), click the action menu on the side panel of the screen, then select Edit Activity. The discussion topic editing page will open in a new tab.
Make modifications as needed. See the Edit a Discussion Topic page for more information.
Preview the Activity
To Preview the Activity, click the action menu on the side panel of the screen, then select Preview Activity. The Discussion Topic Preview page will open in a new tab. This will allow instructors to review the instructions and see the assignment as students do. Close the new tab to exit the Preview and return to the Discussion Evaluation page for the student you were viewing.
Save Draft or Publish
- When your evaluation is complete, click Publish or Save Draft, located on the bottom right of the screen. Note: if you choose Save Draft, you can publish all feedback for all students later from the Assess Topic page. See Step 3 below for more information.

- To view another student’s submissions, do one of the following:
- Click the right or left arrows on the top right of the page to evaluate the previous or next student’s submission.
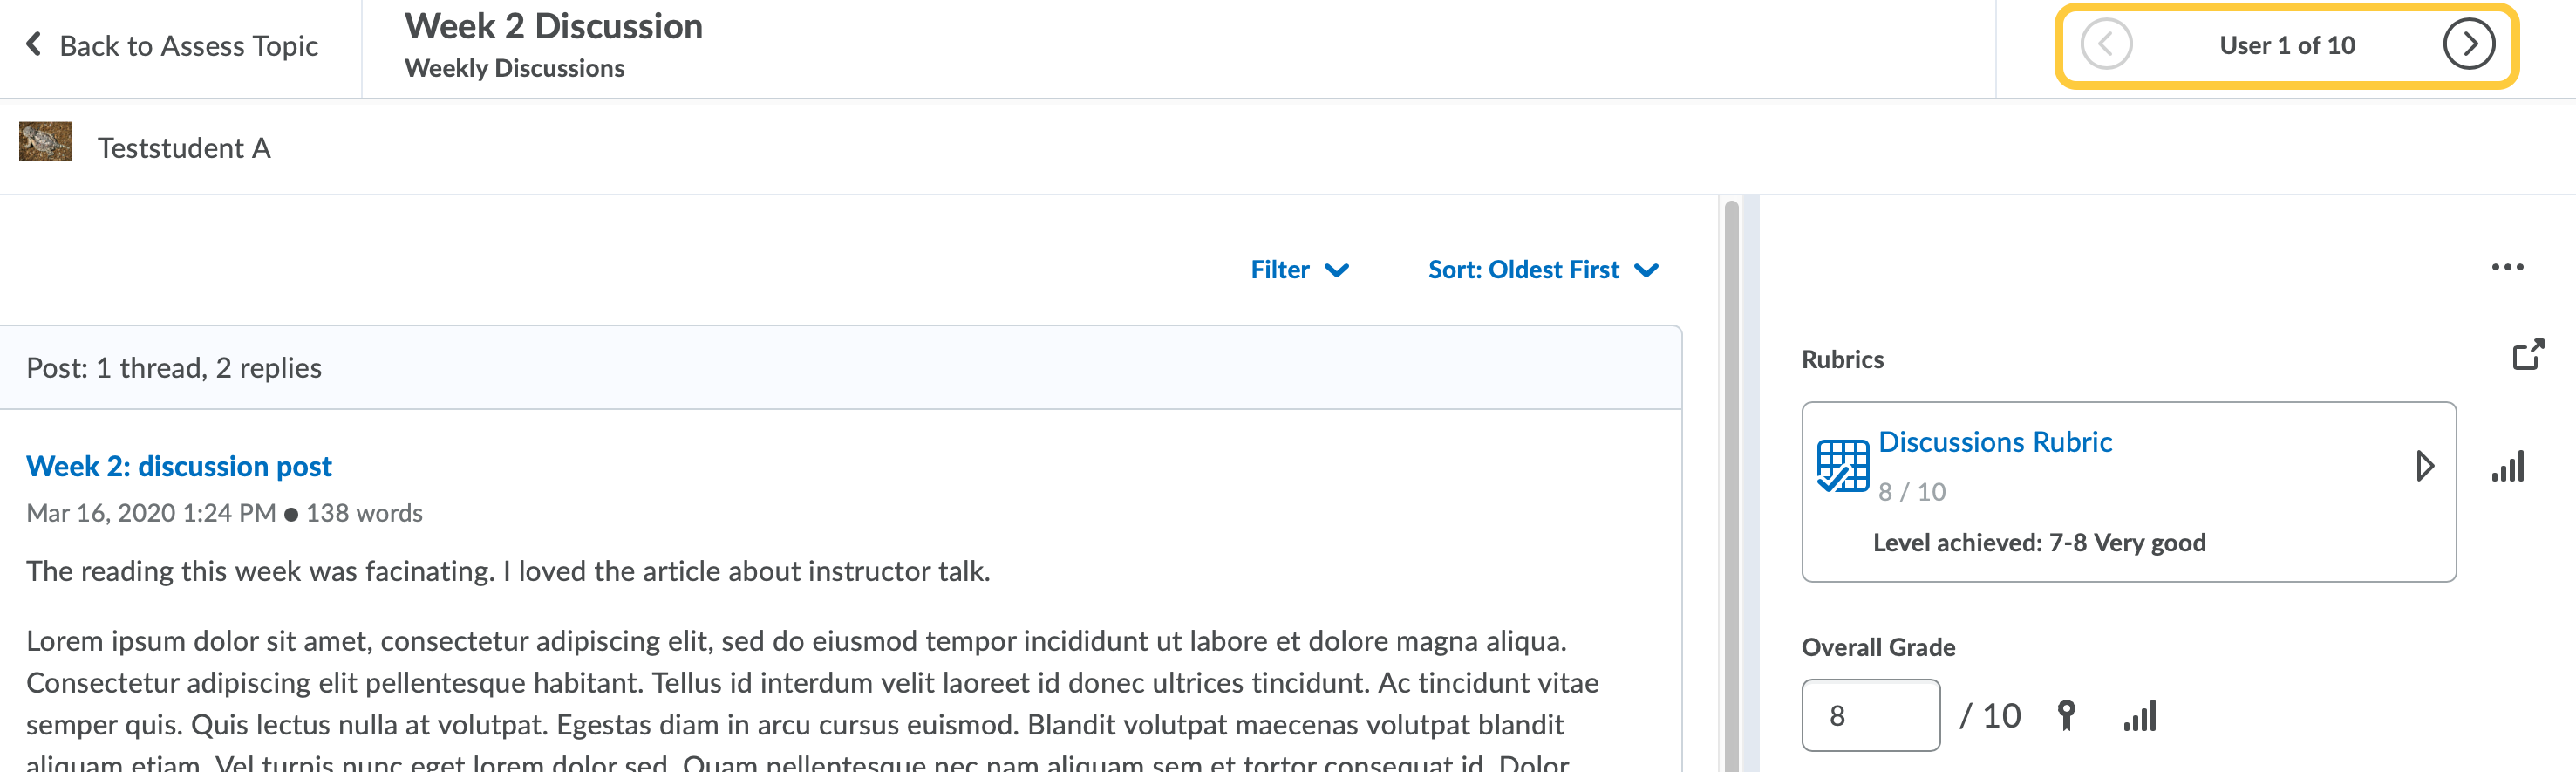
- Click the next arrow at the bottom of the page to evaluate the next students’ submission.

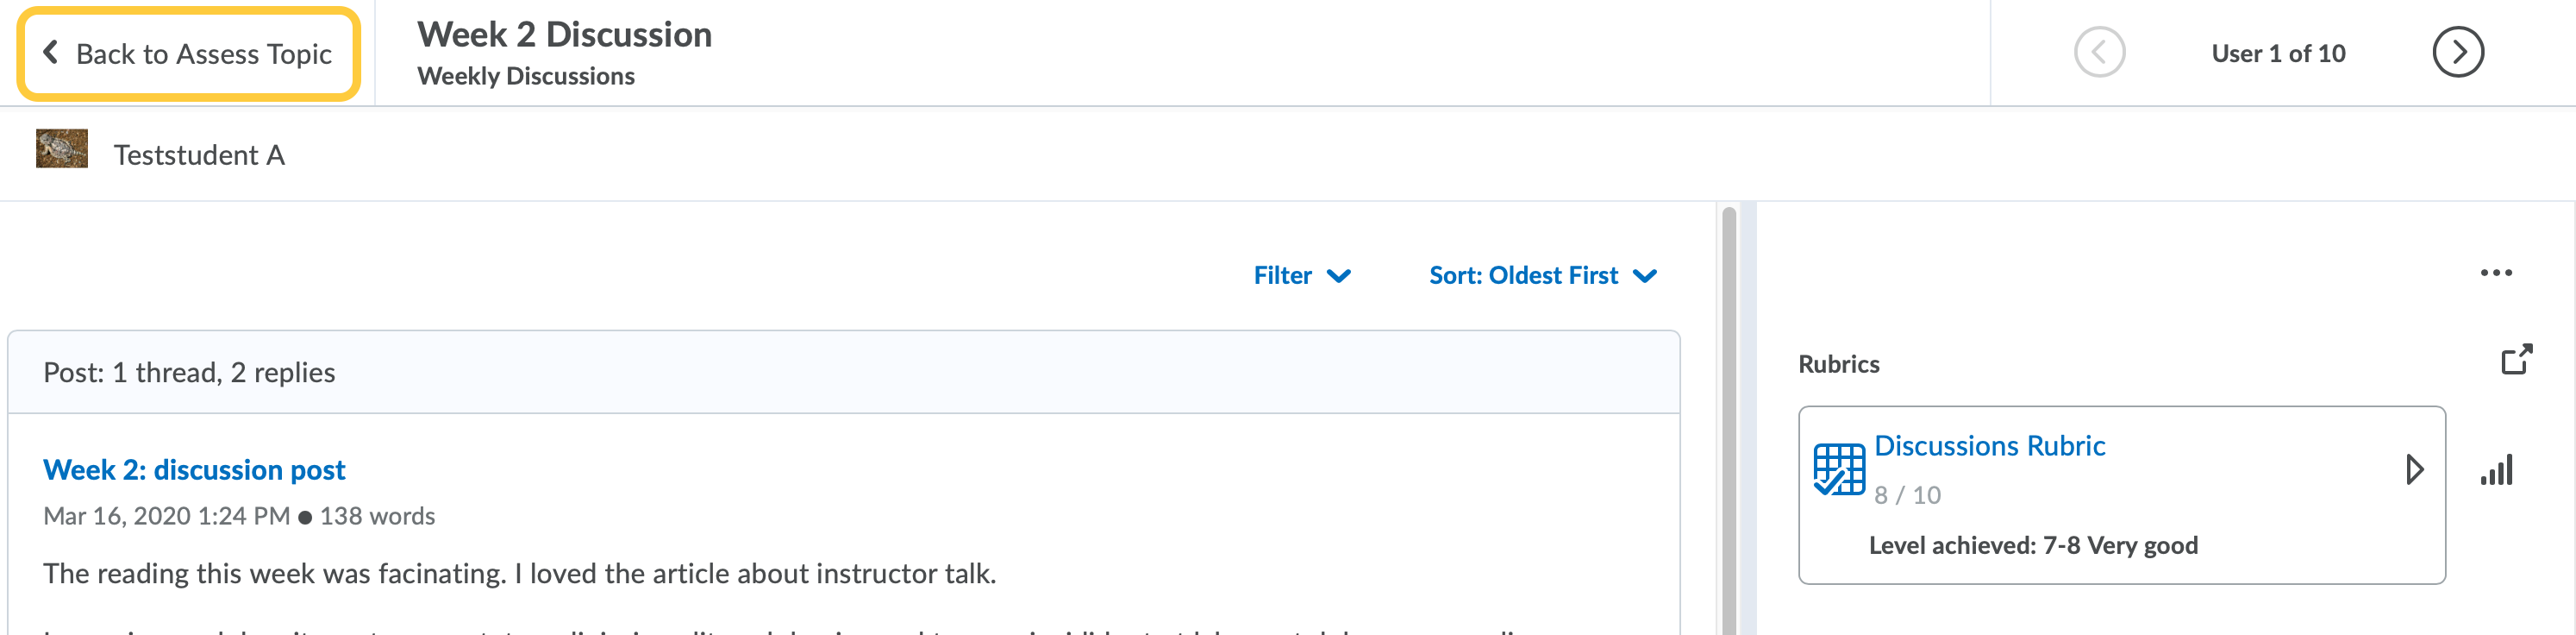
- Click Back to Assess Topic to return to the Users/Assessment page.
- Click the right or left arrows on the top right of the page to evaluate the previous or next student’s submission.
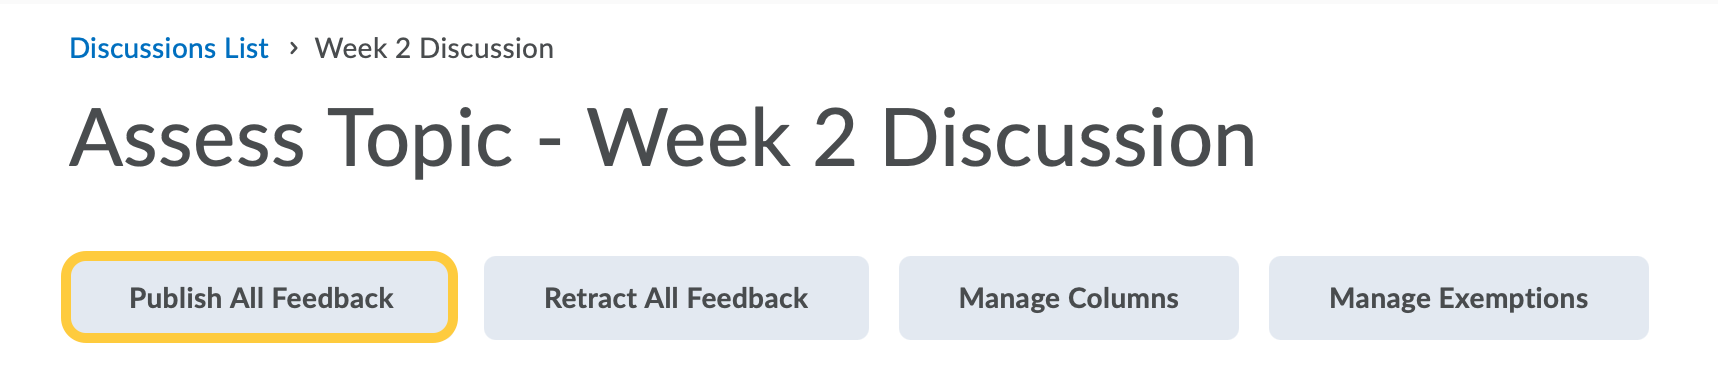
- If you saved your evaluations as Draft, and are ready to publish feedback, from the Assess Topic page, check the box on the table header row to select students who you want to publish feedback for. Then click the link for Publish Feedback.
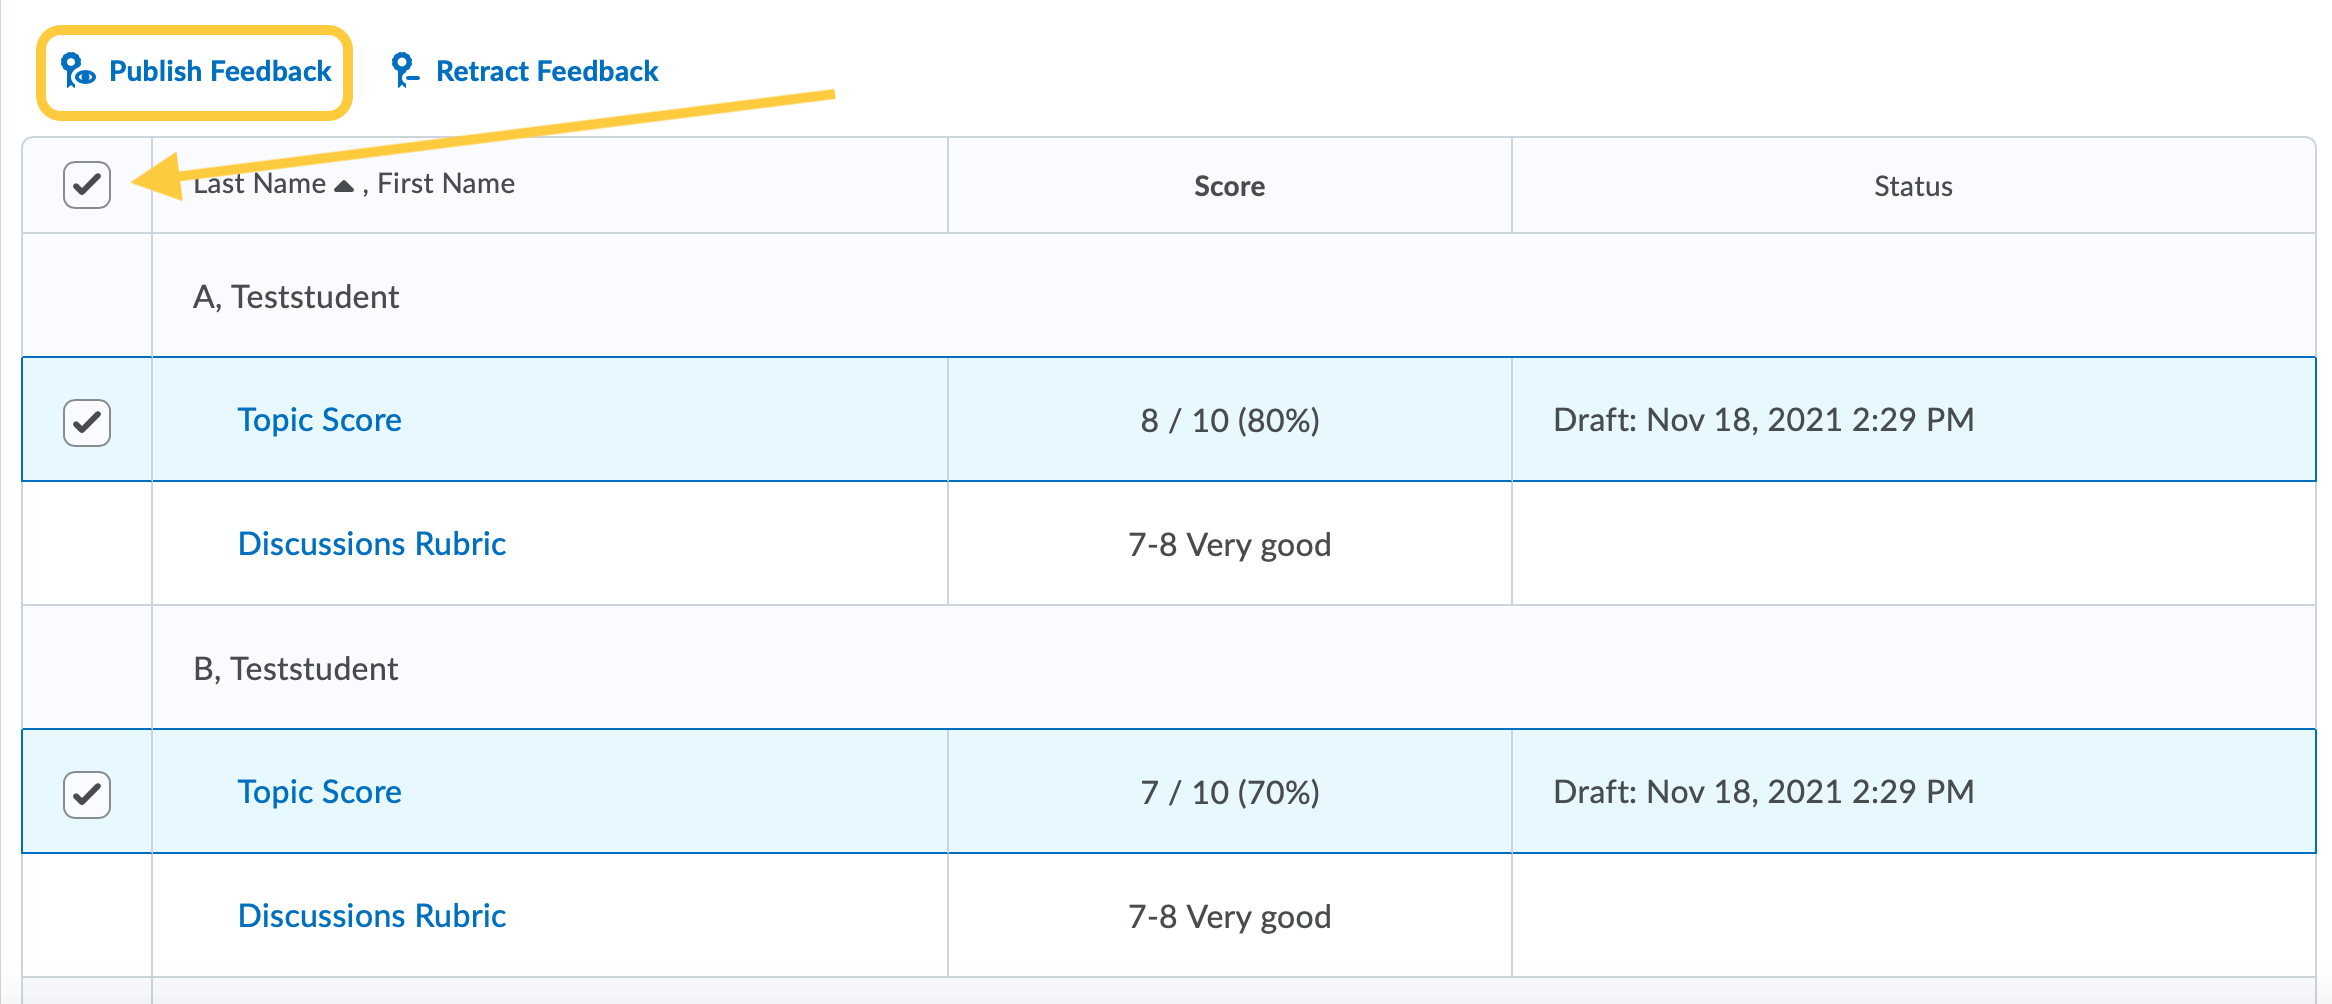
- If you are publishing feedback for All Students you can click on the Publish All Feedback button for all students to receive the feedback at the same time.